Time for my bi-monthly shop update.
Screaming Woody
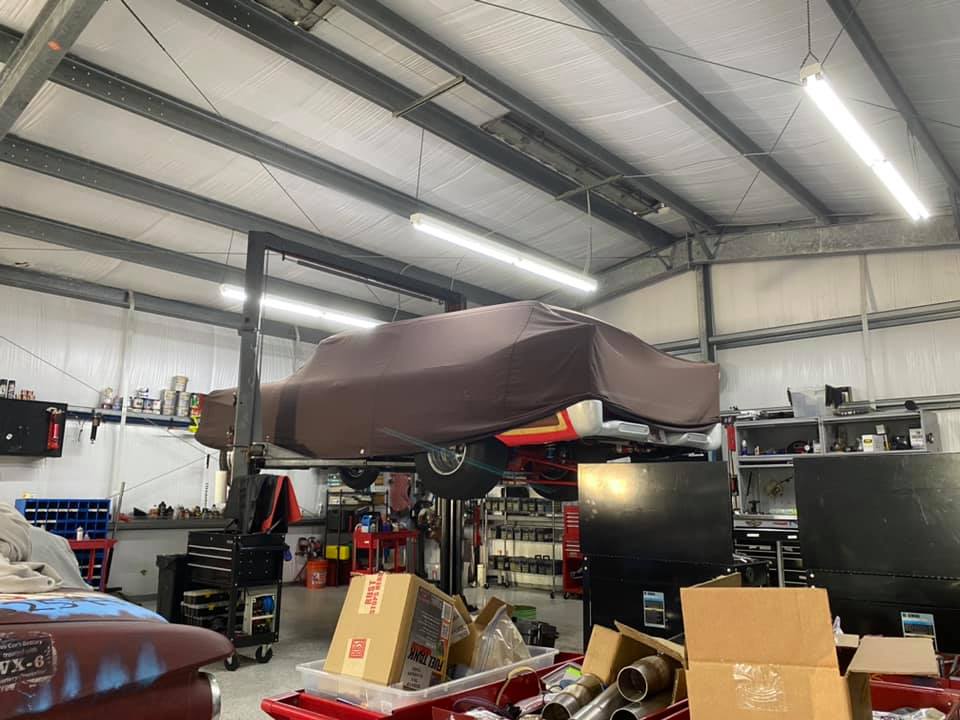
The new motor is in the Screamin’ Woody and I took it for a blast down my nasty rural road. Appears to be fine, but I didn’t take it above 4500 RPM as we’ve had a lot of rain and the 35mph road is pretty rough. Changed the preload a little to help it launch straighter – but haven’t test that. I’ll come to Bradenton a day early and try to work out the wrinkles.
Back at the shop I put it on the rack. Changed the breakin oil for racing oil, cleaned the underside, and found a crimp in the fuel line making a 90 degree turn – so it was cut out and replaced with a couple 45 degree hose ends and a m/m fitting. Polished the wheels, put it back on the ground to clean under the hood, interior and exterior.
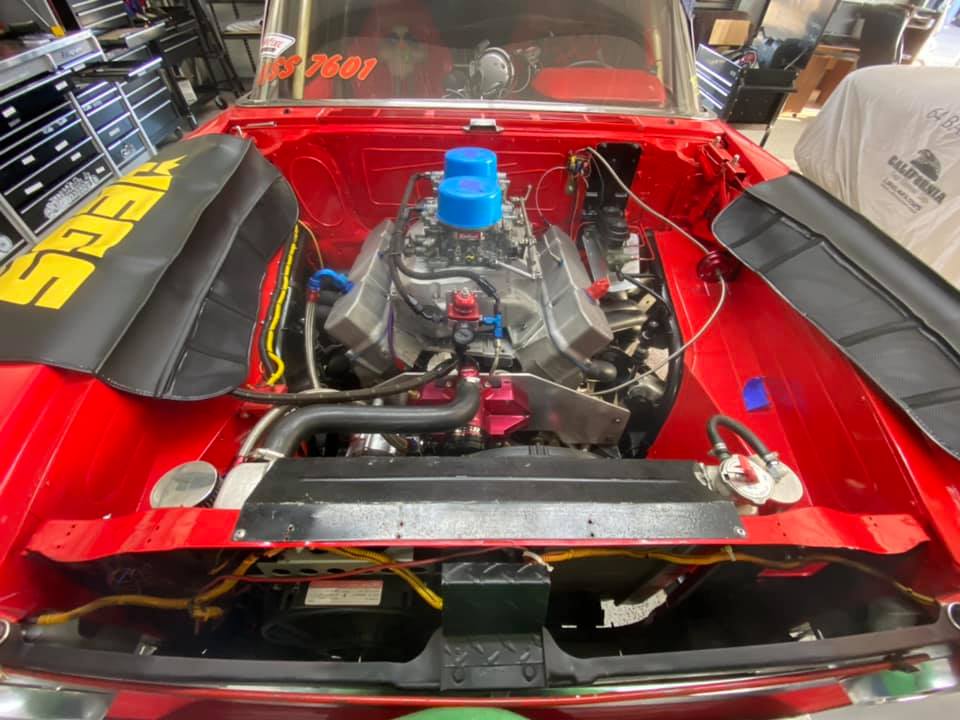
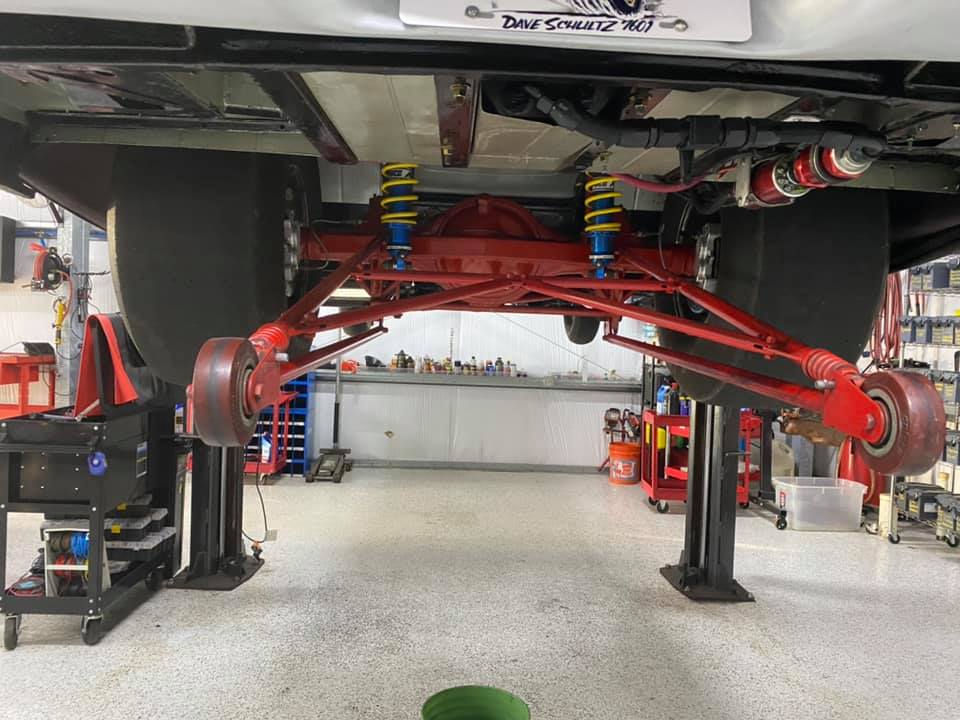
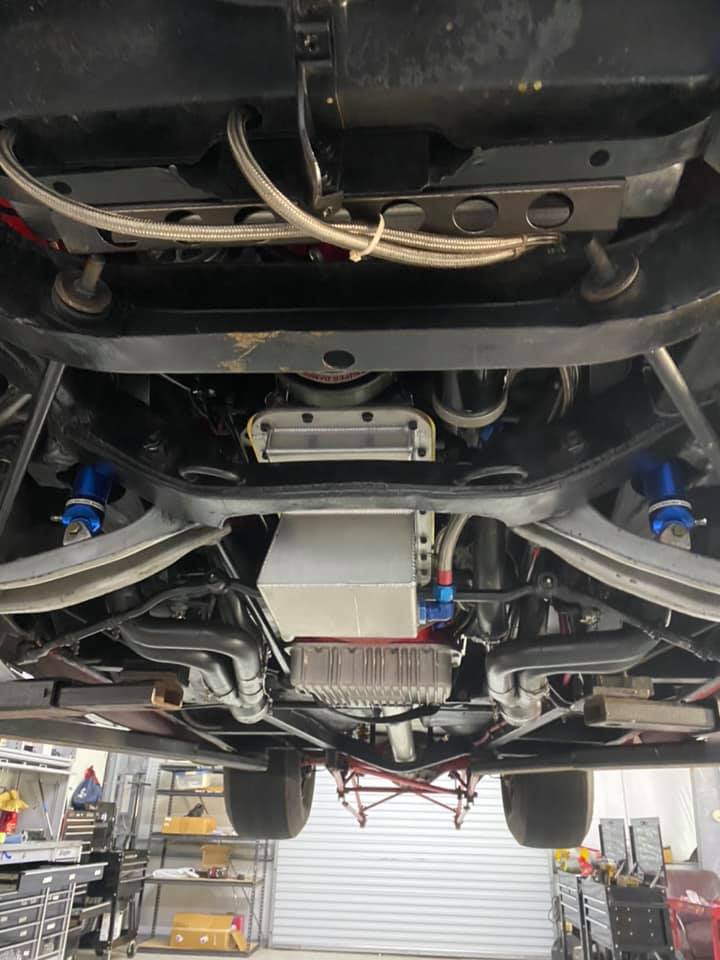
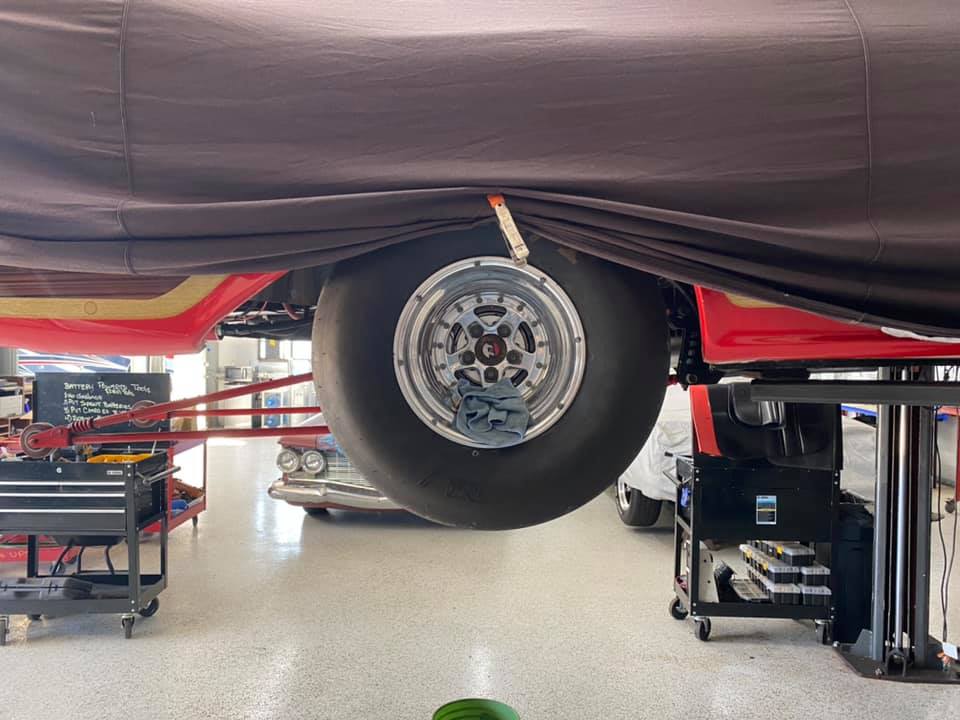
She’s ready to go into the Stacker when I finish out-fitting it.
The Thug
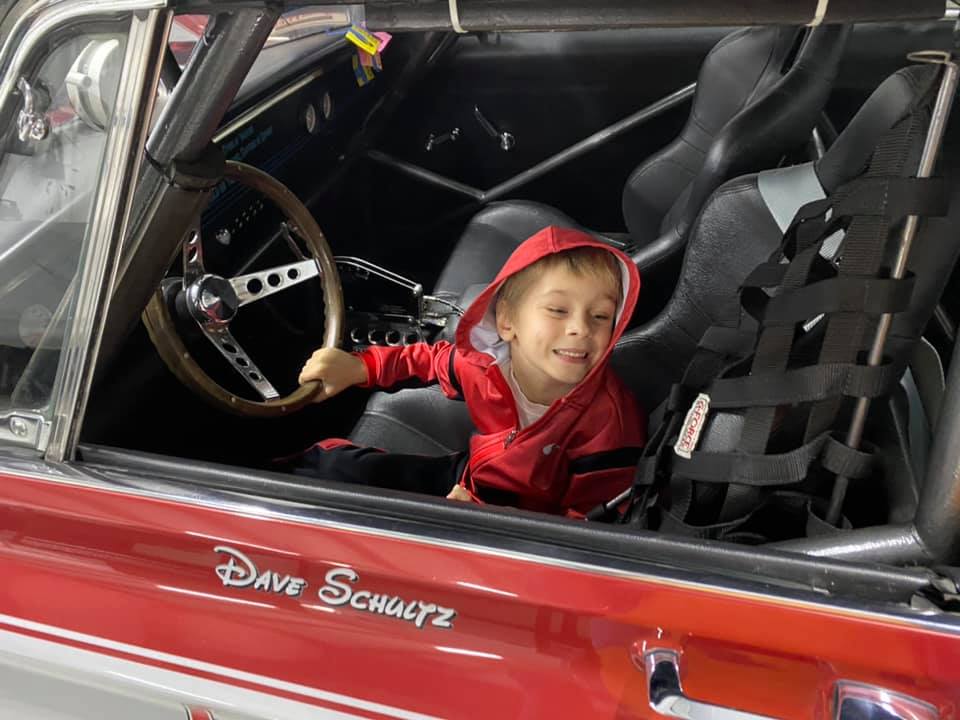
Because the Screamin’ Woody will be untested before the race in Bradenton, FL in early March, I’m gonna throw the Thug on the Lift as a backup, in case there’s an issue with the Screamin’ Woody. So it too had its oil changed, wheels polished and a through detailing.
Tool Time with Jake
In the above photo, you see Grandson #2 – Jake. He and his twin sister Elwood spent a few days with Deb and I, as their mother was having a medical procedure. Jake spent a 1/2 day in the shop learning a little about tools and cars.


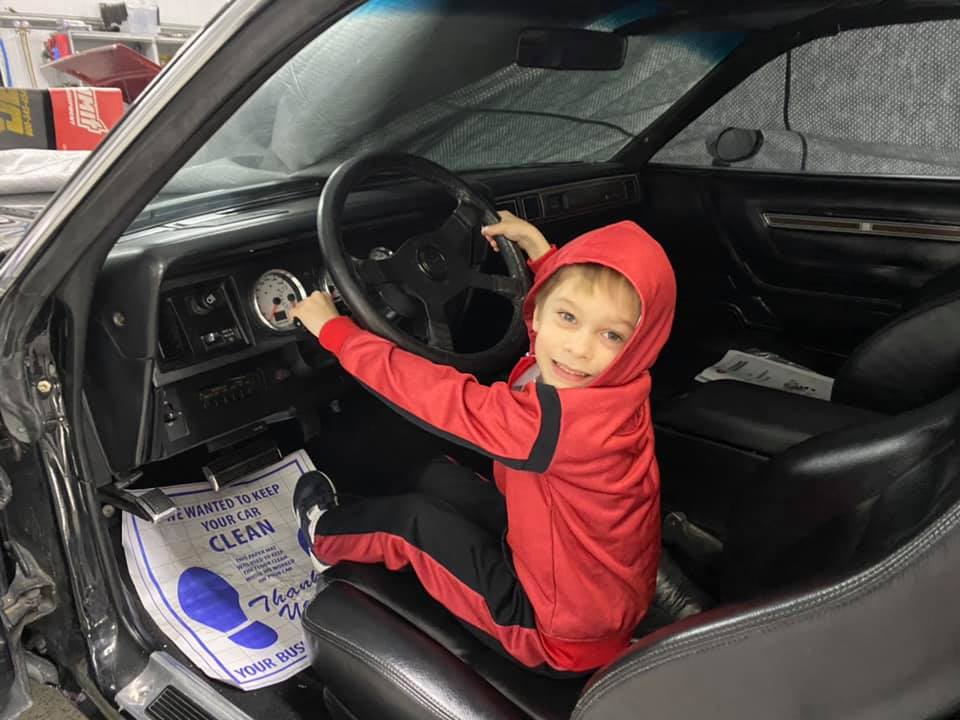

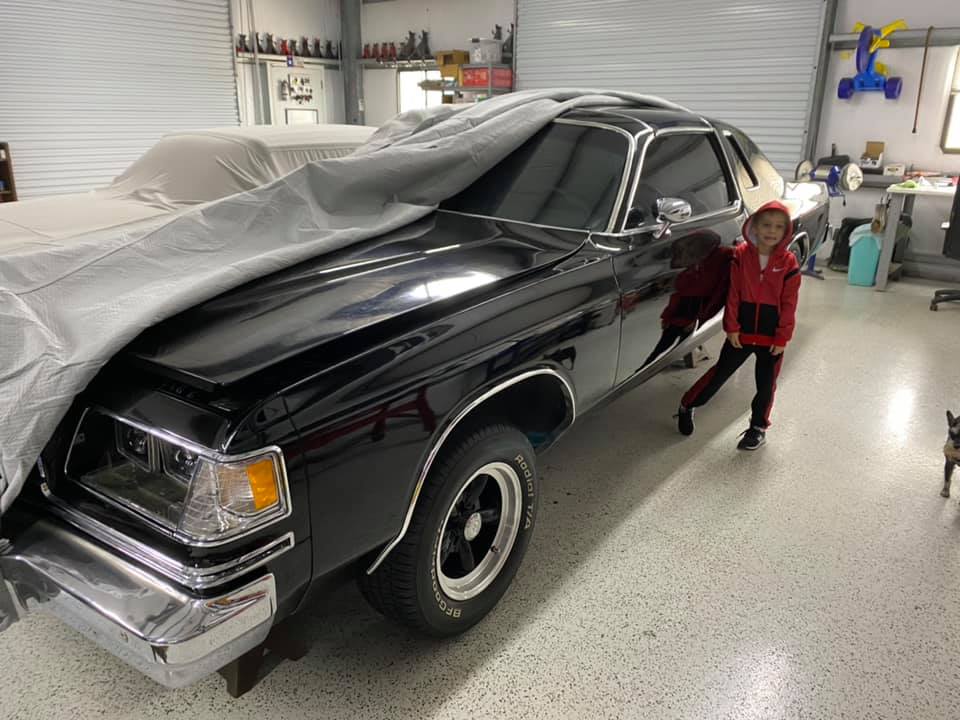
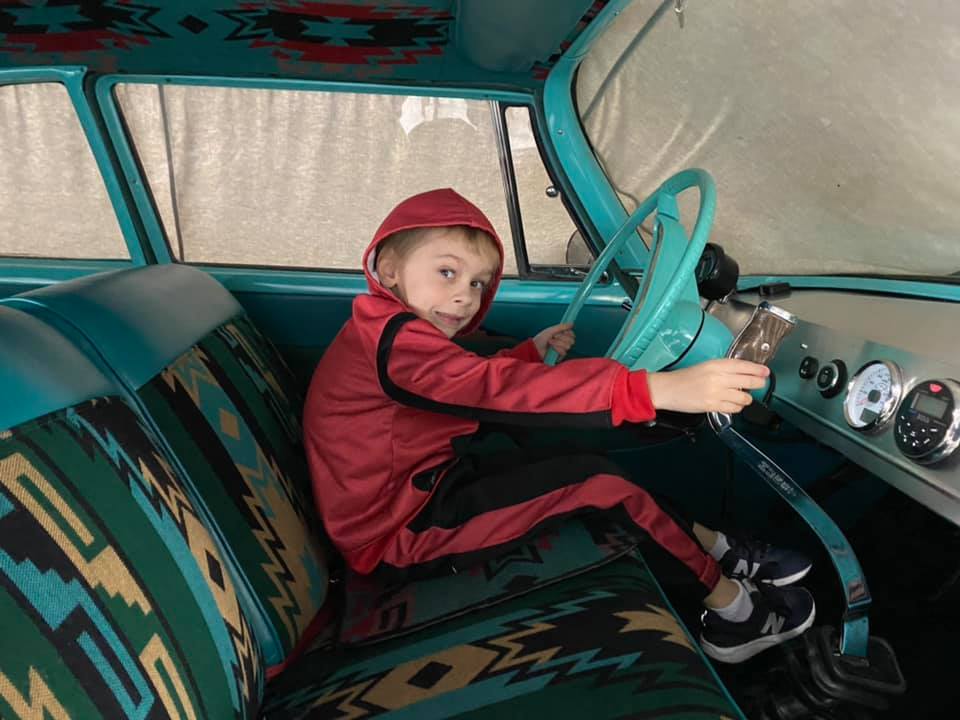
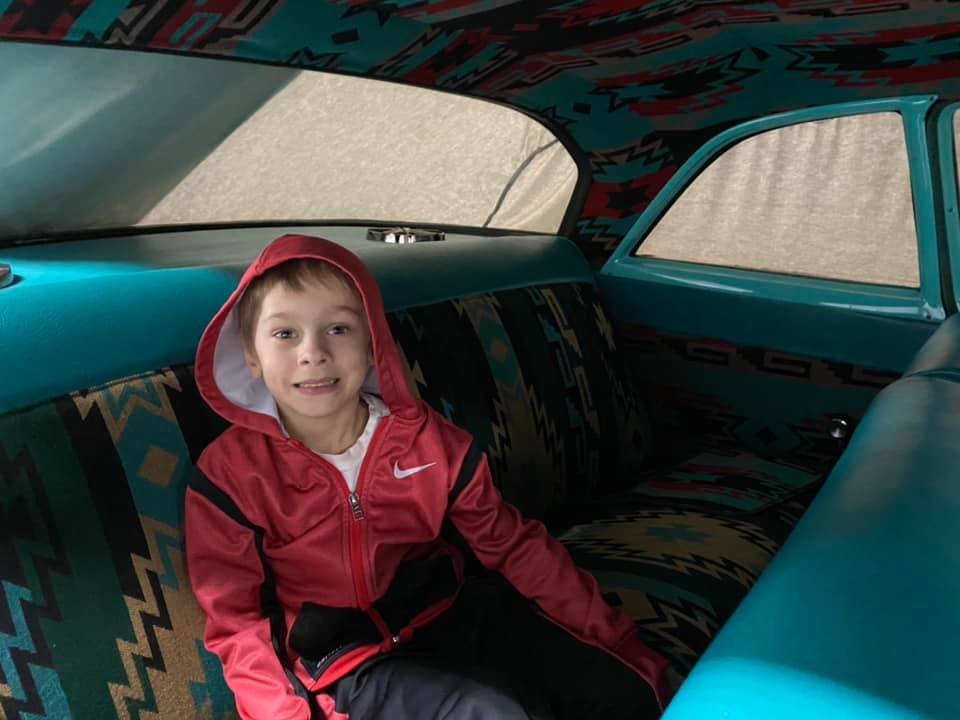
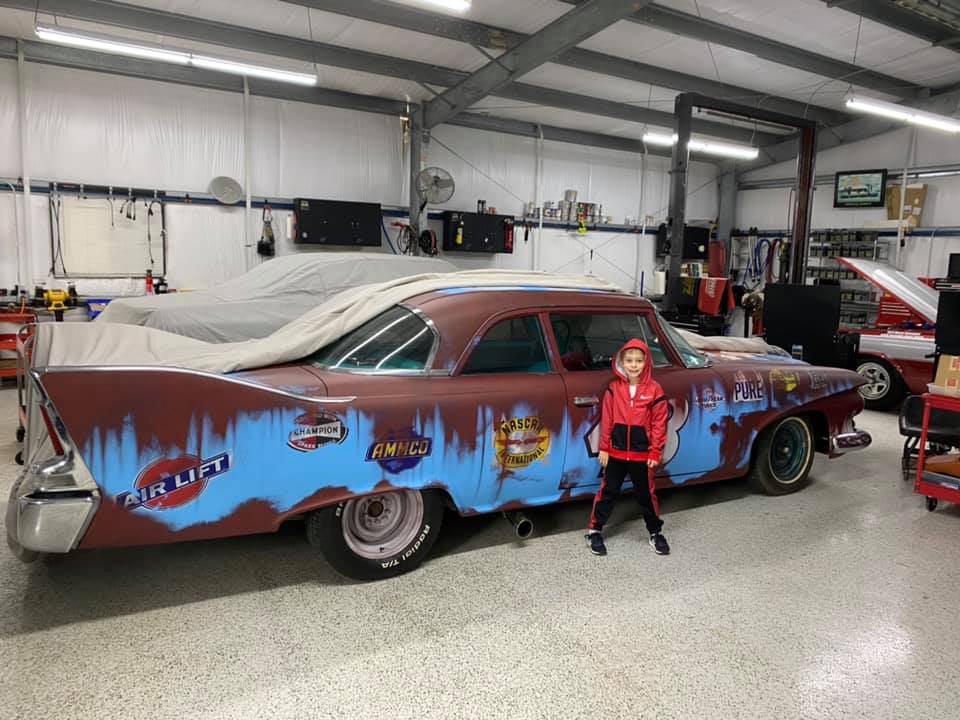
He naturally wanted to grab a seat (including back seat) in the three cars in Shop 1 – where most of the work is done. Afterwards, he learned how to mark a 1/2″ impact wrench holster level on the Stacker door, drill through one panel while stopping before going through the outside skin, and riveting the holster on the door.
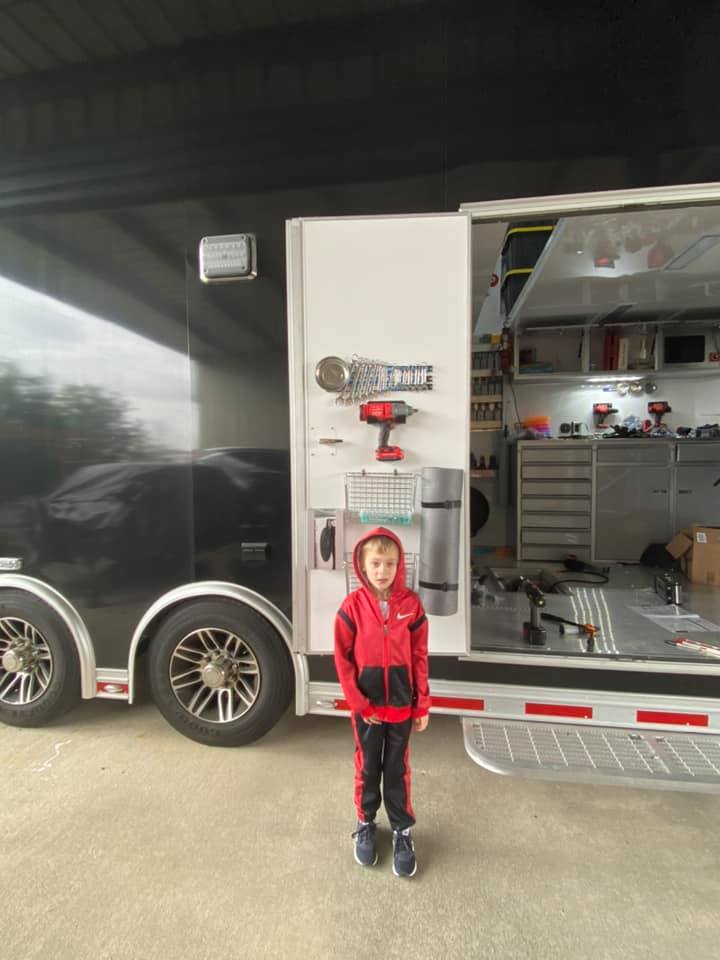
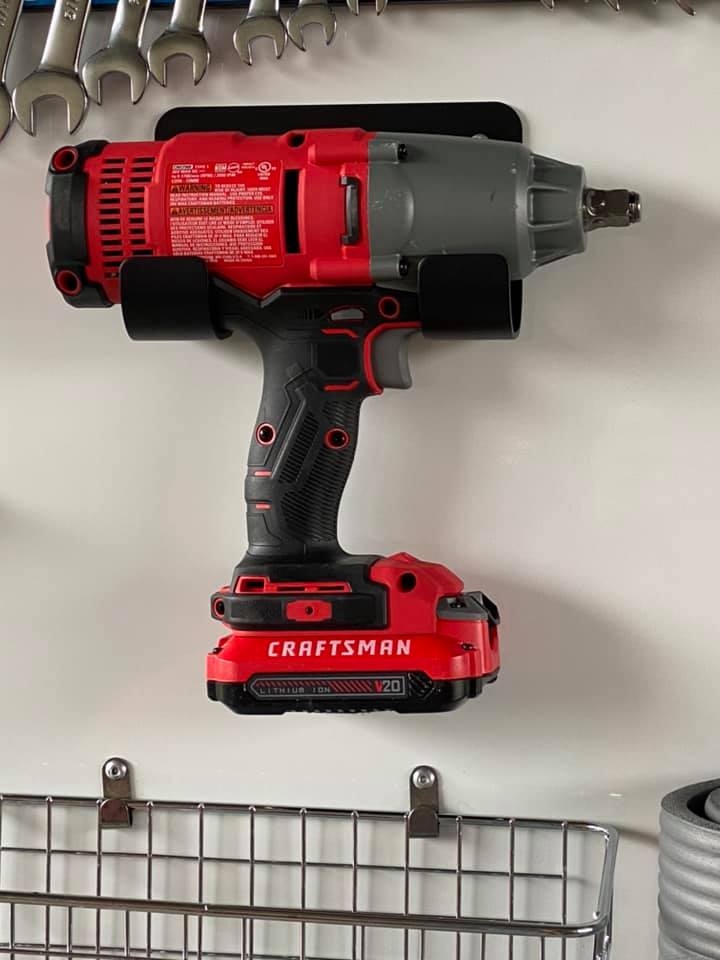
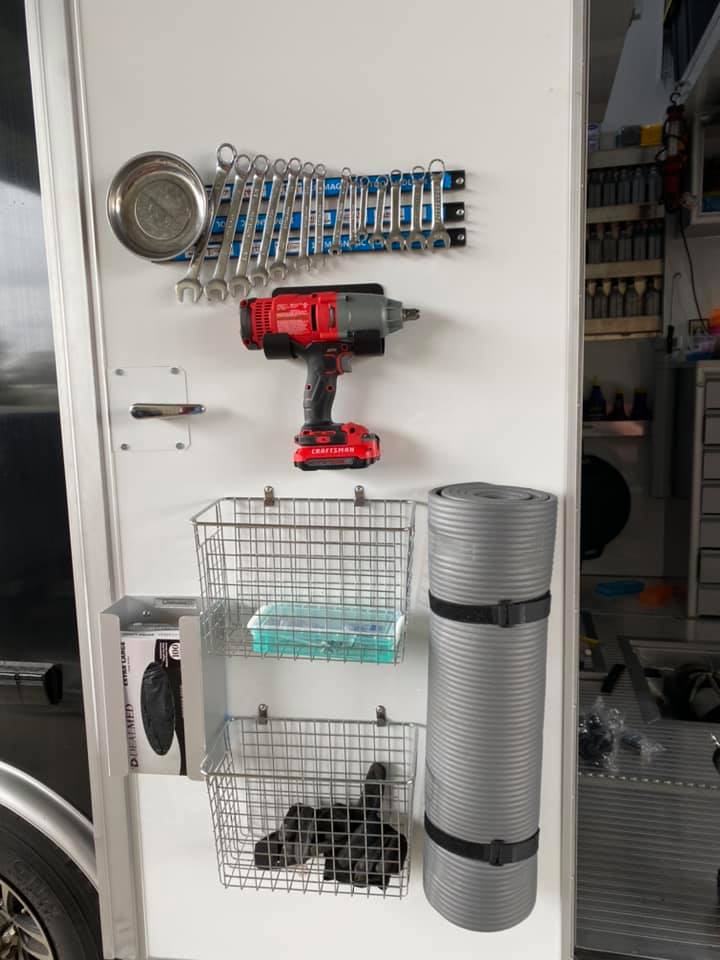
As I was trying to show him how to mount and wire up a 9000# winch in the Stacker, I found that a 5-year-old boy’s 1st tool-time (keep in mind I have two sons and three handy daughters – so this isn’t my first rodeo) has limited patience. To get him to stop rummaging through the tool drawers in the Stacker, I used the “Ole Tape Measure Trick” and had him measure some stuff.
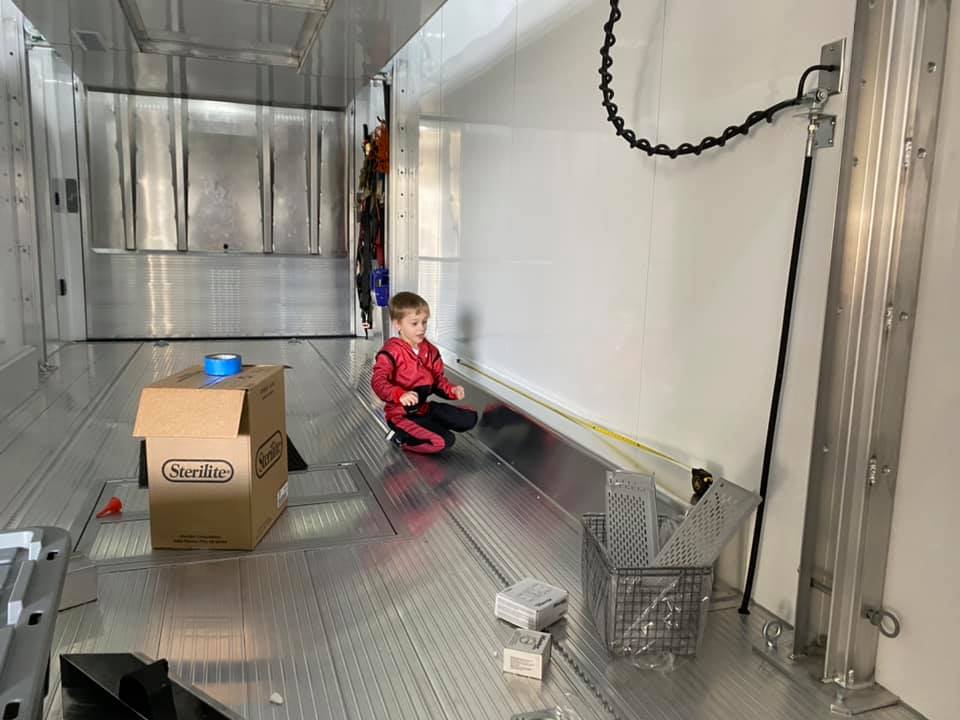
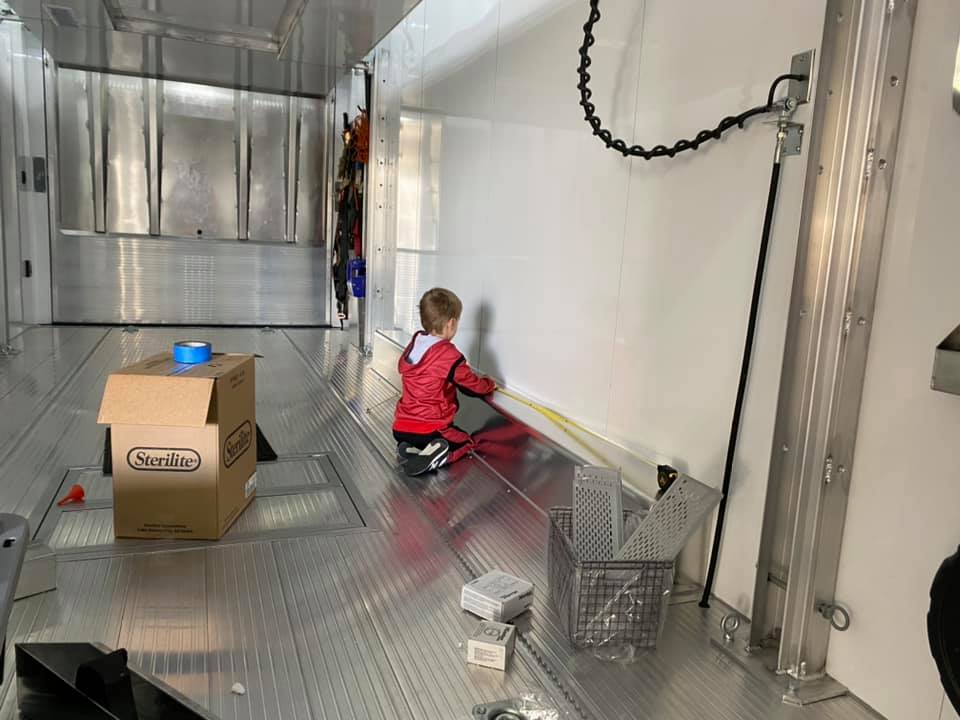
After he got bored of that, he decided Tool-Time was over and decided to play on the playground I built in front of my house a couple of years ago.
Stacker
So speaking of the new Stacker, I need to finish out-fitting it so I can load the cars up. Check a couple of previous posts to update yourself where I’d gotten by mid last month. Most is done, but the winch (to get the cars in and out of the trailer) was not.
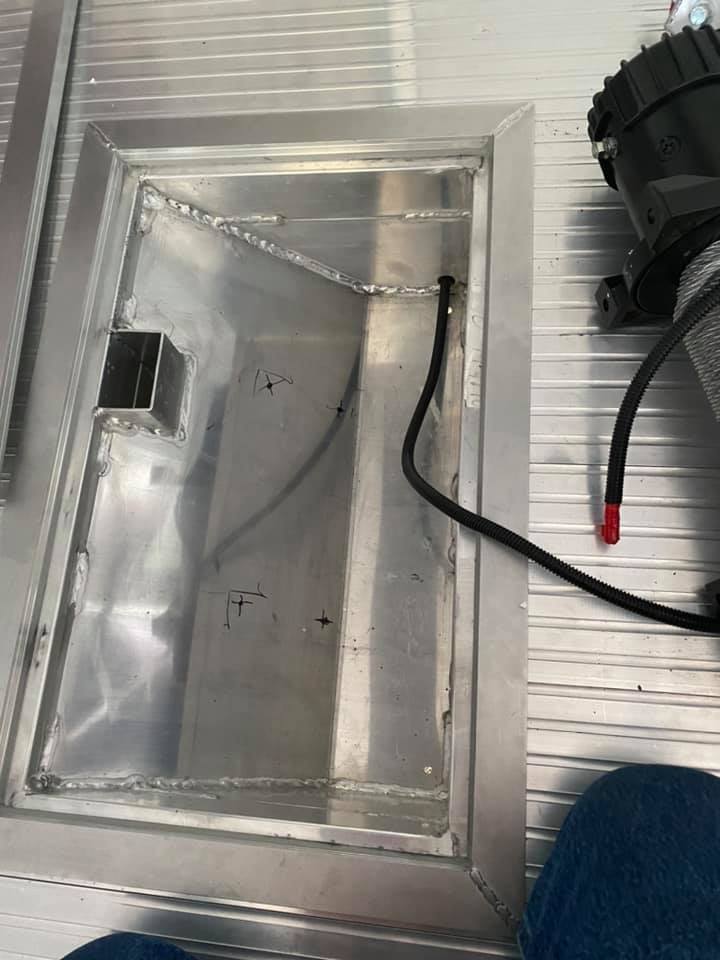
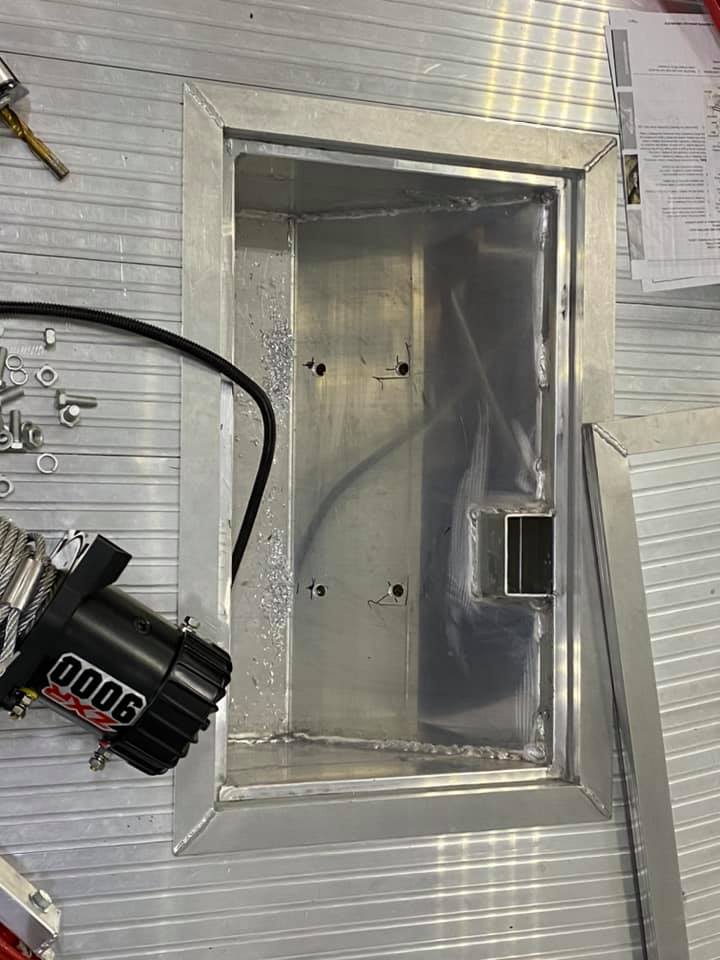
When I ordered the Stacker built to what I’ve learned about trailers over the years, I had them build an in-floor compartment for a winch with 1/2″ platting. There’s a door that covers it to make for a flat floor. I test fitted the winch and drilled some 1/2″ holes through the plate. The winch was then mounted by bolting in from the under the trailer, using Grade 8 hardware.
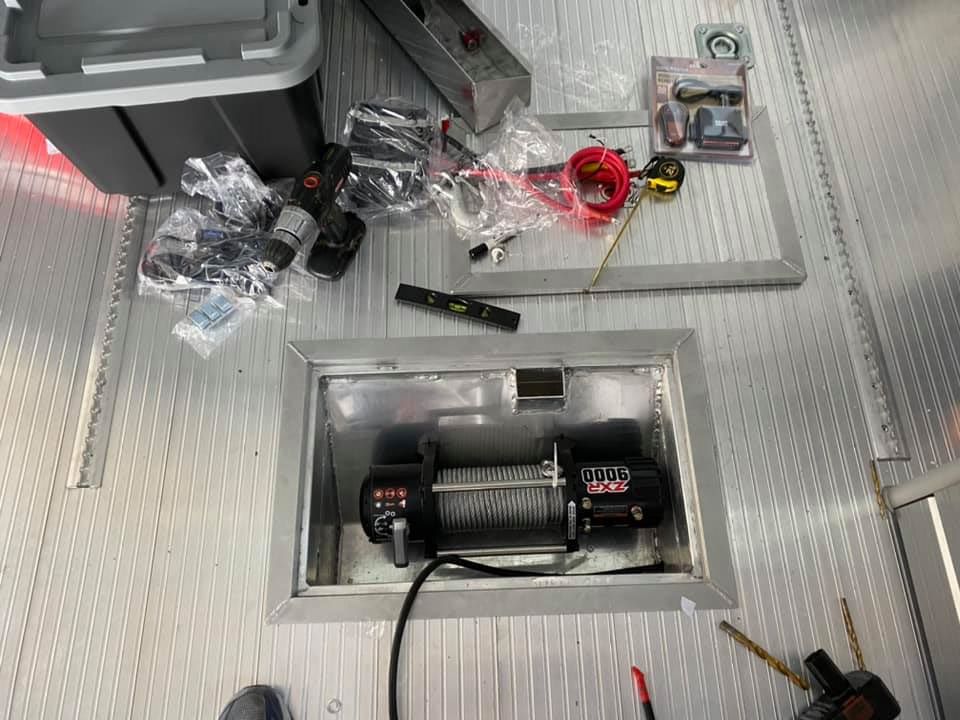
Once bolted in, it became obvious that Intech didn’t make the well deep enough for the relay box that sits on top. I took it apart to remove the mount, and the only place it would fit was in back of the winch – only if I removed the lower mounting rod off the winch.
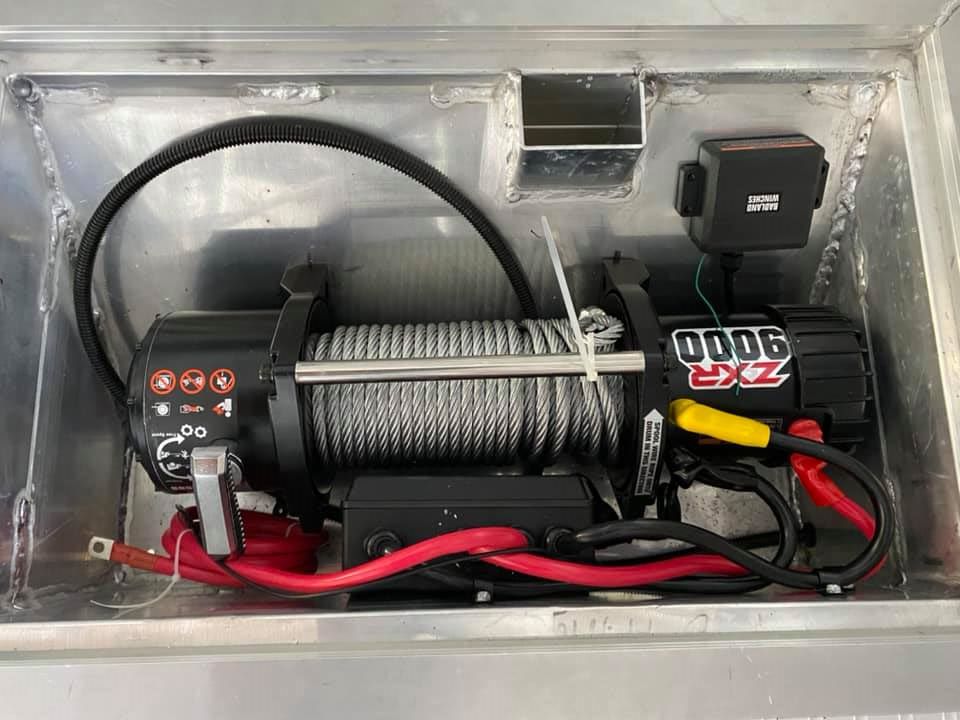
Even then, I only had about 1/2″ clearance from the now neatly rolled spool. Since we all know this will be the last time the spool will be neat – that wasn’t going to work. I removed the relay and rolled under the trailer with it and a mount I had made from aluminum bar stock. After tearing out a clump of hair caught in the creeper’s wheel, I remembered that now that my hair is again Long – that I have to have hoodie up when on a creeper.
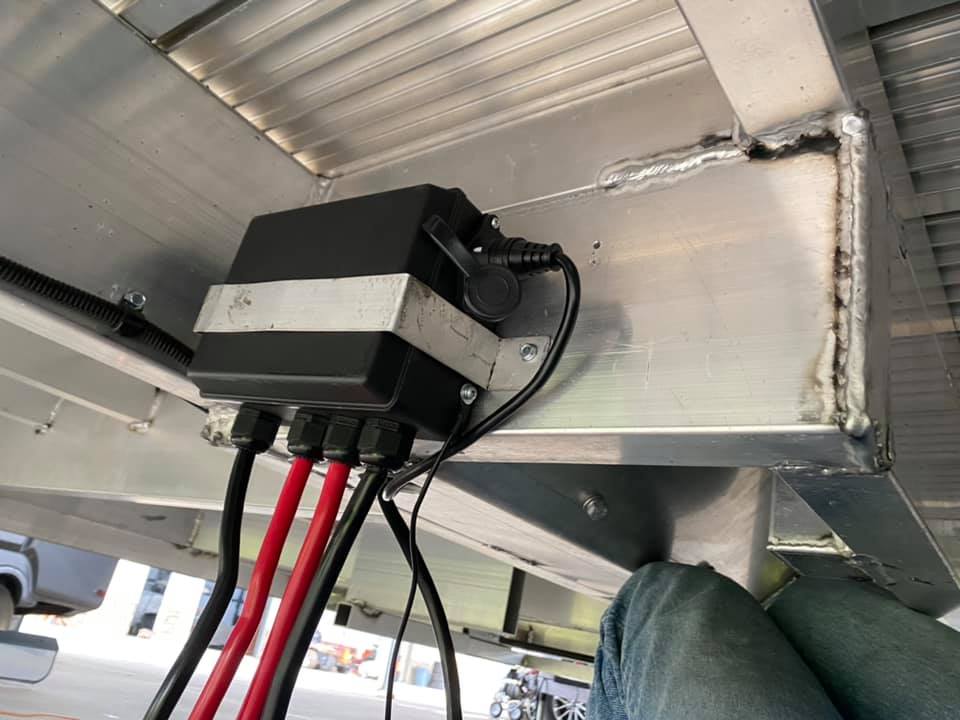
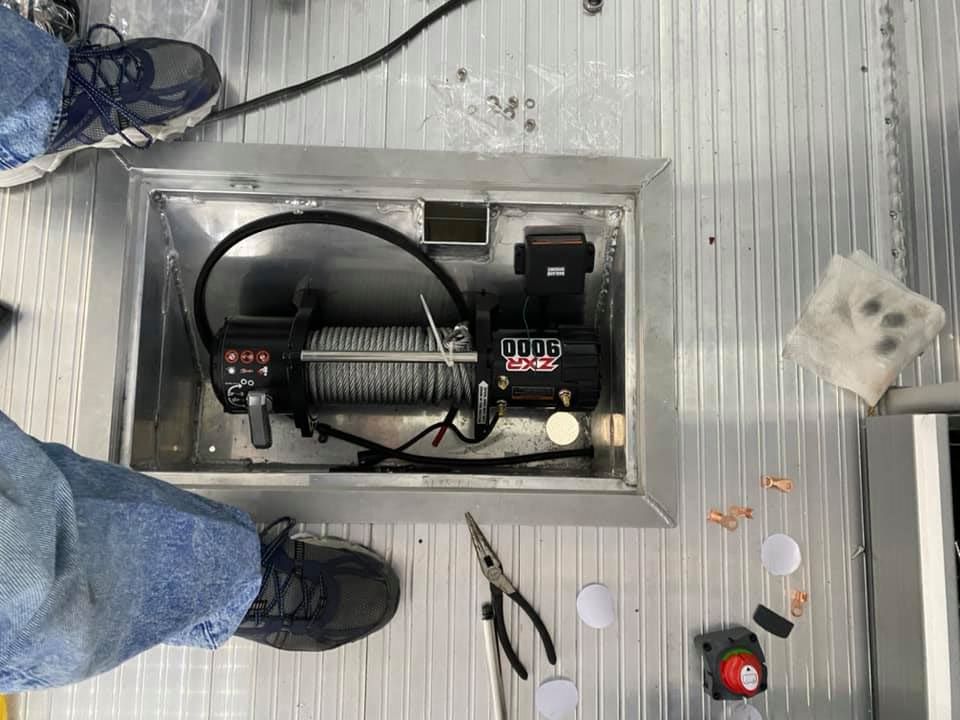
I then drilled a 2″ hole through the 1/2″ plate, almost breaking my wrist many times when the broch stopped moving but my big Dewalt drill still wanted to turn.
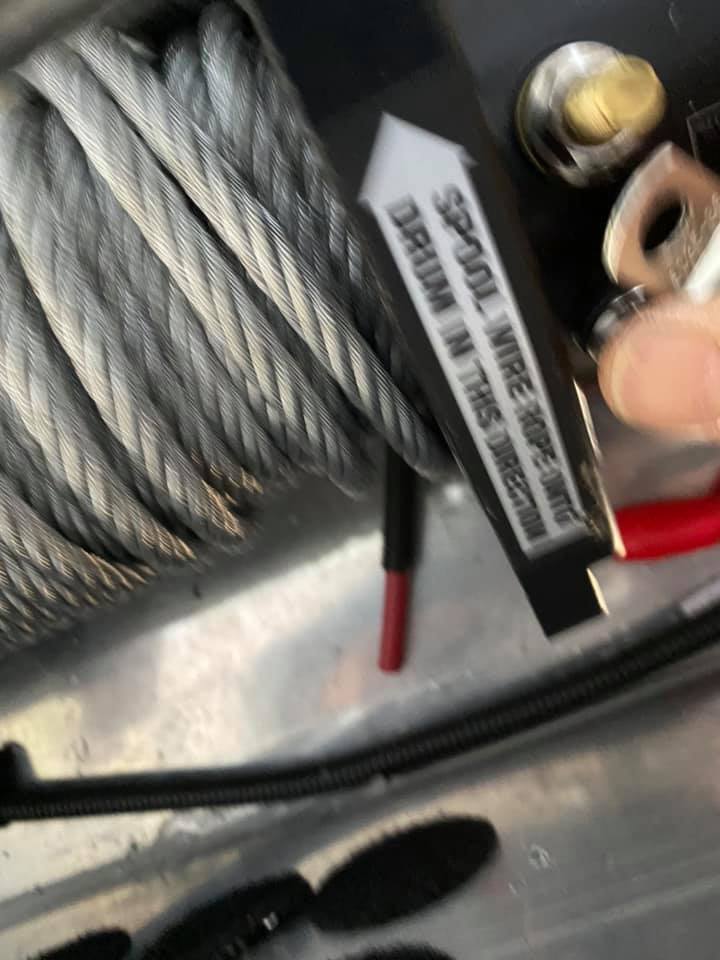
It would only be Natural that after taking two shots of mounting the relay box under the trailer that the cables to the winch would all be 1″ too short. So work stopped on the winch while I placed an order for 4Ga copper cable butt connectors and a couple options on 2″ hole grommets.
However, there was other work to be done.
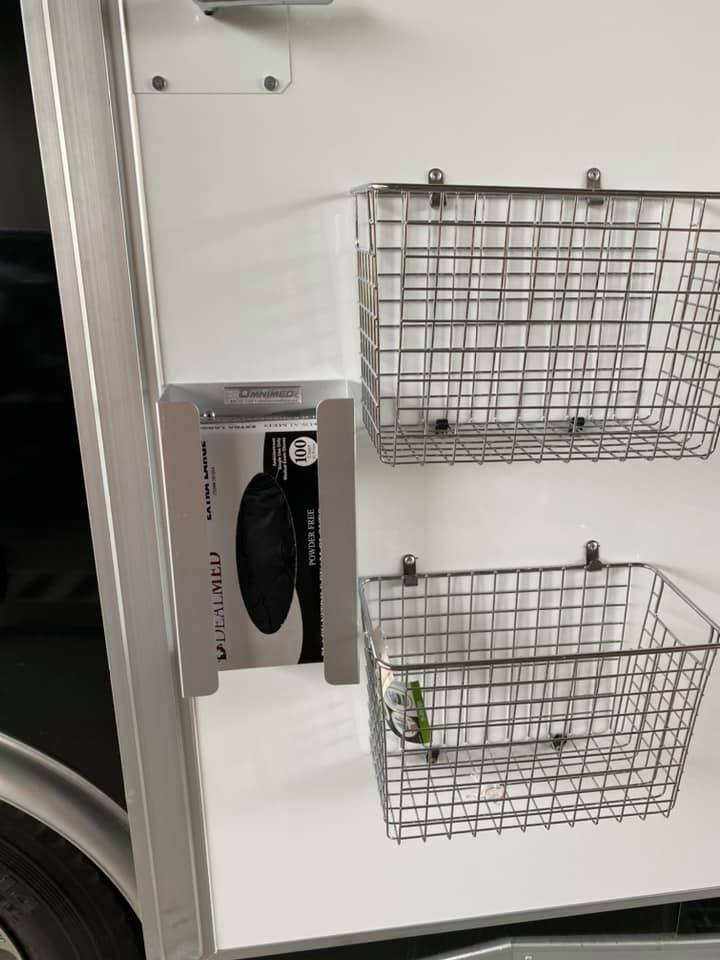
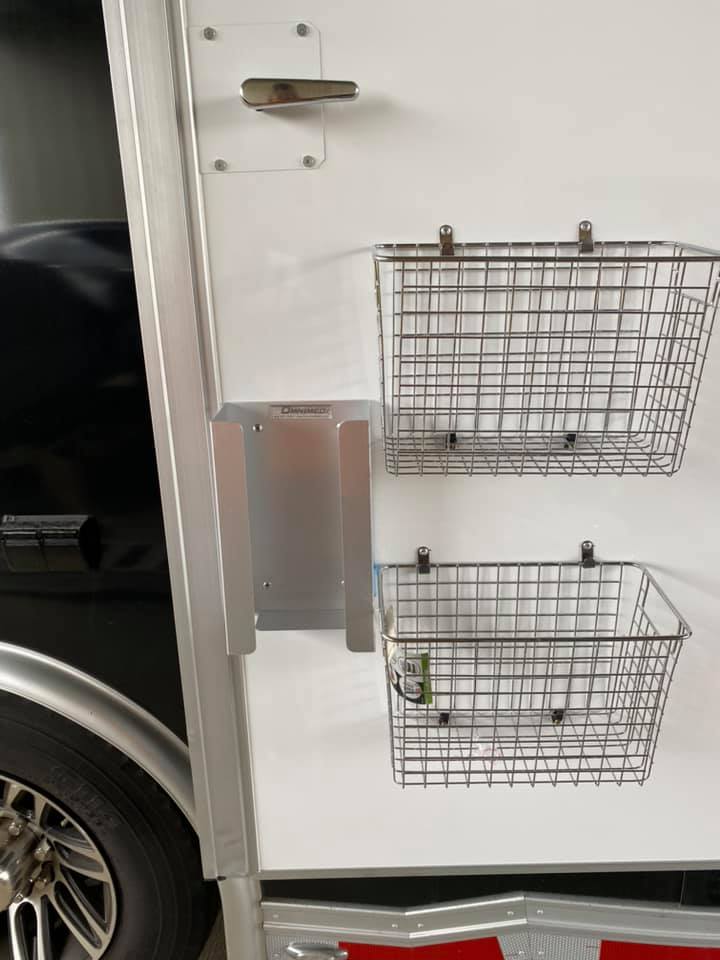
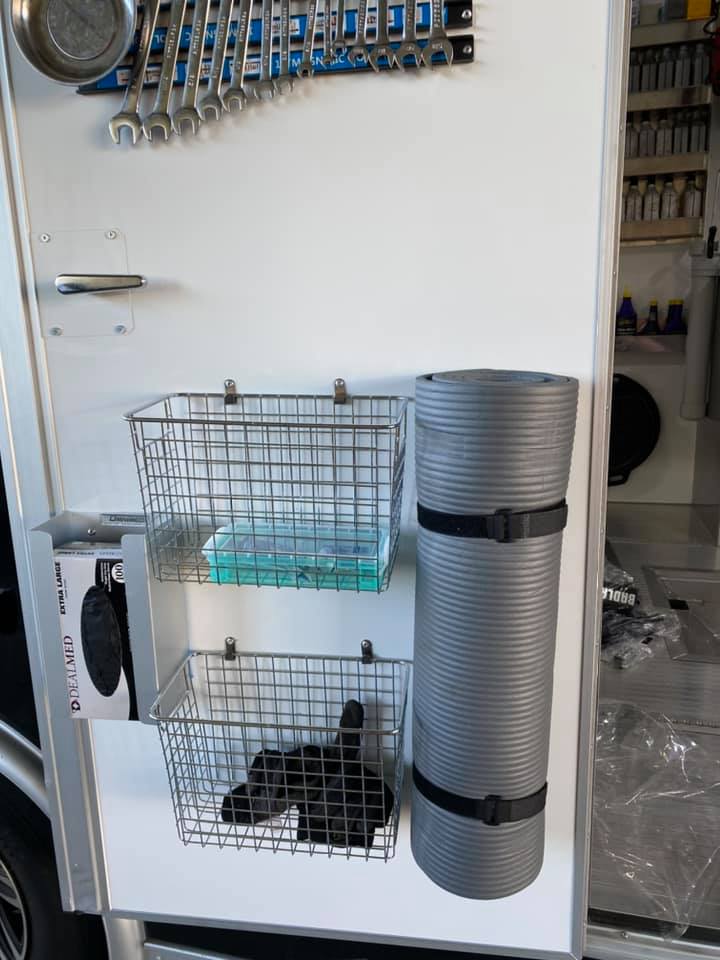
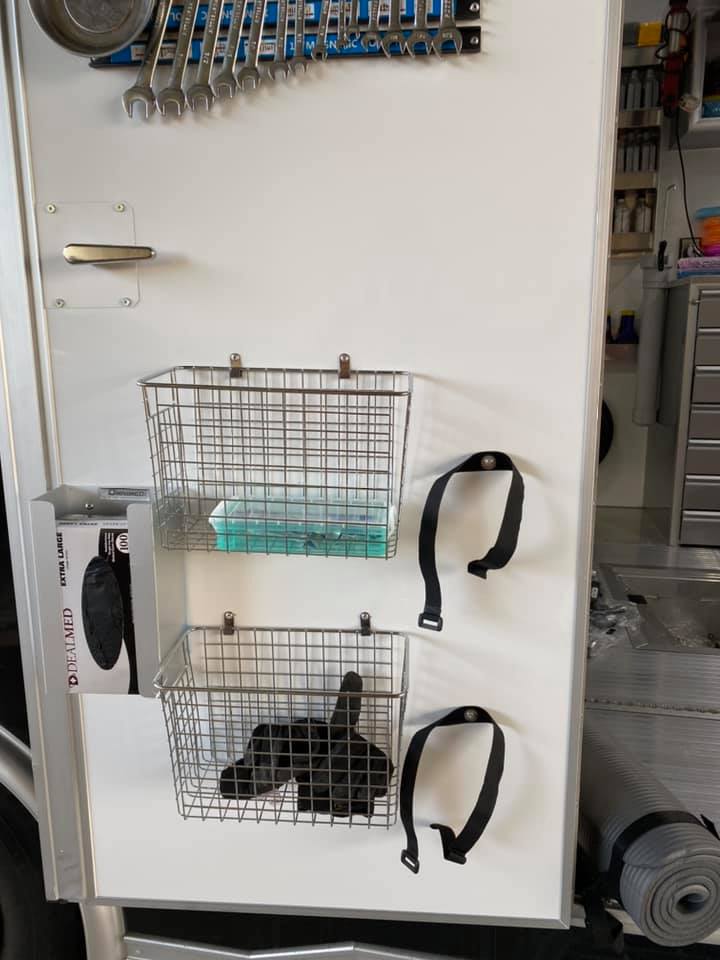
Like a couple door baskets, disposable glove holder, magnetic bars for wrenches, and a couple Velcro straps to hold a yoga mat for me to lay on when under the car.
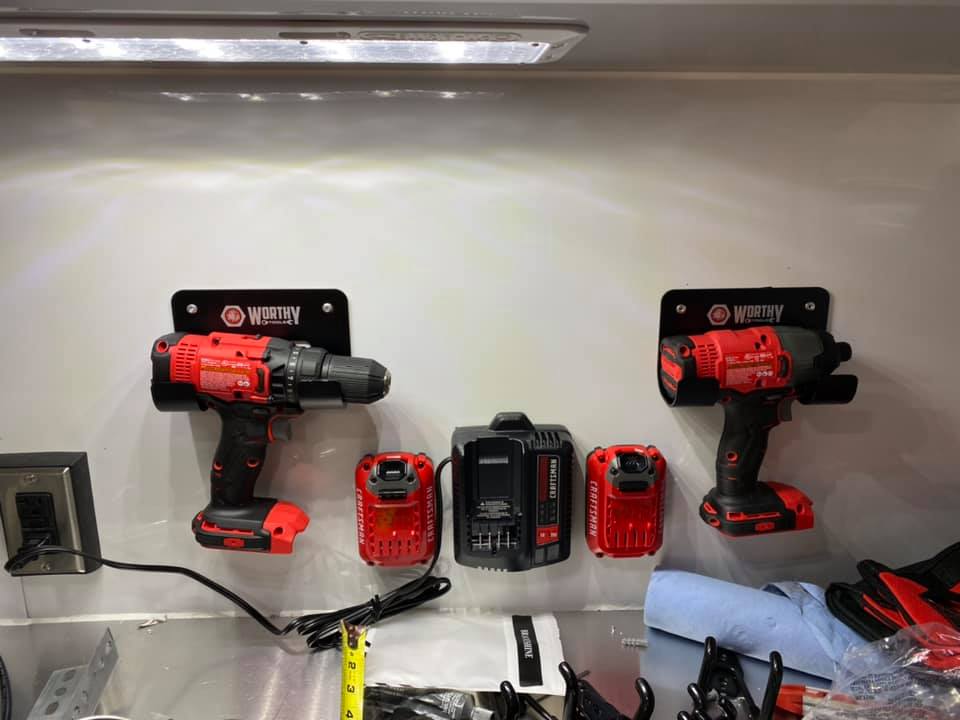
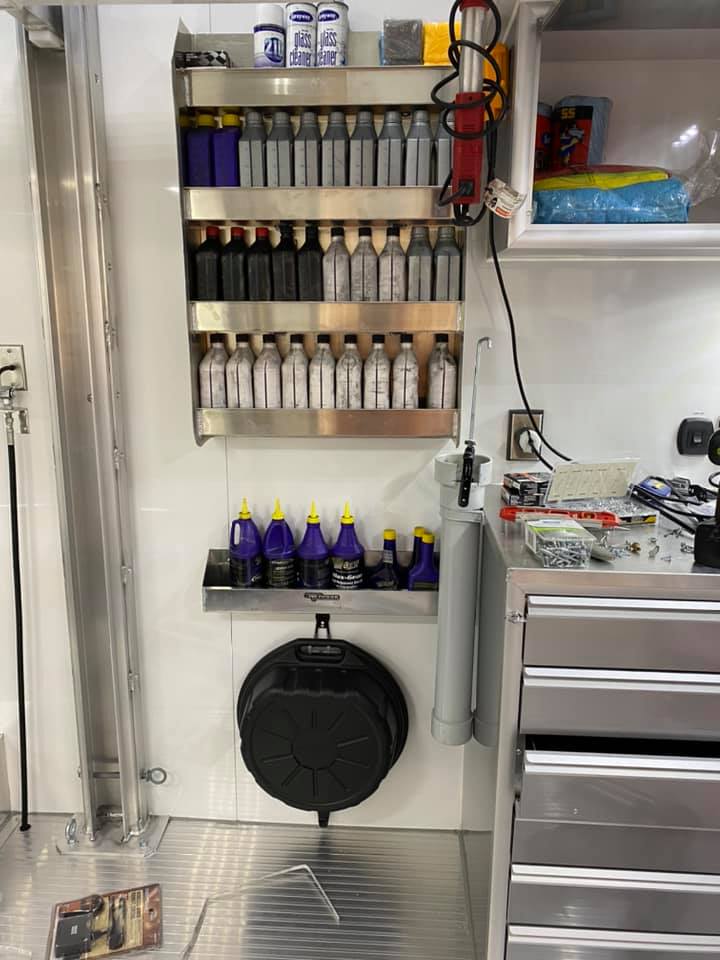
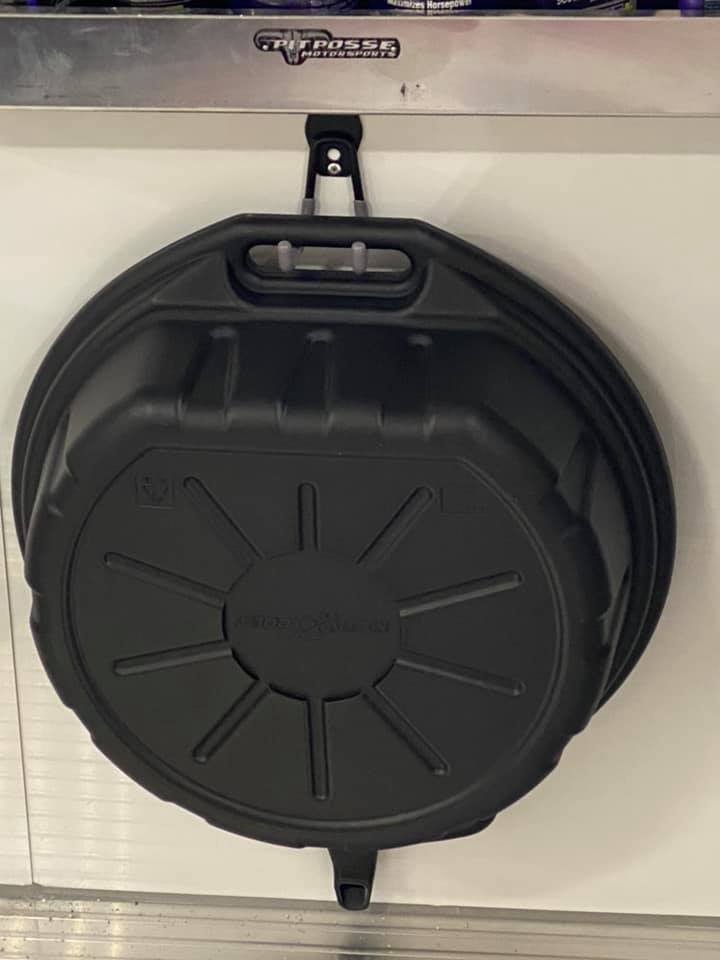
Mounted power tools, batteries and charger on bench splash board, and an oil pan holder on the wall under the oil rack. I should have the Stacker finished and the cars loaded in by the end of next week.
The Old Aluminum Trailer
If you’ve been following along, you’ll know that I have a 25 year old aluminum trailer I’m making new again. A few posts back I showed how the inside and outside was stripped and painted, new LED tail and marker lights, reflective Red/White/Blue stripes, Texas Flag painted on door, and about half of the out-fitting done. Since then:
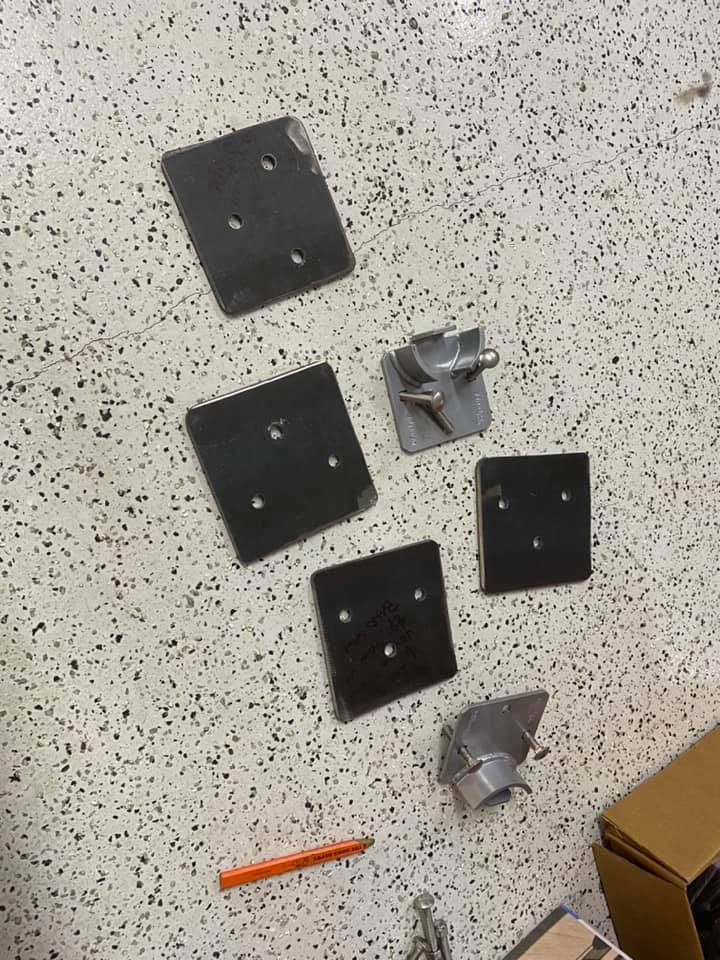
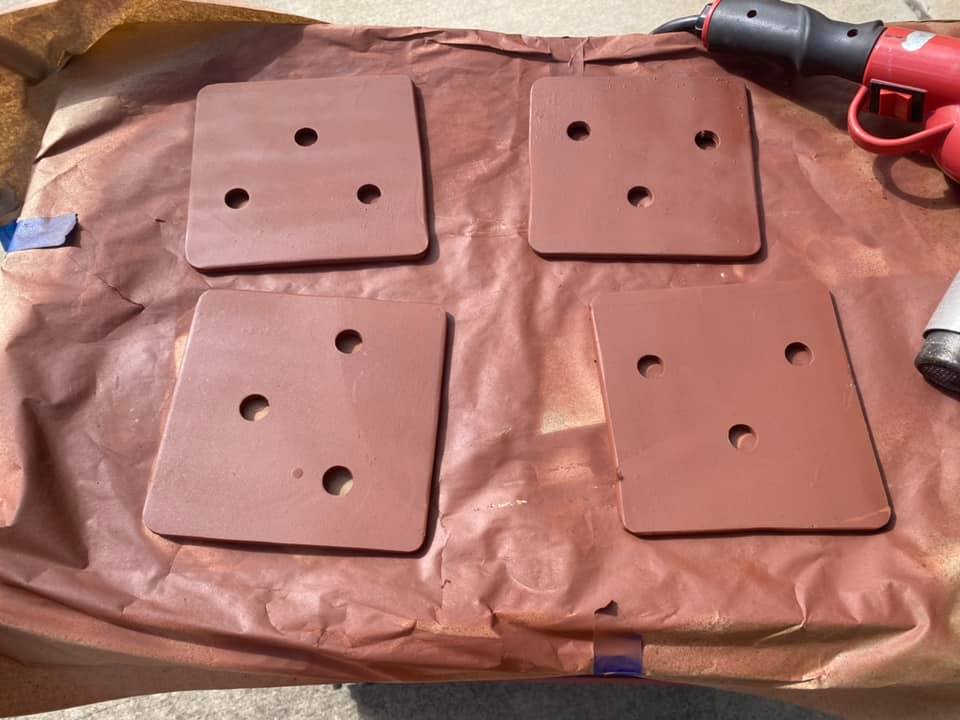
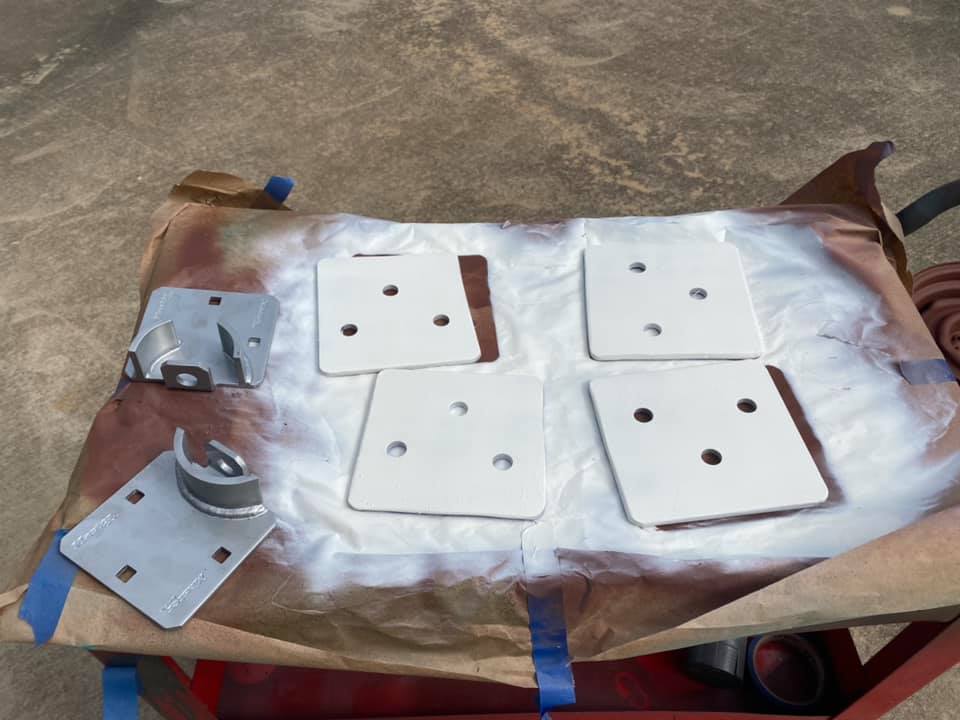
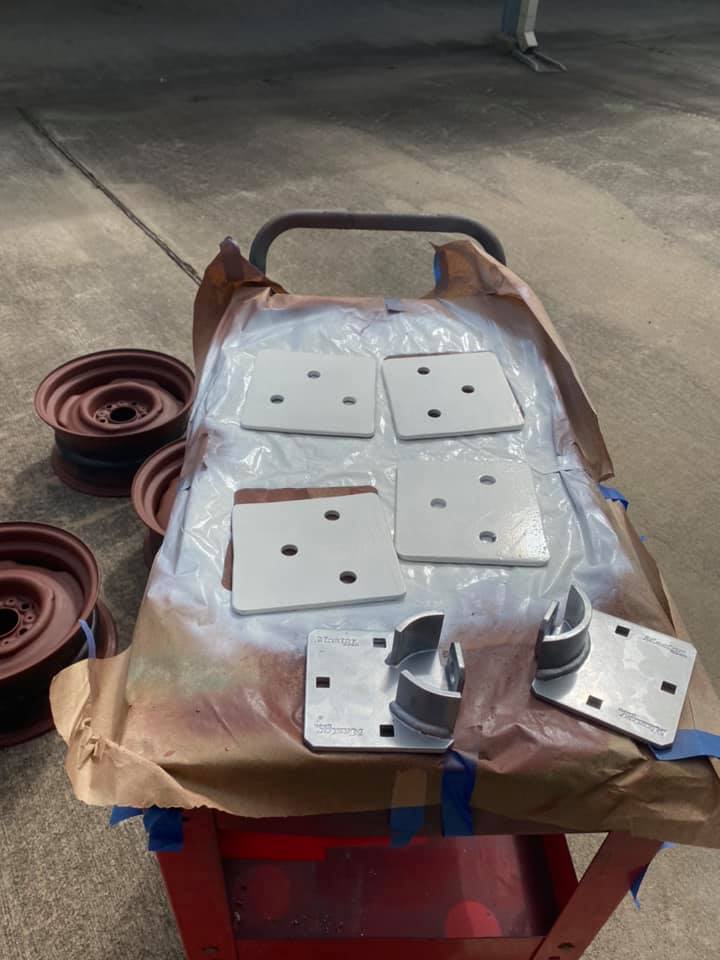
I cut a 1″ square 3/16″ steel plate into four 6″x6″ plates, punched 1/2″ holes in them, primed and painted White to match the trailer. They’ll be backing plates to the Puck lock, to spread the stress on the inside and outside of the door, inside and outside of the trailer. I’ll be mounting the Puck lock next week.
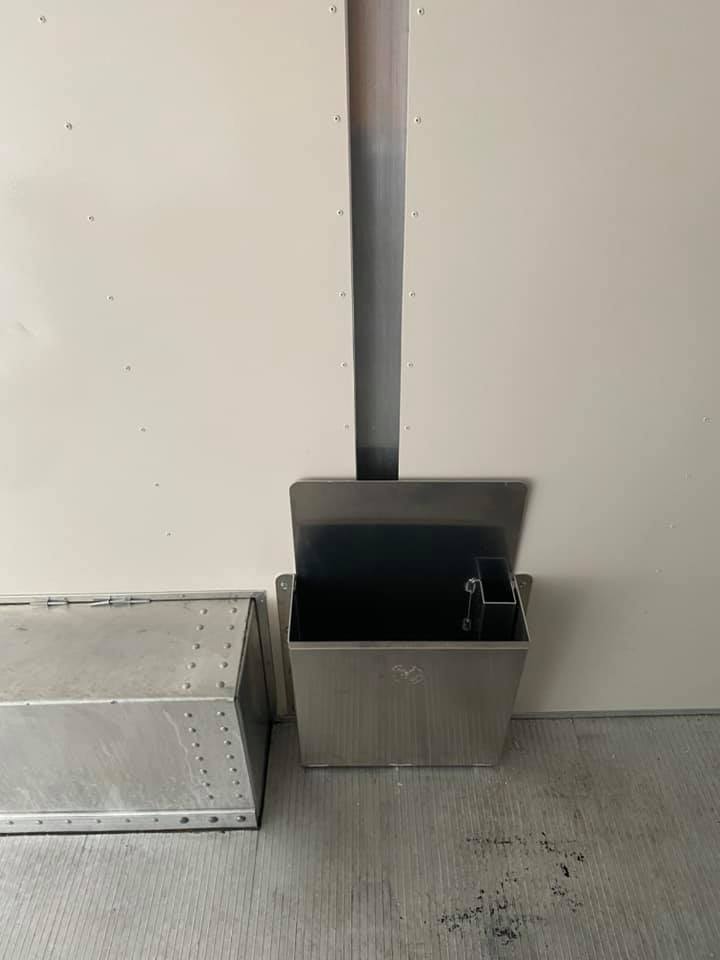
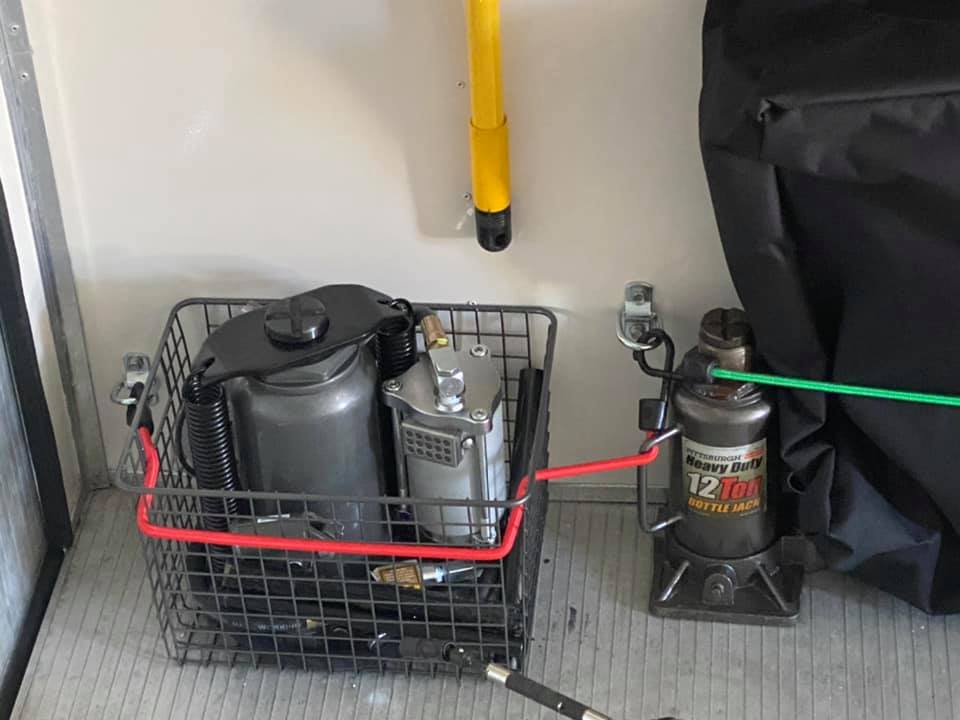
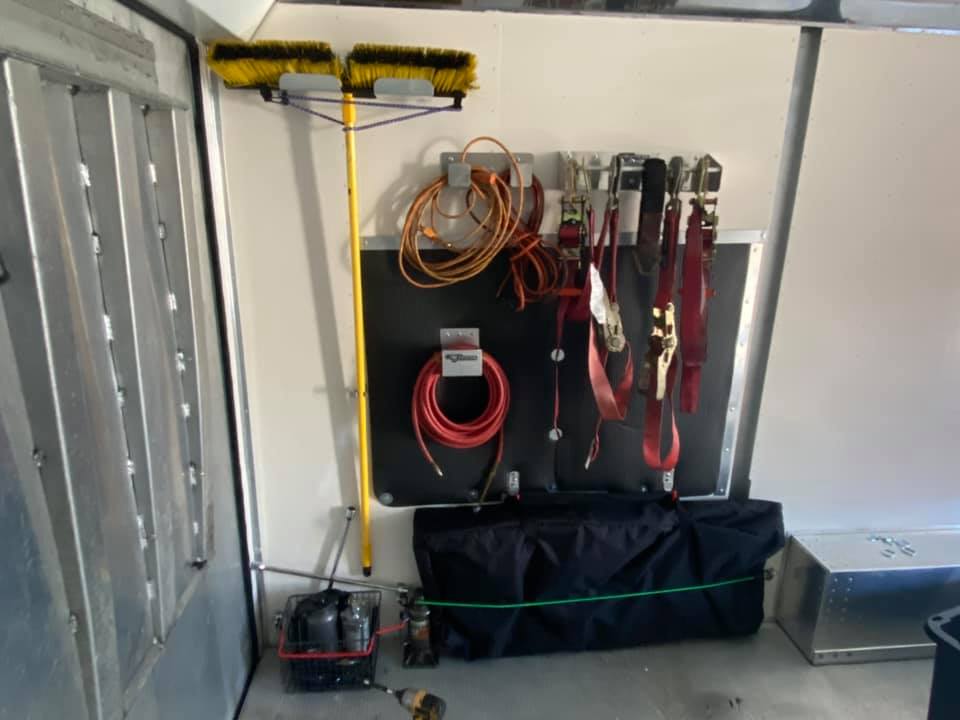
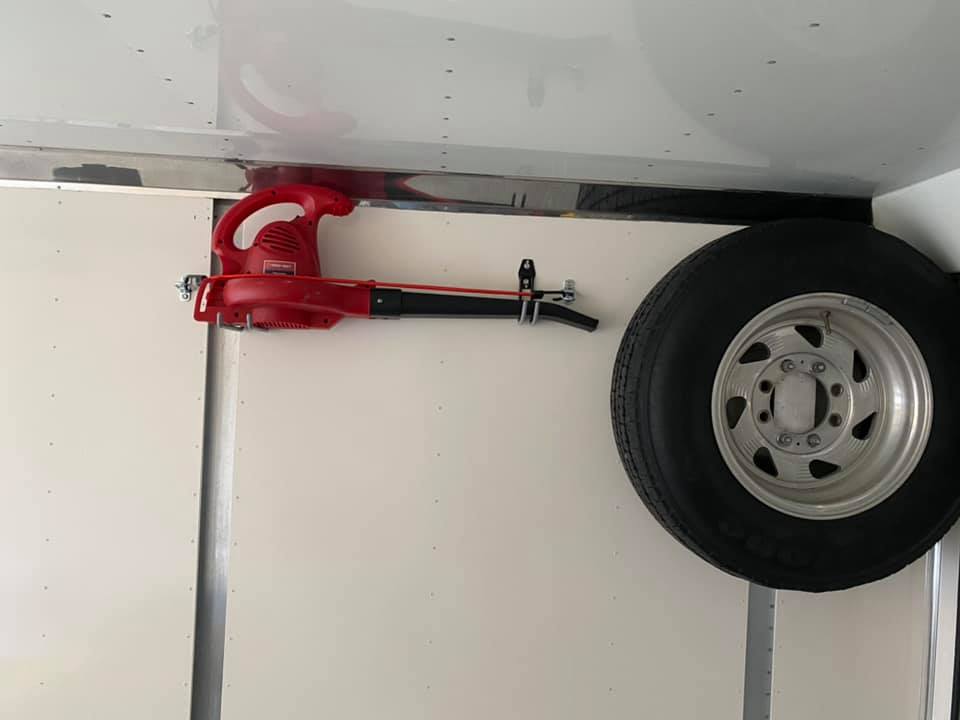
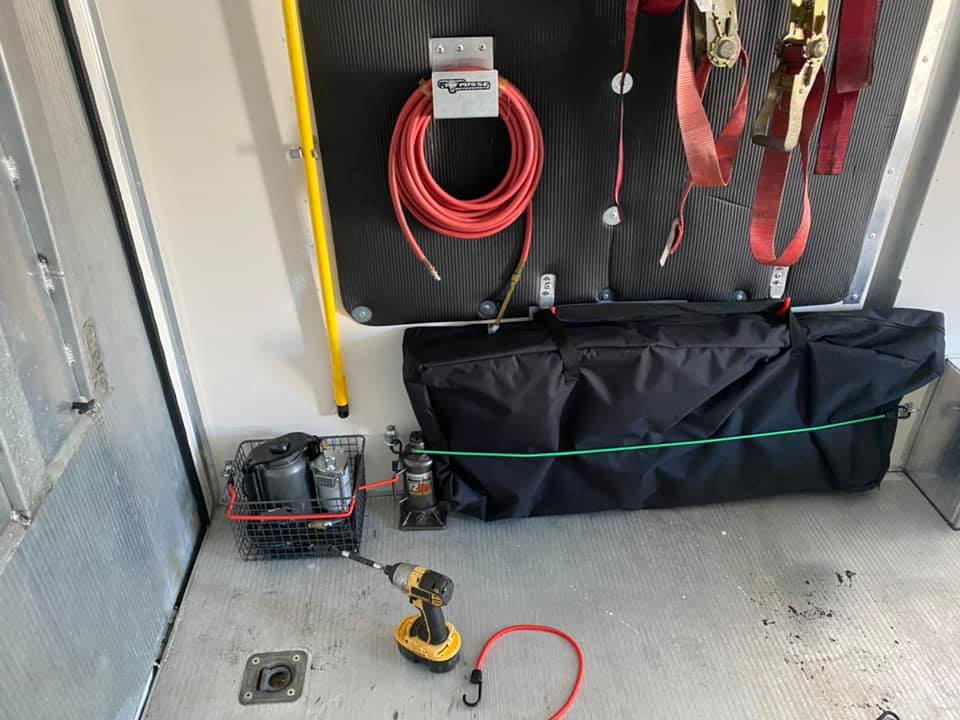
At the rear of the trailer I mounted a jack pouch, spare tire, and blower on the curb side. On the street side – I mounted a strap holder with a cut down yoga mat as a wall protector. A broom holder and a holder for my director’s chair – in the black bag. Also hung a couple cord holders. I mounted some small D-Rings for bungee cords – to keep stuff from flopping or falling onto my car – as this is a very narrow trailer. I also secured the basket holding the jacks with bungee cords and D-Rings. That’s for in case the car gets too close winching out and I need to get them out of the way. The plan is to be able to quickly get to the spare, two bottle jacks and tire spinner by just opening the rear door – and not having to climb over stuff. I have much experience with flats as I drive fast, for long periods of time, on hot southern roads.
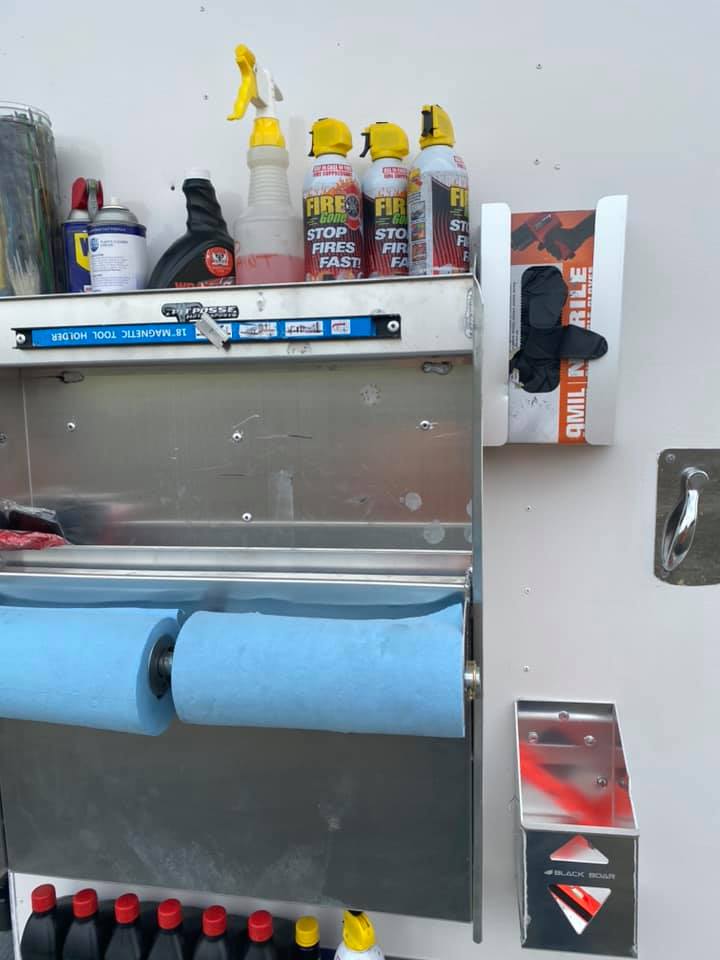
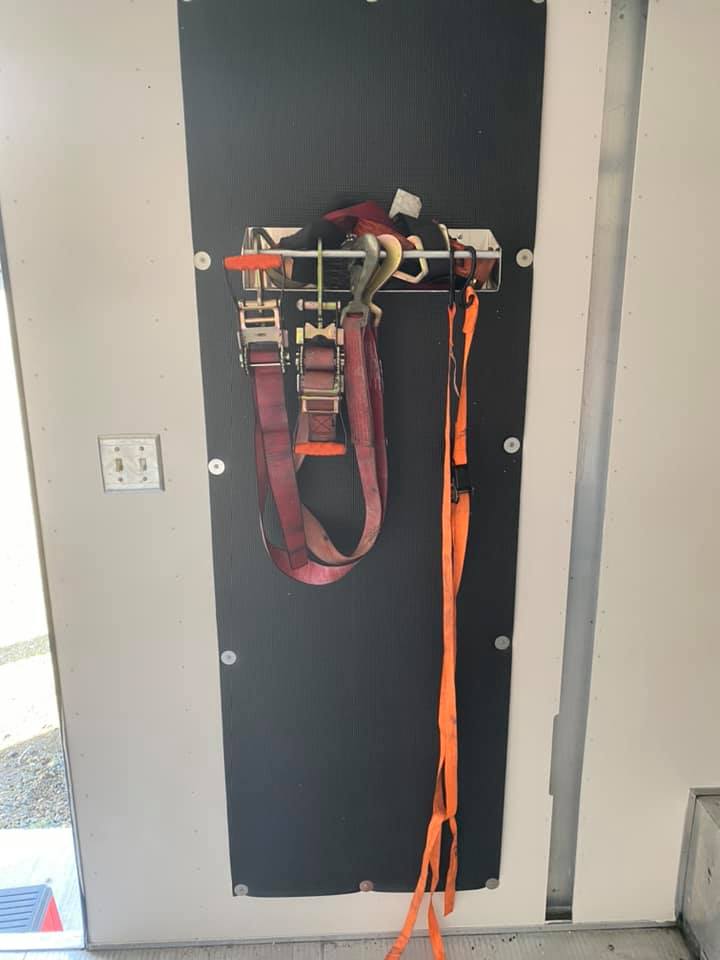
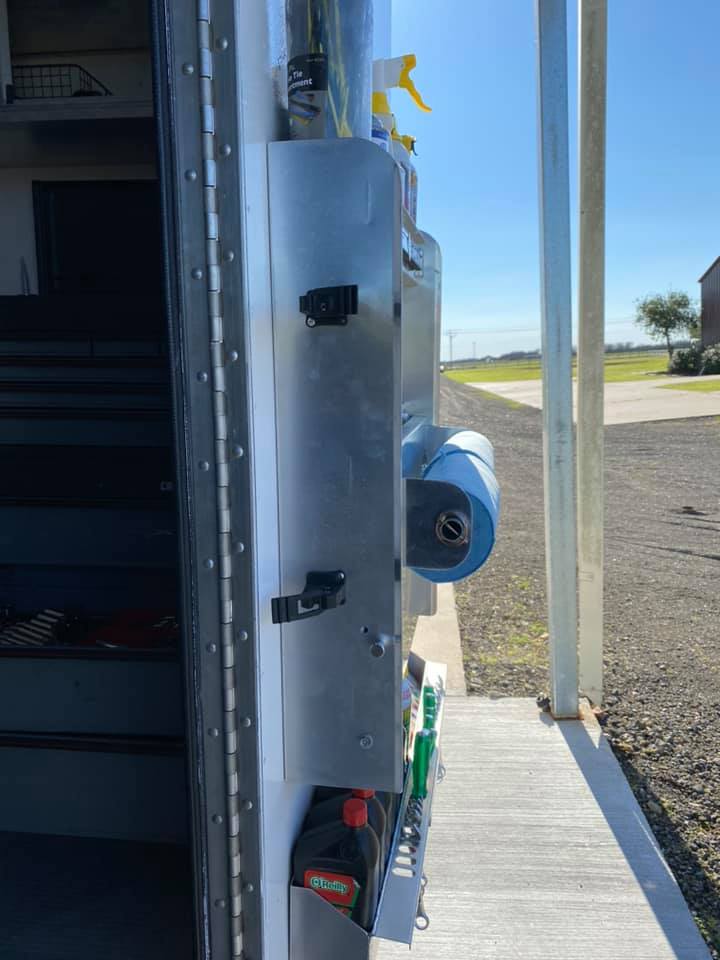
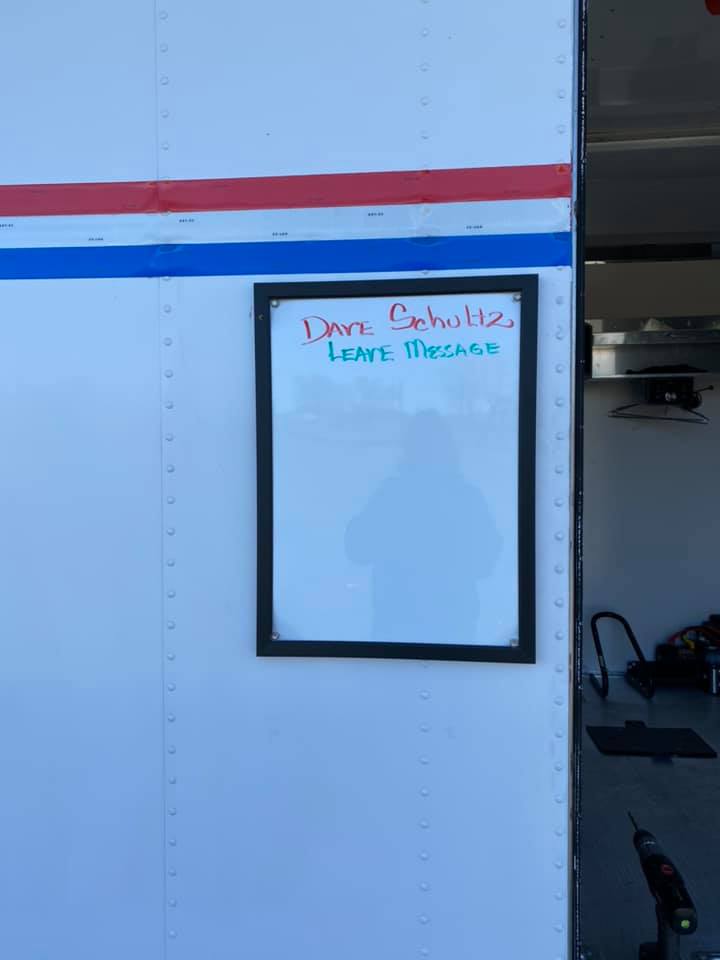
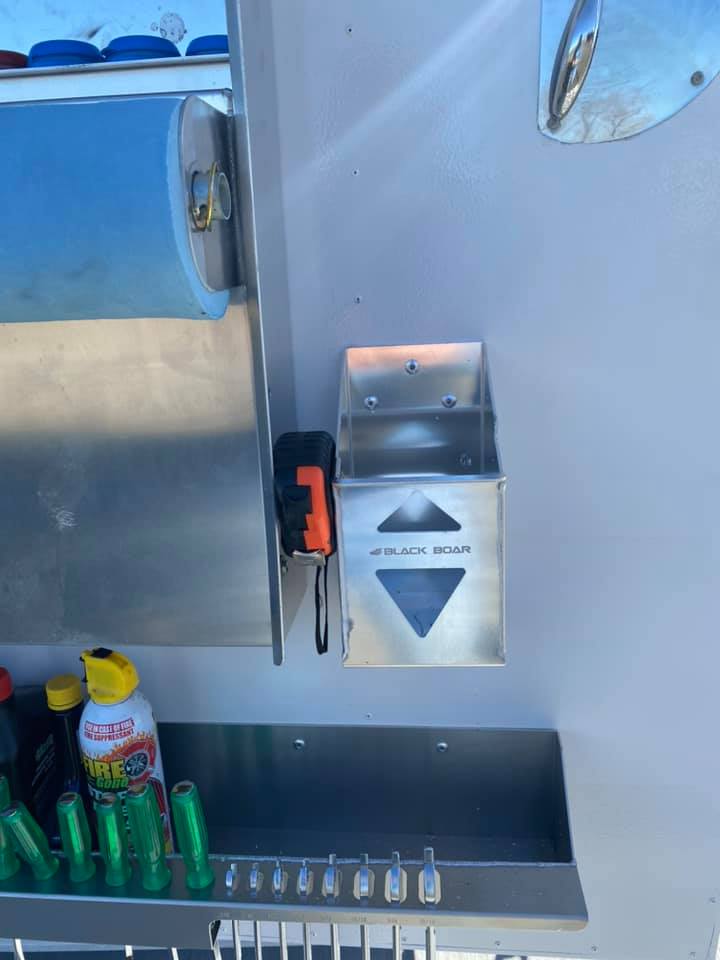
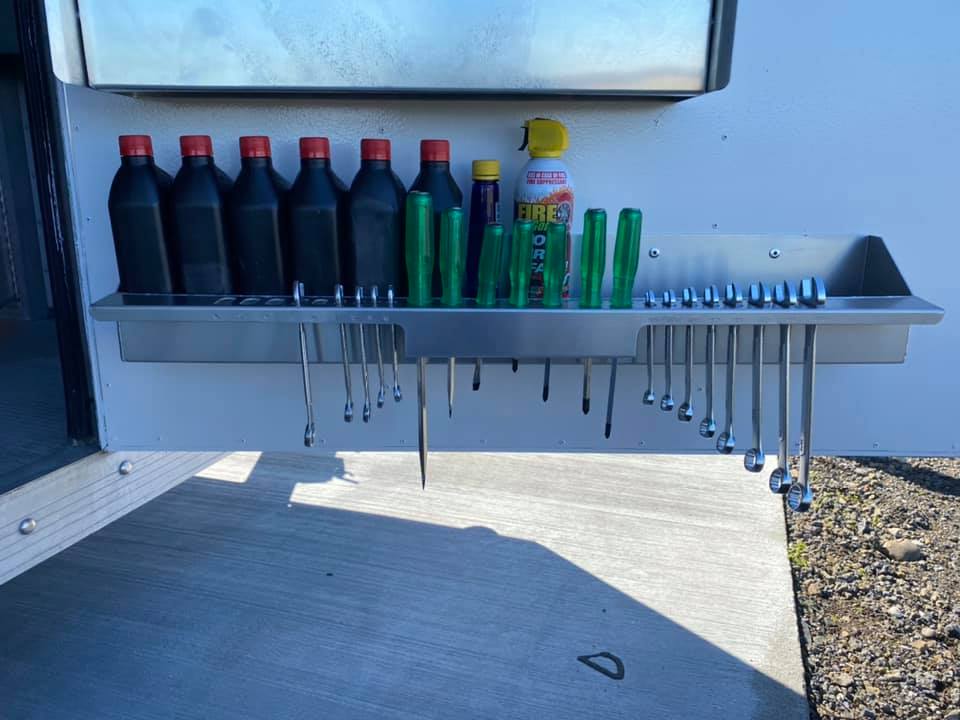
Moving to the front curbside of the trailer, I have a door cabinet with drop down table top, wrench/oil rack, fire bottle holder and a disposable glove holder on the door. On the side of the cabinet, I have rubber hands to hold the Weather station pole that extends above the trailer. Outside the door I have a White Board to leave and receive messages when I’m not in my pit. Inside next to the door is a strap rack with a yoga mat protector.
On the front street side:
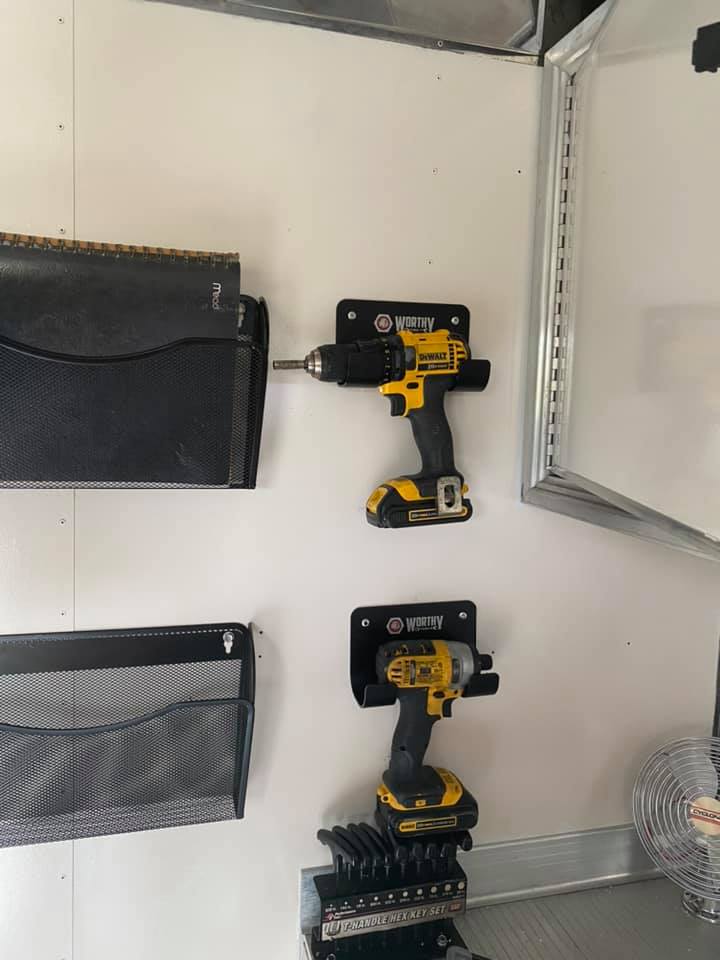
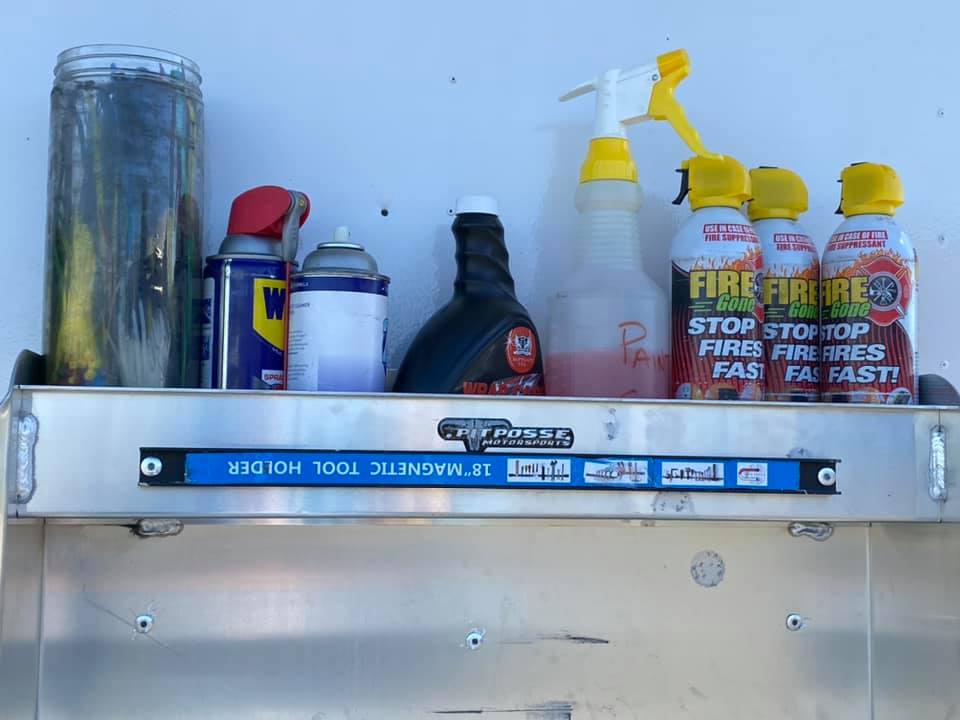
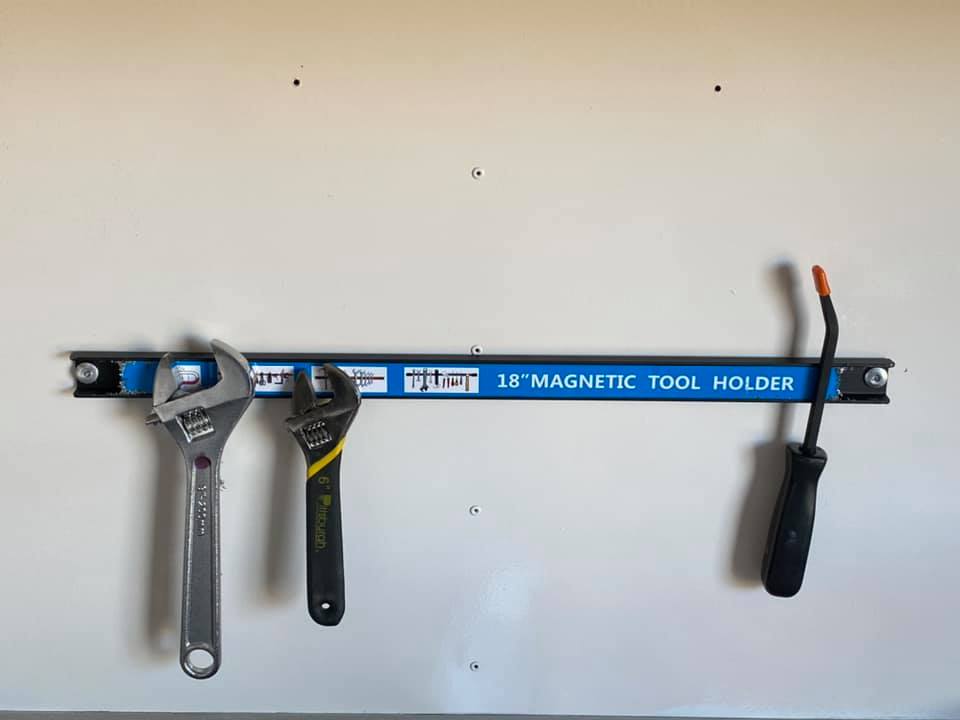
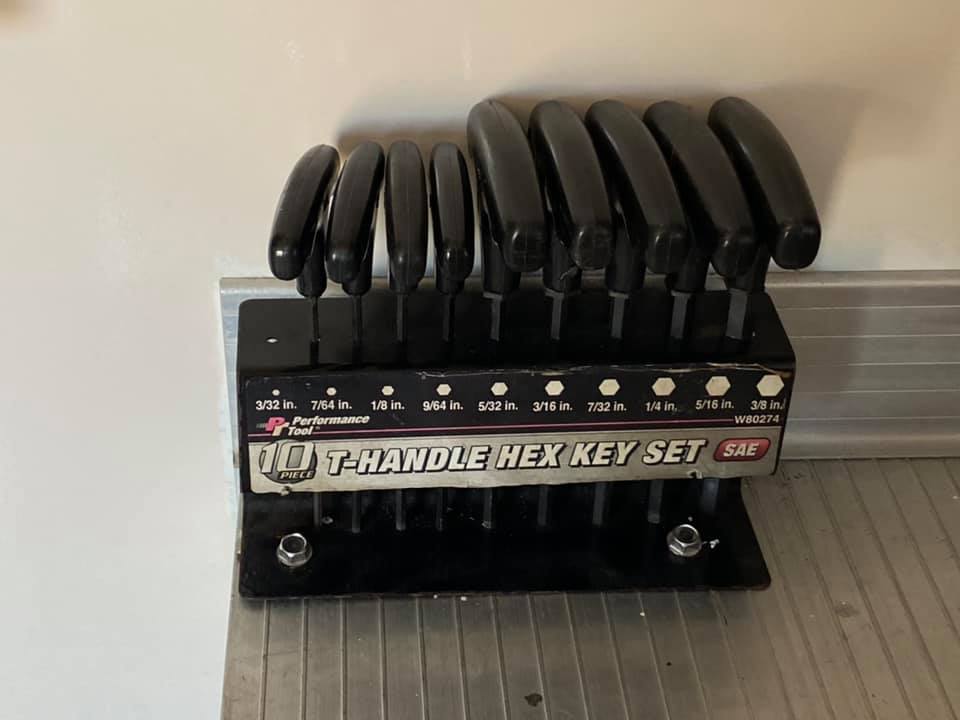
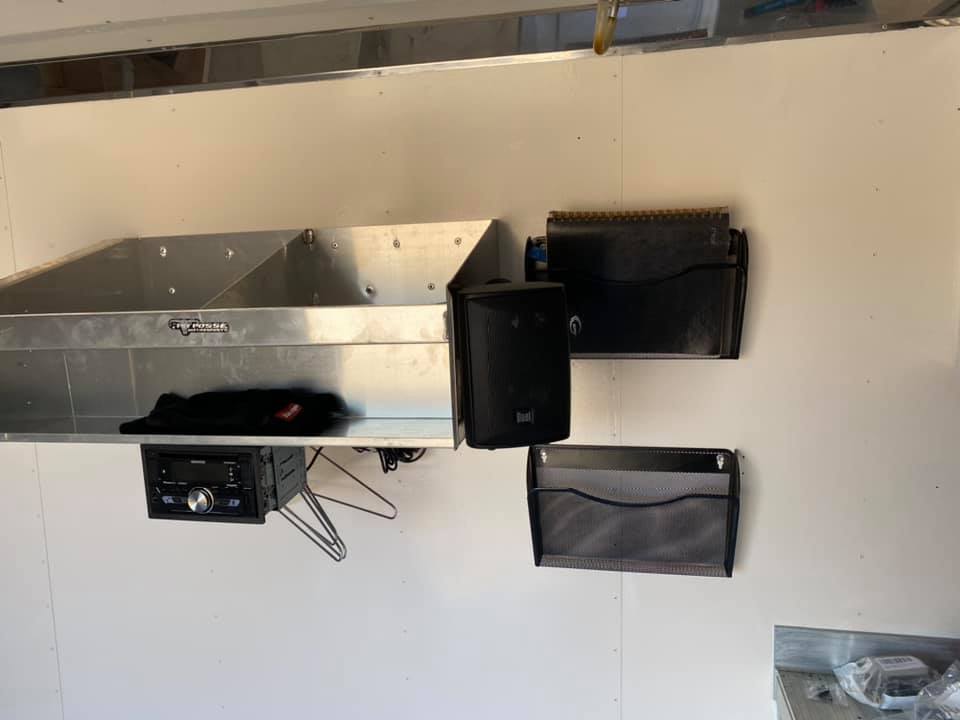
I have hangers for my power tools, racks for papers and my log book, double helmet rack with stereo under and speakers to the side, a couple magnetic bars and some hand tools mounted. I still have to wire in two batteries, an inverter, a charger, the roof fan, the stereo, a pair of charging lugs and other incidentals. I also need a cover for the radio and plumb for compressed air receptacles under door and rear of trailer.
The Petty Tribute
The gas sending unit in tank was swapped so the gas gauge now works. The shifter was hitting the steering wheel in 1st and second, so a spacer was made to fix that. The retro tach still doesn’t work, so I need to deal with that. The car was cleaned up.
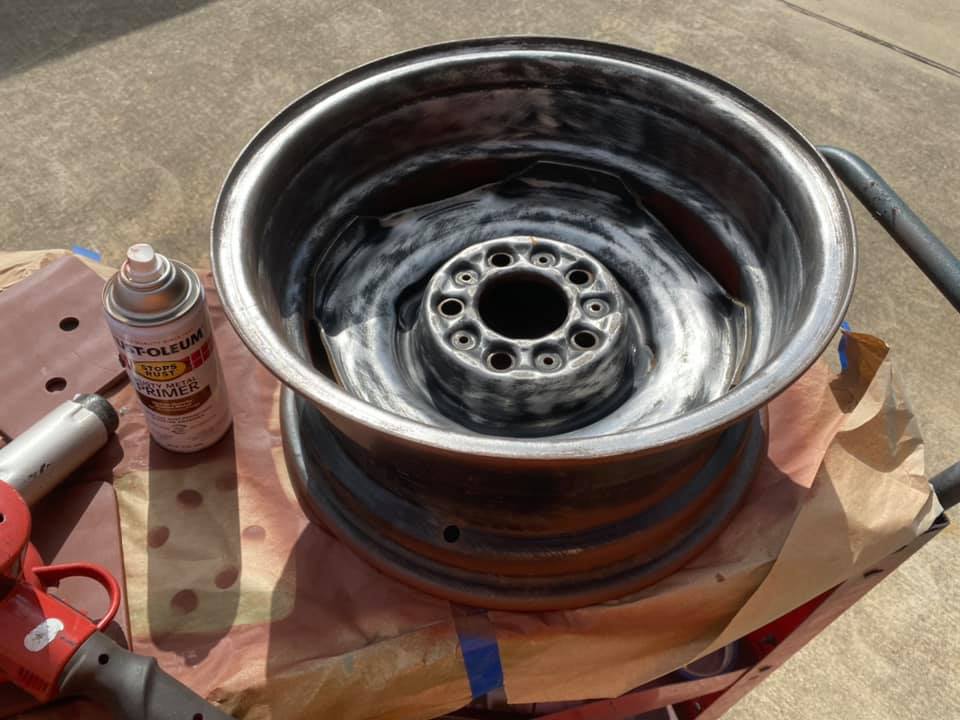
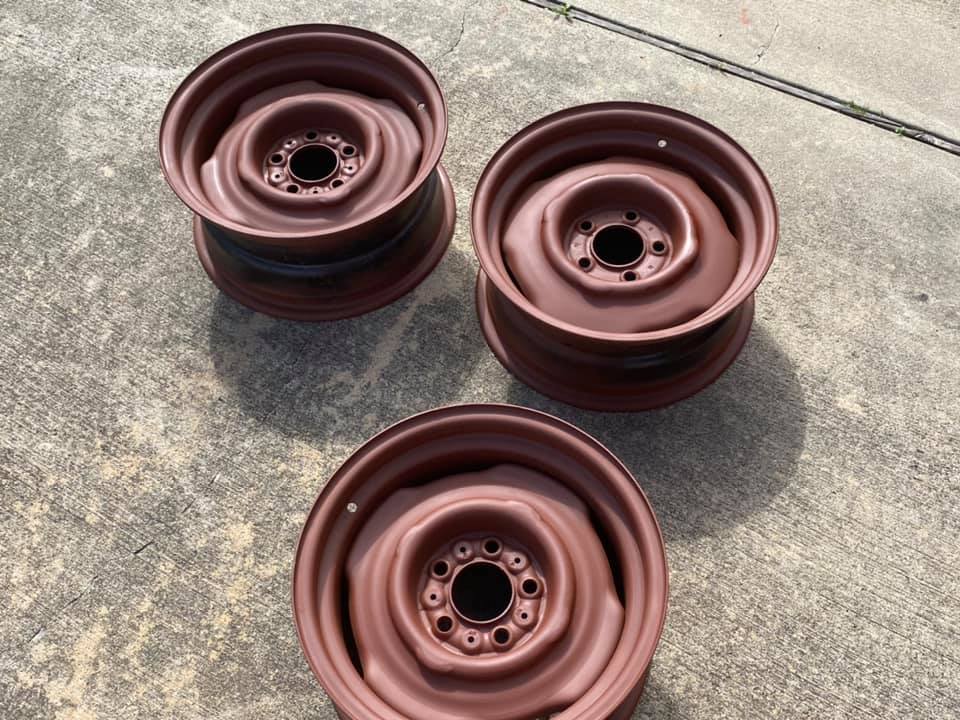
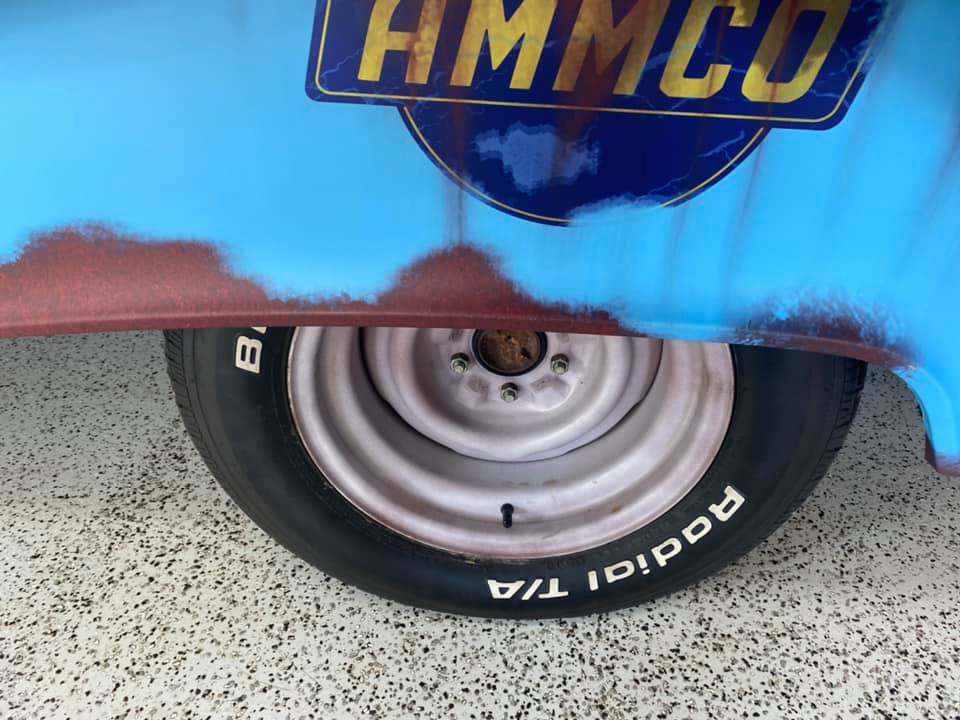
I dug up three old 15″ Mopar wheels for the front, and spare. I took them down to Discount for my bud Gregg to dismount the rotted tires. They were cleaned up, prepped and I hit with rust colored primer. Next week I’ll play around with cream paint and primer to make look rusty like the back wheels and then take to Discount for some new Goodrich T/As to get mounted. Then the car is done.
Ginger, my Magnum XE
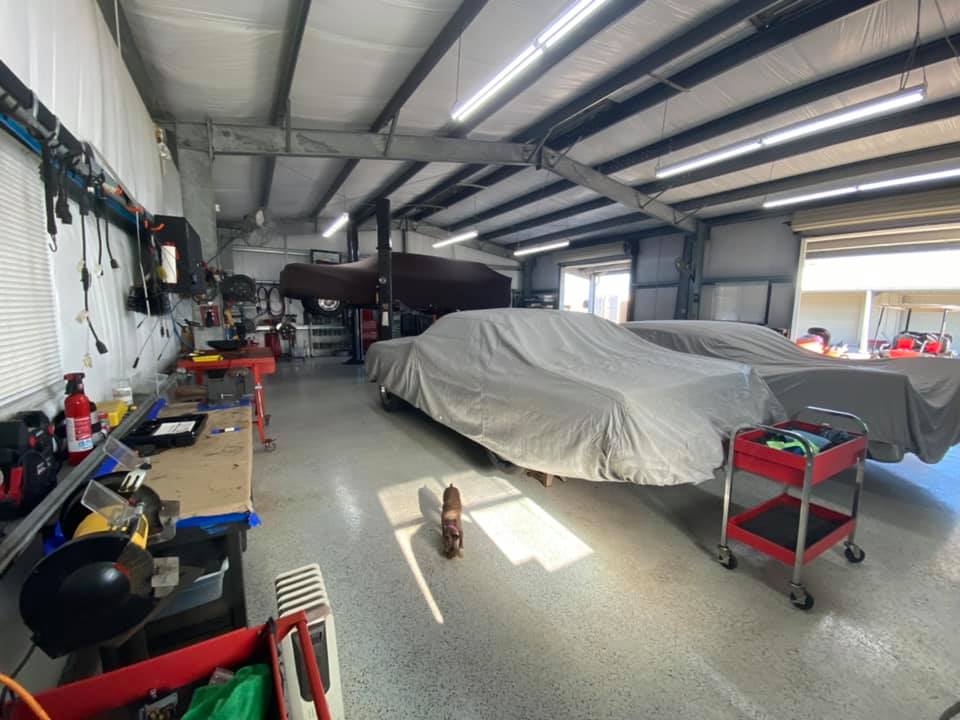
The Gear Vendors overdrive is in the car, just waiting for the Driveshaft from Victory. It arrived yesterday, and that car should be back on the road next week.
The Skipper – My Magnum GT
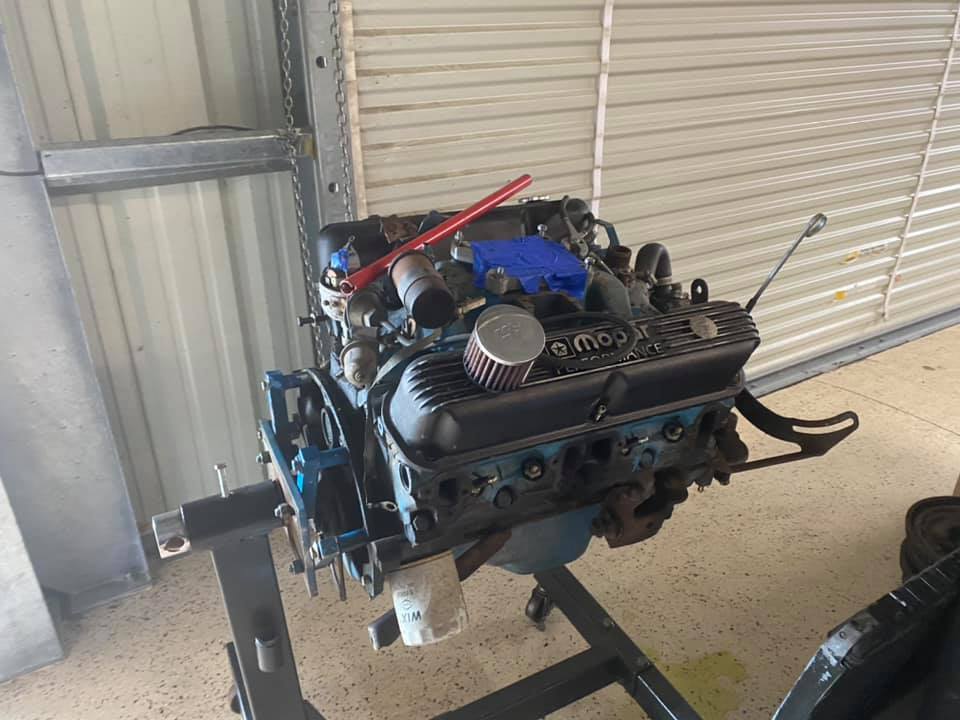
The engine and Transmission was pulled.
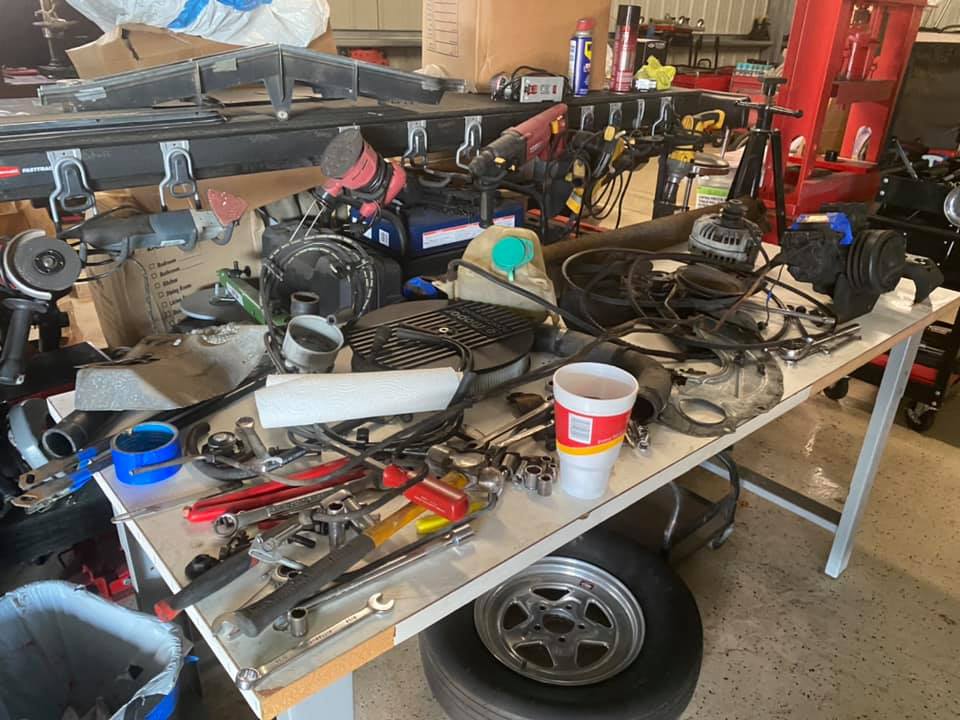
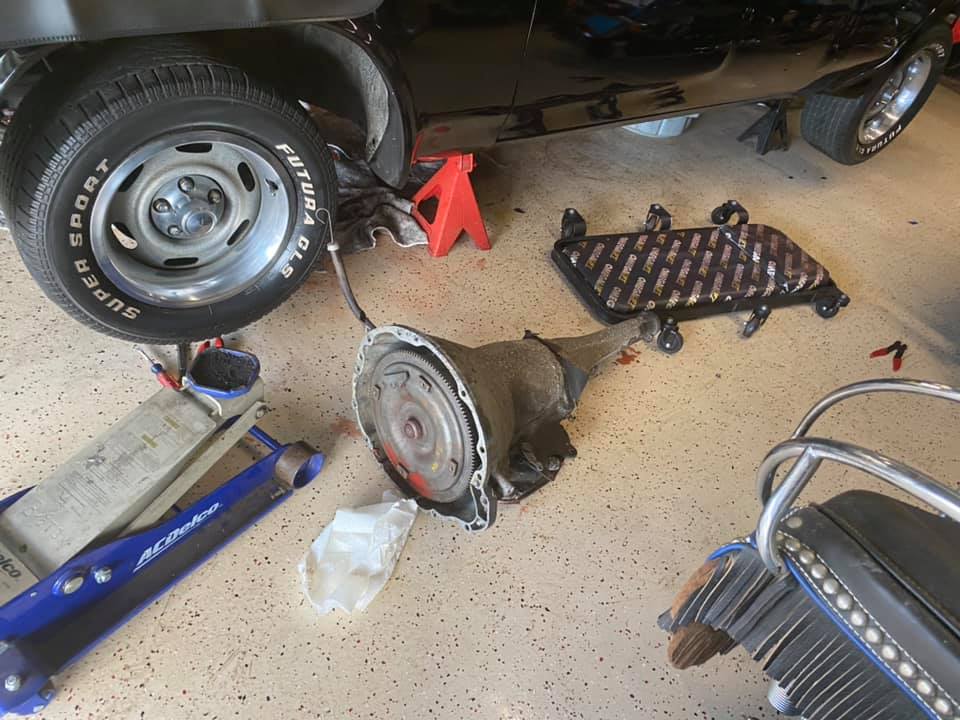
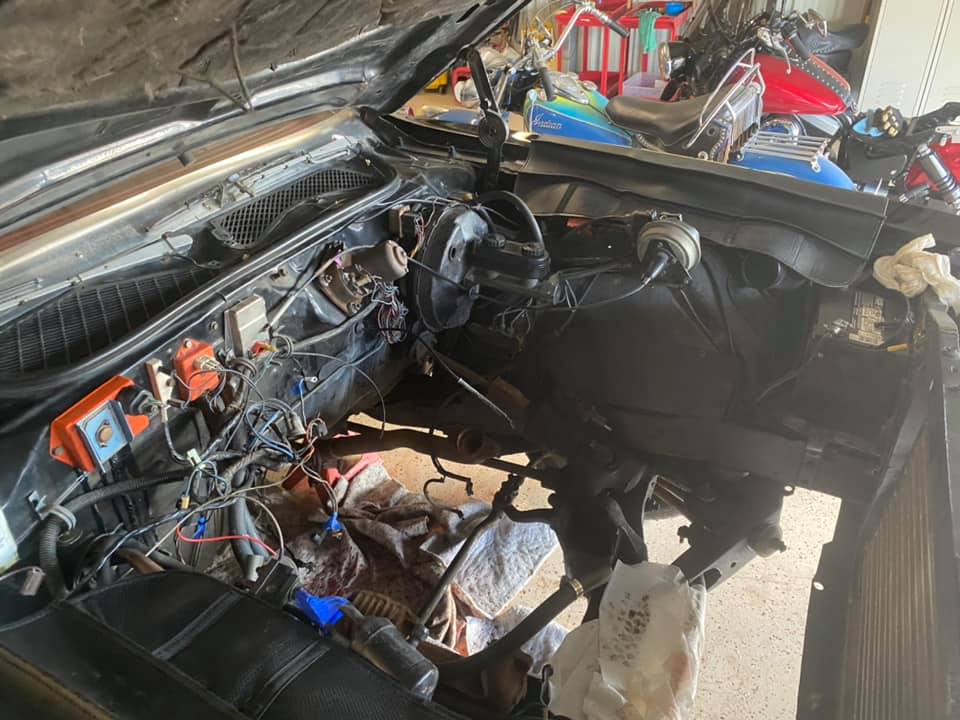
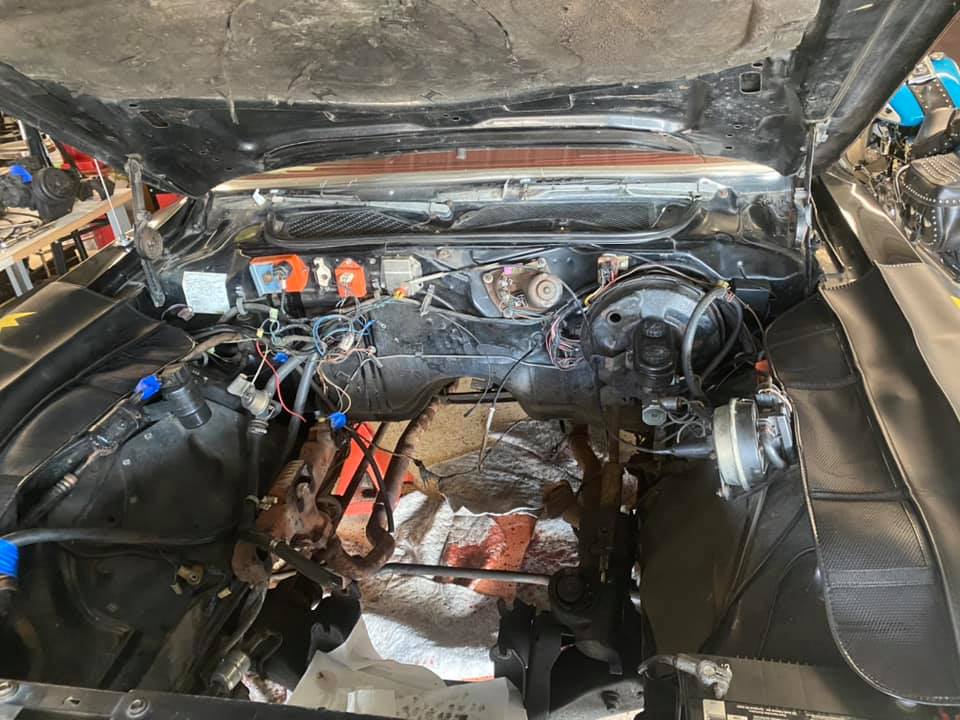
All of the under hood parts were pulled.
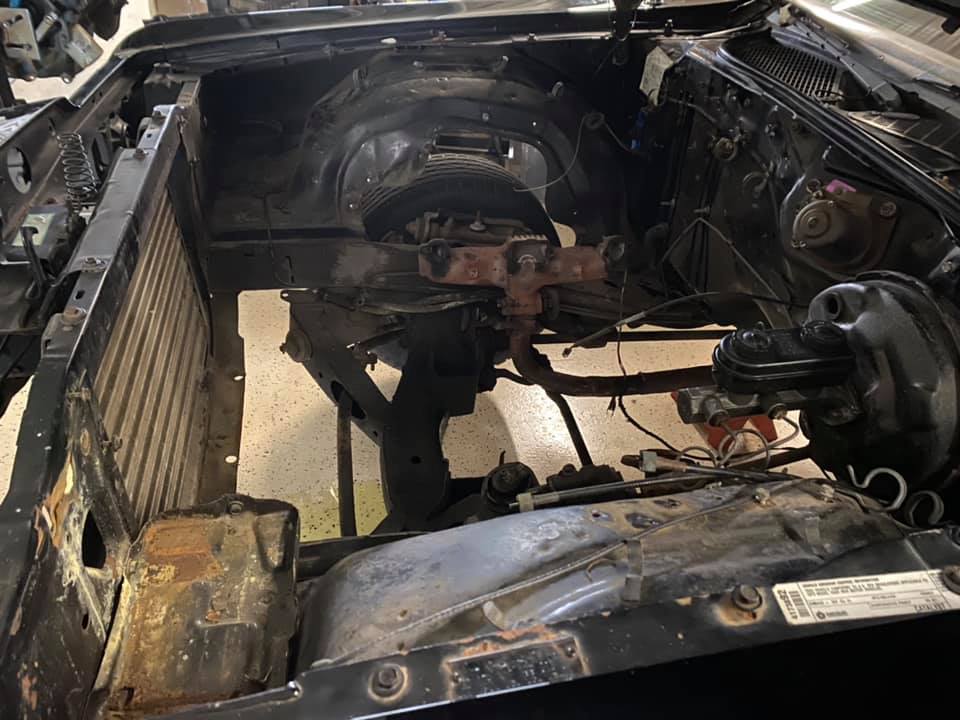
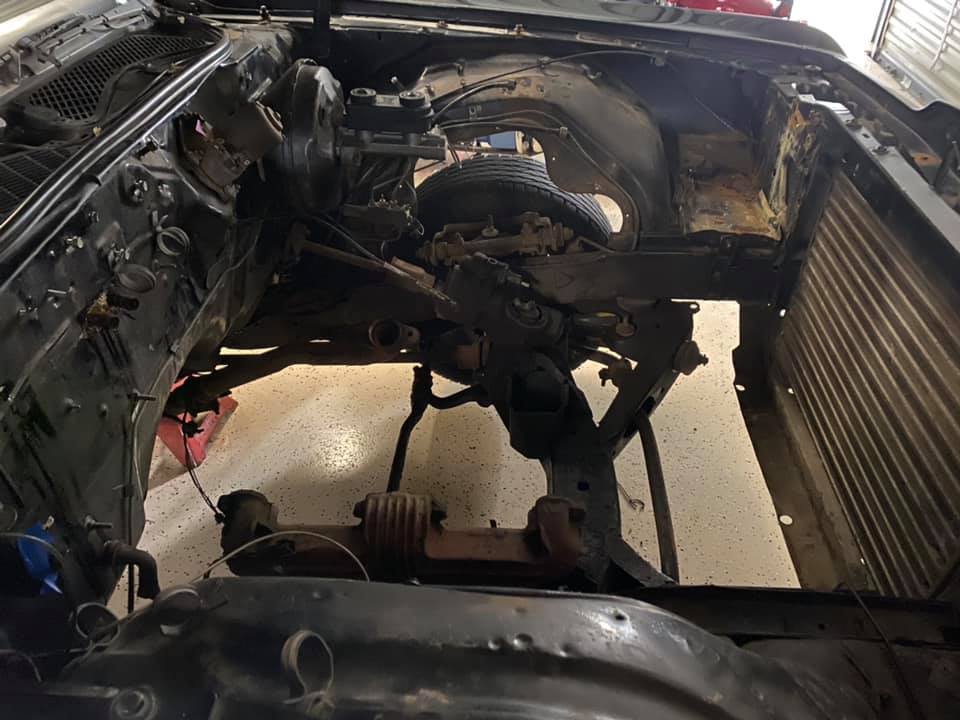
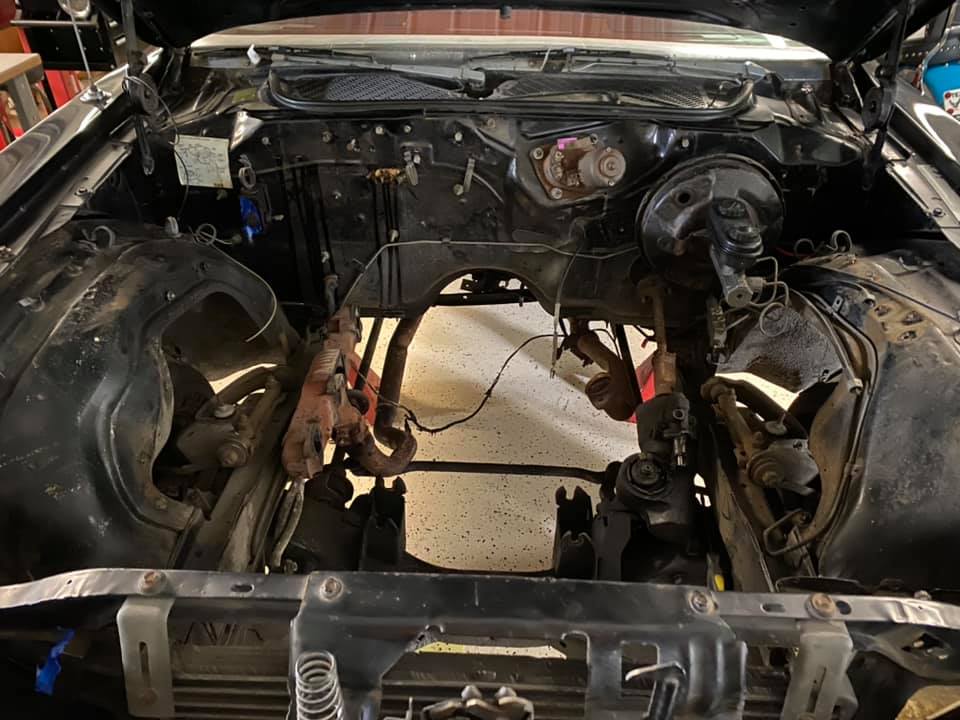
Under the hood will get cleaned, wire brushed and scuffed before receiving a fresh coat of urethane to match the exterior. The engine will cleaned resealed and painted – as will the transmission. Then gets stabbed back in. The AC compressor cleaned and painted. The wiring cleaned – maybe replaced if I can find new authentic. Power steering pump replaced, hard lines either made to look new or replaced. I want under the hood to look as new as the exterior.
So I think that catches me up on the shop reporting. Next report in about two weeks.
