
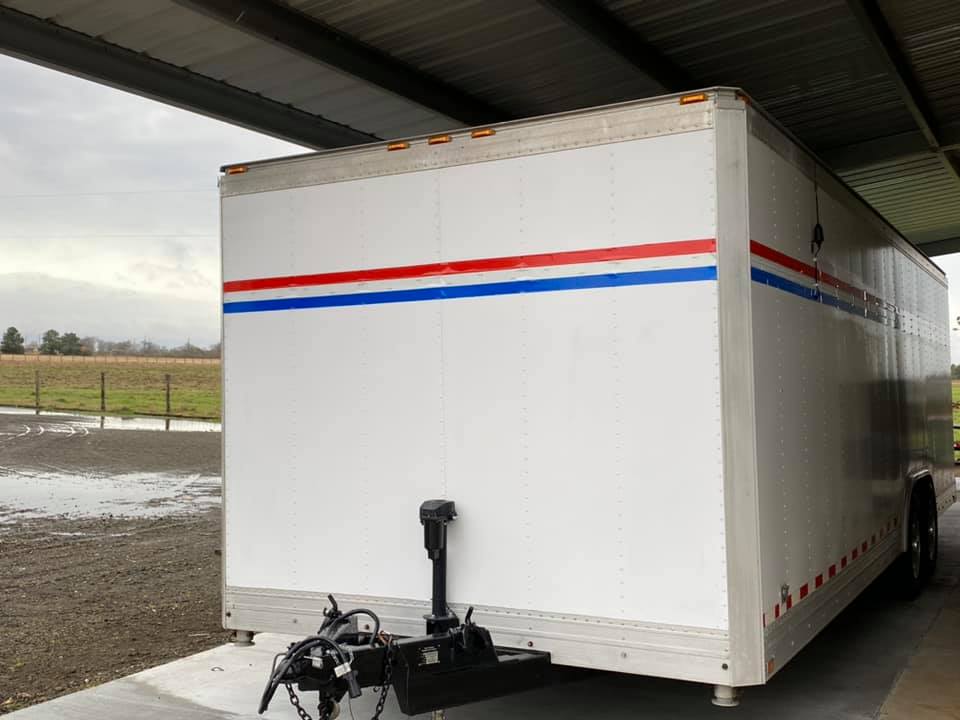
The refurbishing of a early 90s aluminum race trailer
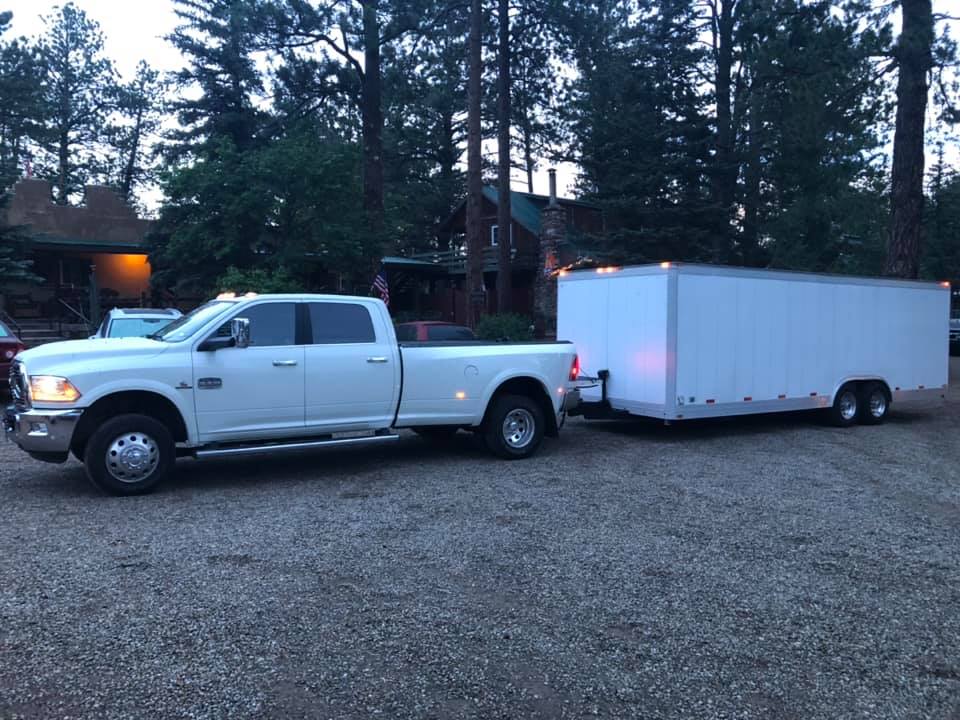
About 18 months ago, I bought an early 90s Aluminum Trailer from a racing buddy. The reason was that I had a Motorhome and a Stacker Trailer for week long races, a pick-up truck and gooseneck for weekend races, and a Toy Hauler and pick-up for motorcycle trips. The Toy Hauler needed to be replaced because it was shit and cost me money every time I took it out. I came up with brilliant money saving idea that buying an older, quality, aluminum trailer would allow me to sell both the Toy Hauler and Gooseneck. I could take the Motorhome and trailer (If I set up to carry both my son’s and my Harleys) on motorcycle trips and pull it behind the pick-up for weekend racing.
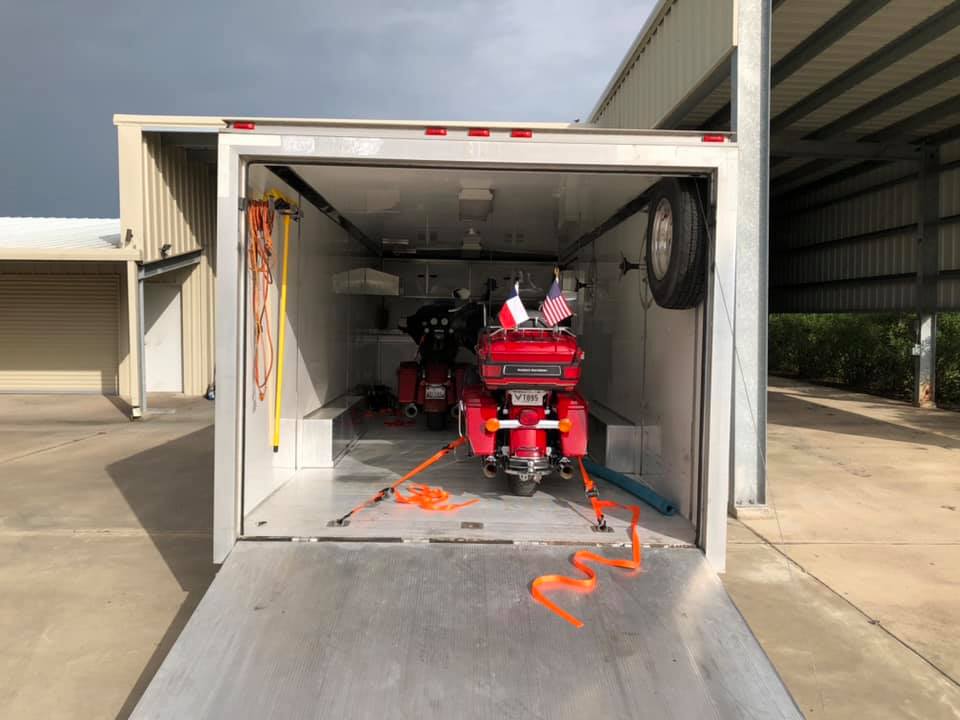
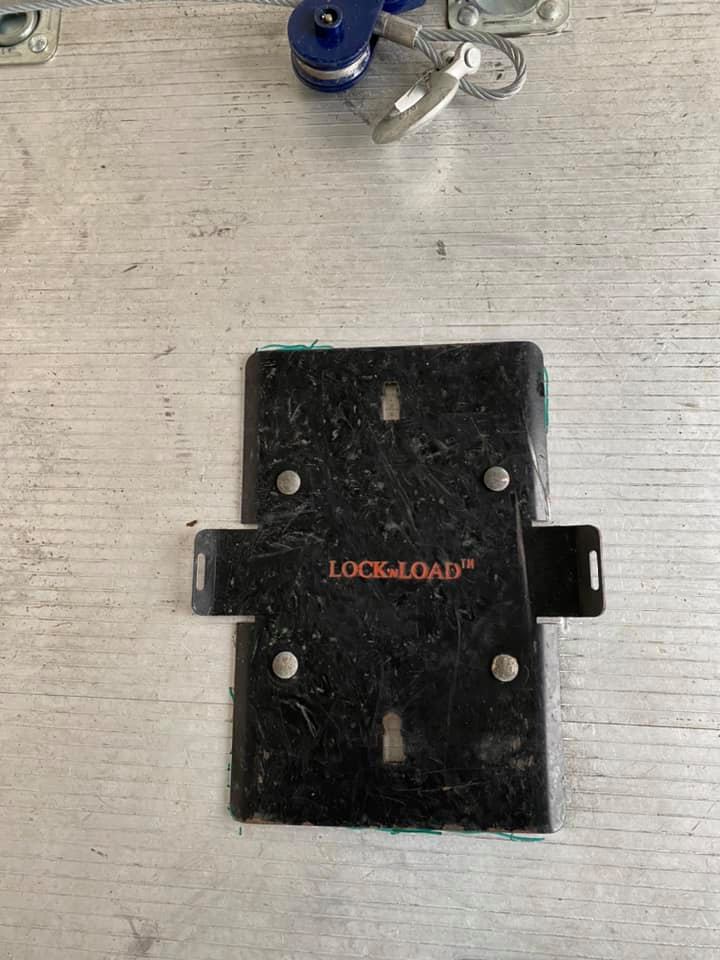
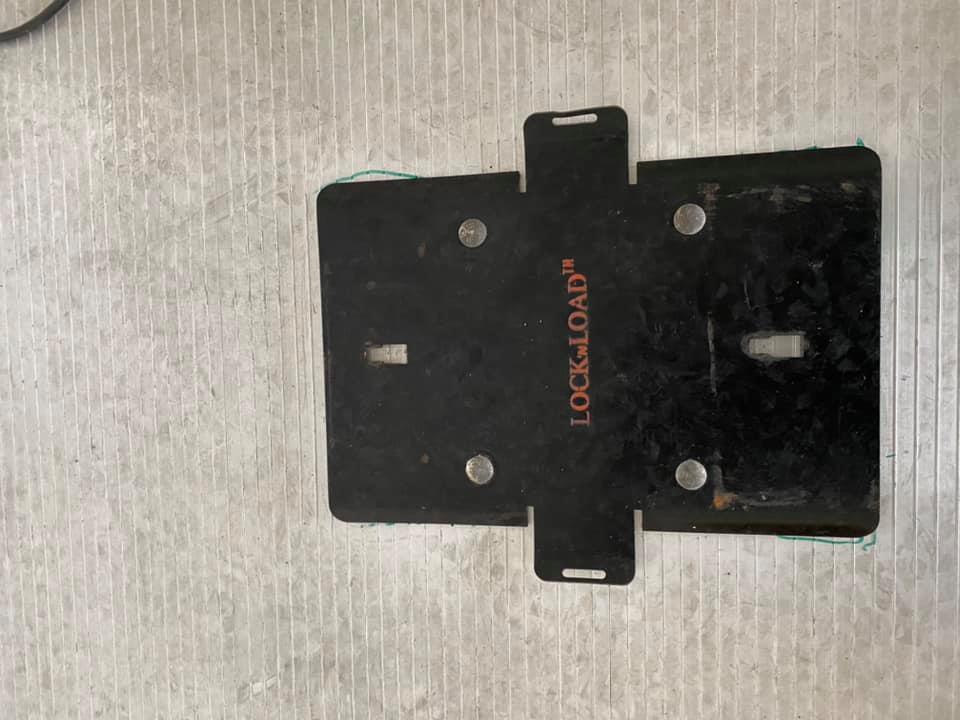
So I buy this early 90s trailer from Jim Bailey. I paid a premium for it, but it was well cared for and I felt I could freshen up reasonably. To this date, I modified the interior floor to accept the “Lock ‘N Loads to transport bikes, added a winch, some D-Rings, and move the wheel stops to accommodate a bigger car. I then scuffed, prepped and painted the exterior walls white with Red & Blue Stripe. It cost me a gallon of Rustoluem white and a quart each of red and blue Rustoleum – plus some supplies. I also painted the A-Frame gloss black. I later replaced the red and blue stripes with red, white and blue reflector tape – and wrapped the bottom in red/white safety tape. Electrically, I replaced all marker and tail lights with LED and the 7-blade trailer wiring. Finally, I installed an electric jack. Below are a list of shop update links on Maniacal Ravings of Dave Schultz, where I posted Details and Photos of this work.
- https://www.daveschultz.com/2019/08/shop-update-for-early-august-2019/
- https://www.daveschultz.com/2019/09/shop-updates-for-last-week-august-2019/
- https://www.daveschultz.com/2018/09/polish-d-rings-new-seats-engine-assembly-and-paint/
- https://www.daveschultz.com/2019/11/october-2019-1-month-recap-in-1-post/
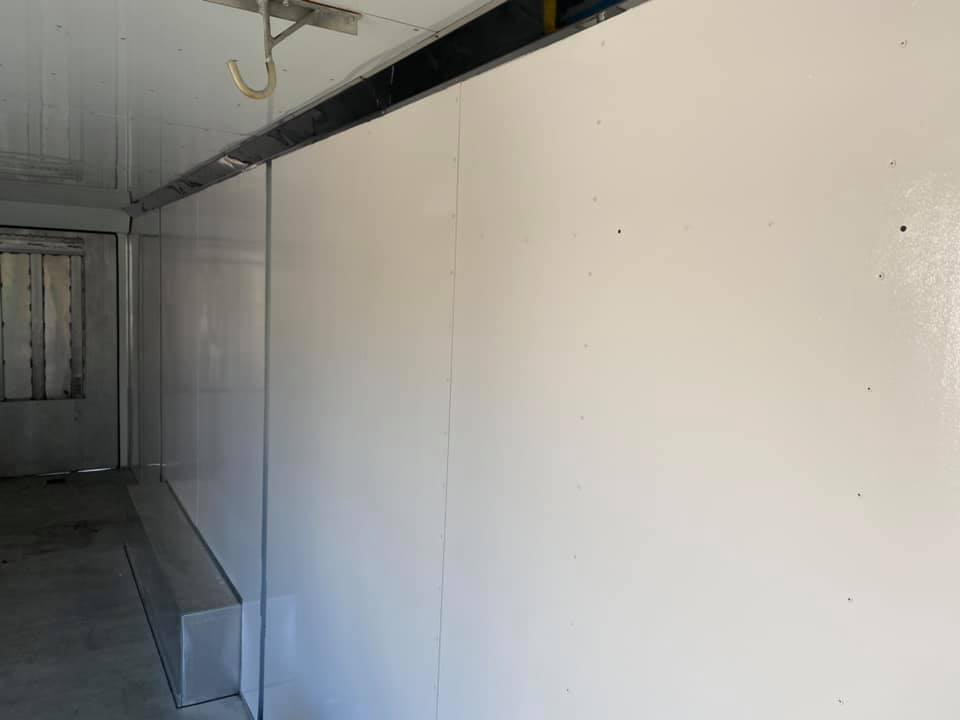
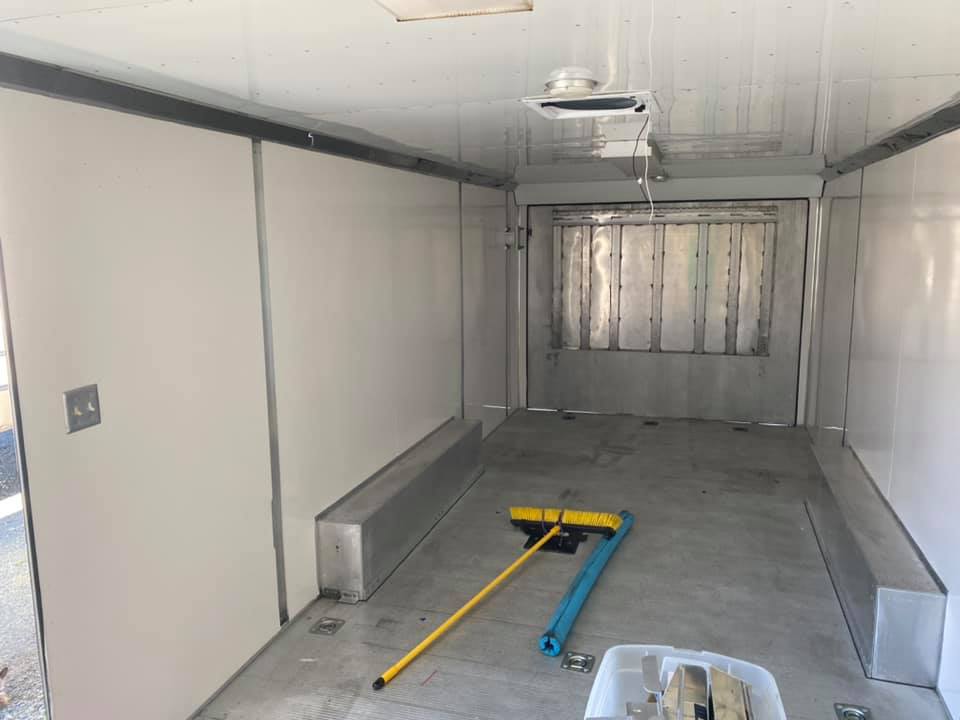
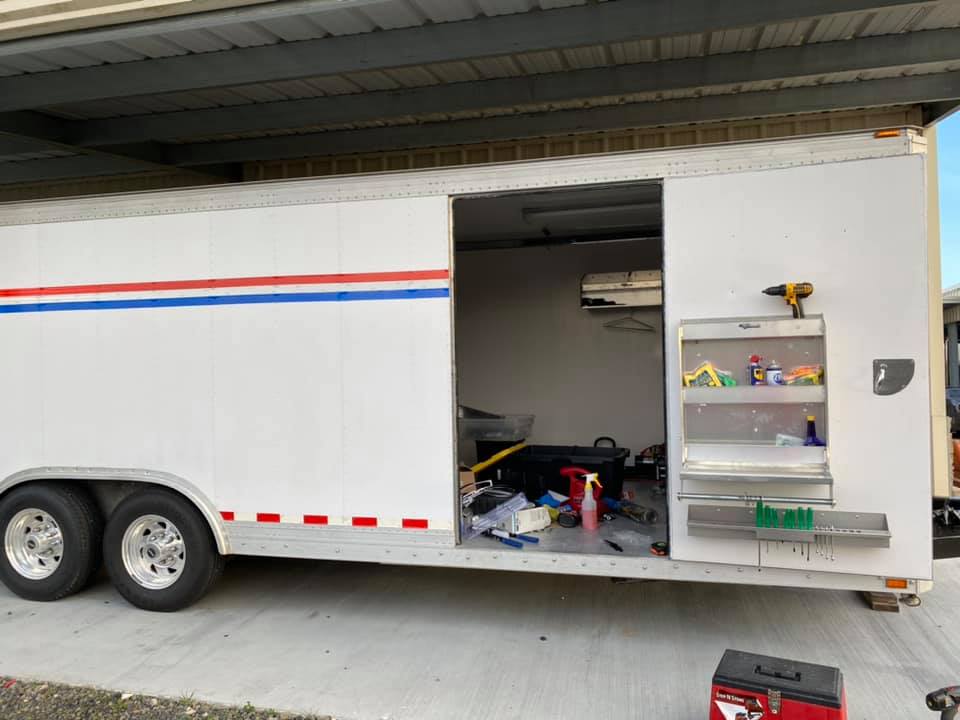
So the above brings you up until this last week. Everything on the wall was removed and the interior walls were scuffed with 400 grit on a DA Sander, wiped down, taped off, and painted while with a roller.
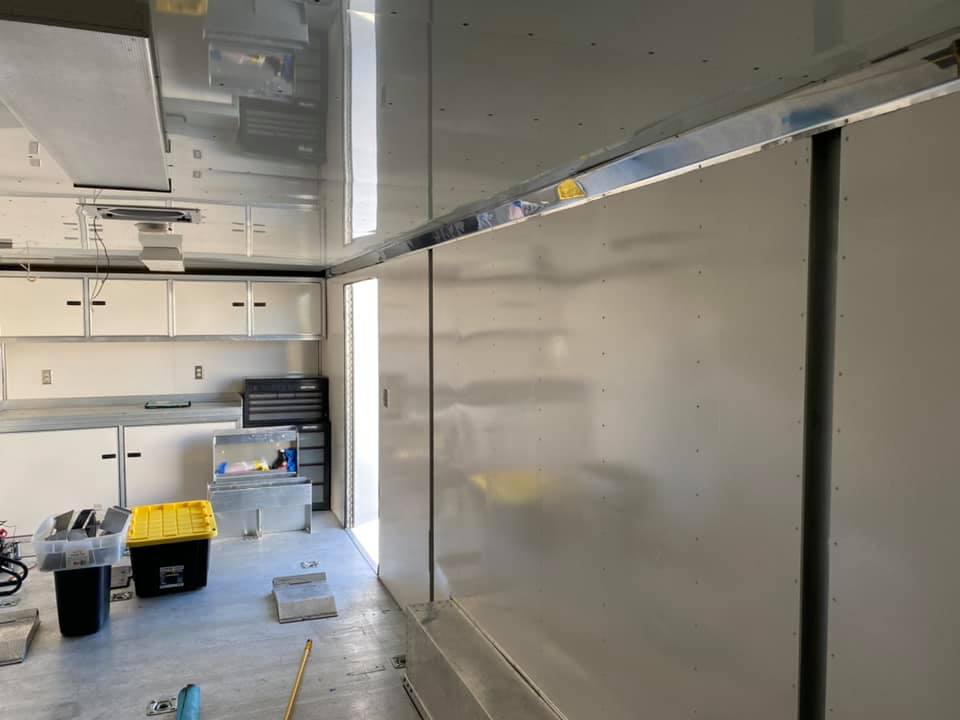
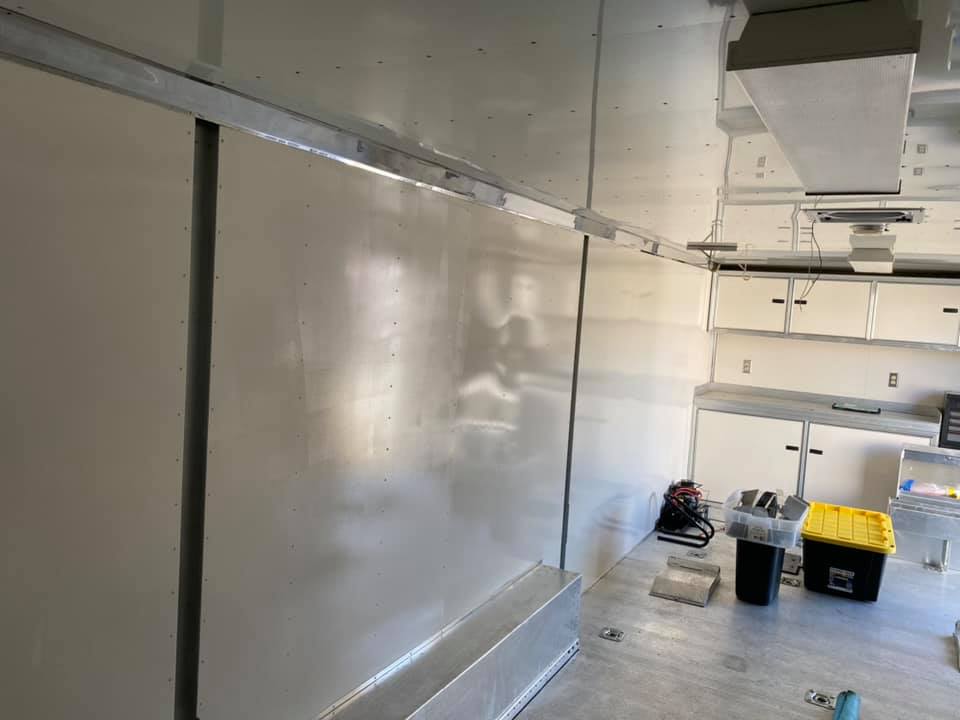
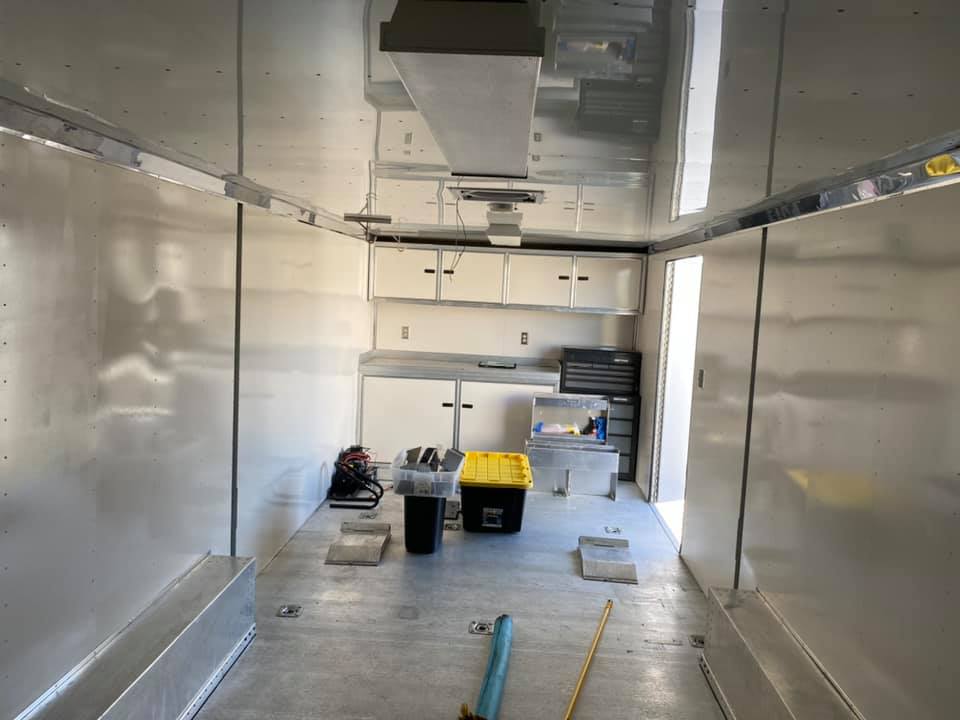
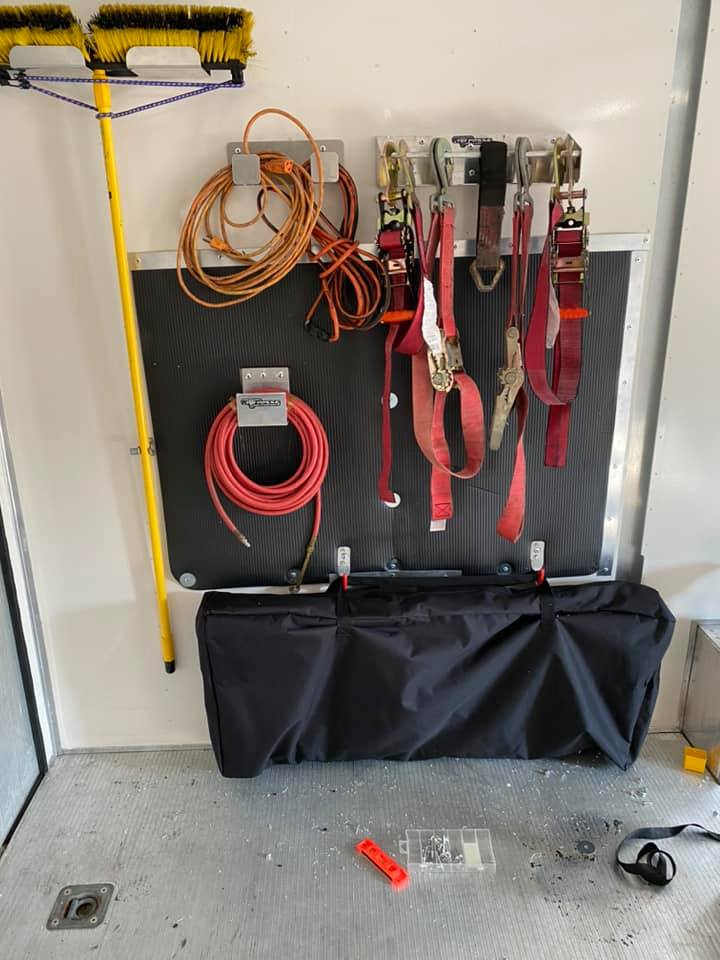
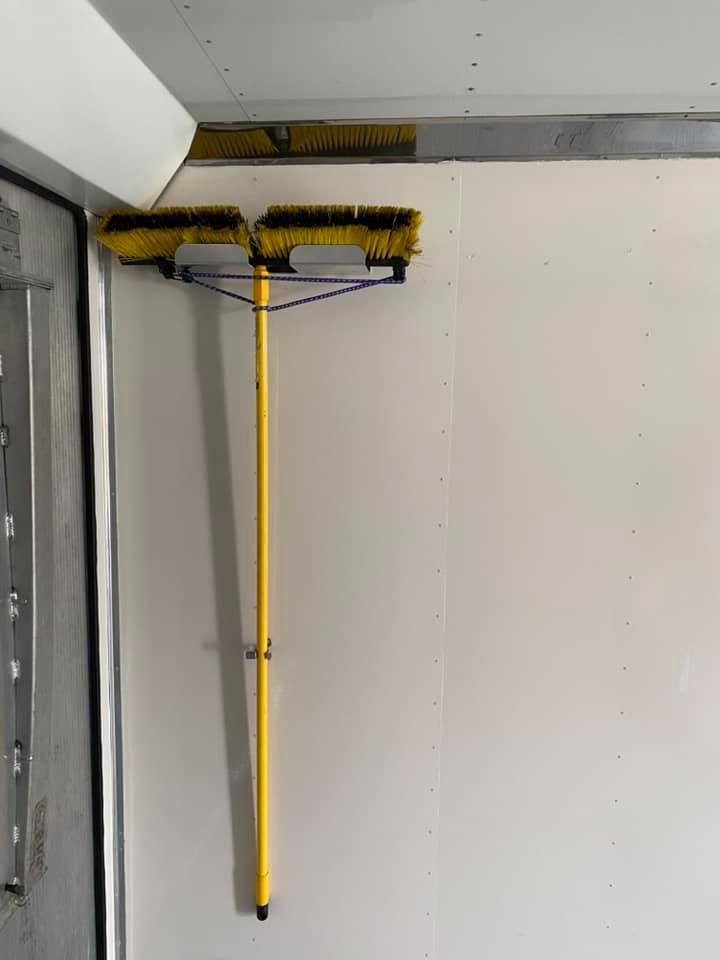
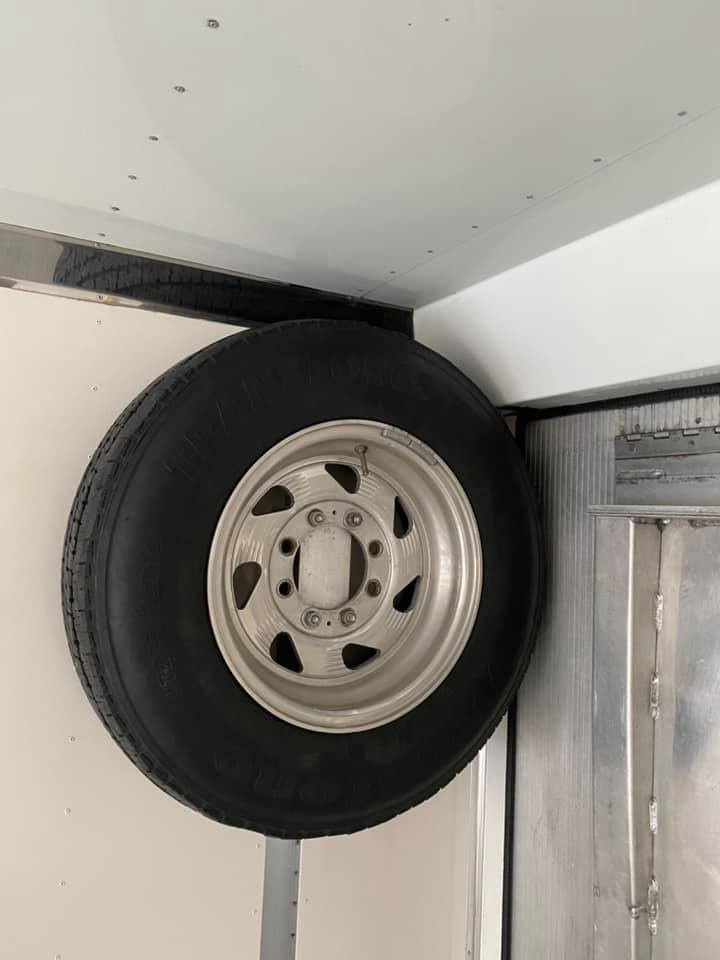
Then I started to outfit to my convenience. I started with buying a black Yoga mat, cutting it in half, and riveting into place (with 1″ aluminum stock) at the back of the trailer. I then mounted a broom holder, strap holder, cord and hose holders and the Spare tire. I also mounted a hanger for the Director’s chair carrying case.
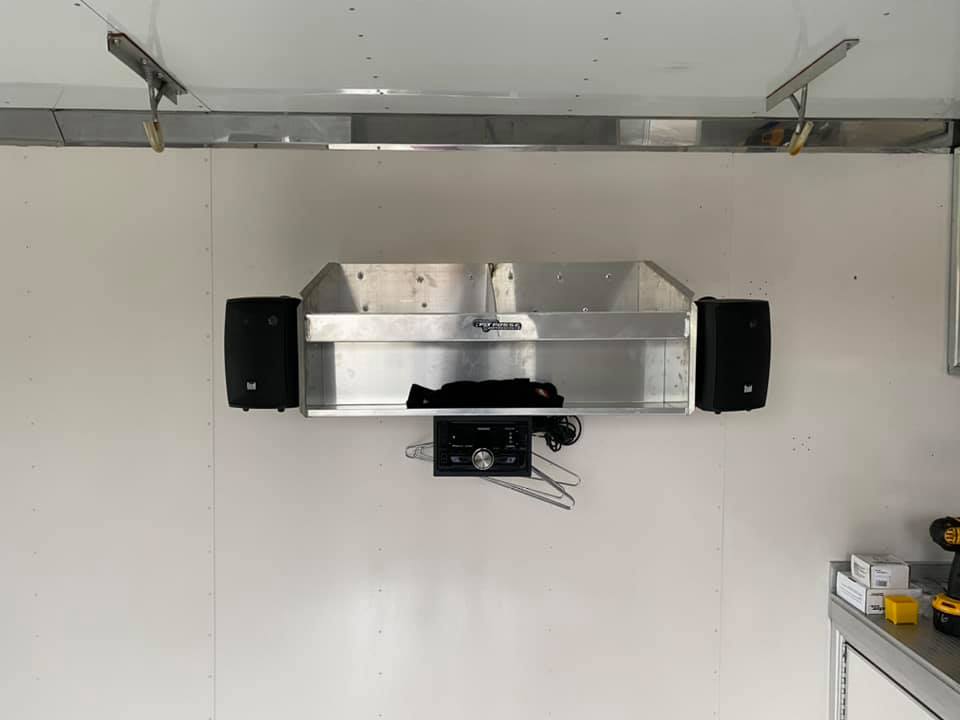
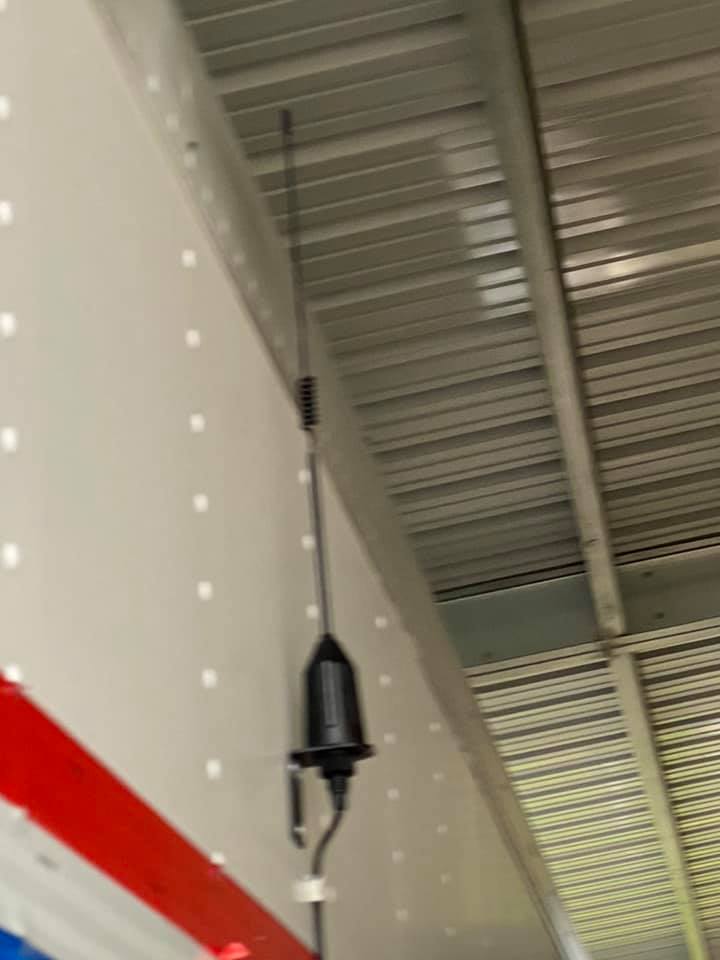
Moving to the front, I mounted a double helmet closet next to the bench. Onto it I installed a Kenwood stereo and a pair of speakers. To pick up the track radio from pitted in the Boonies, I mounted a high quality antenna on the street side – extending above the roof.

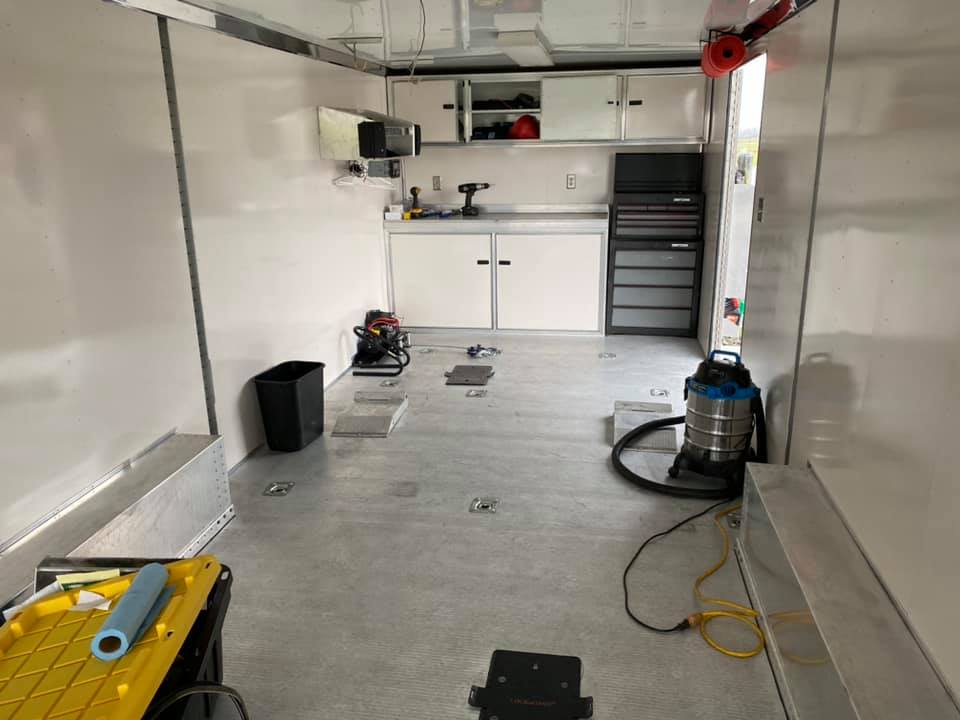
You’ll also note the 12,000 pound winch with a wireless remote mounted against the wall and a removable snatch pulley in the center. Also on the floor are the Lock ‘n Load plates for the removable motorcycle chocks.
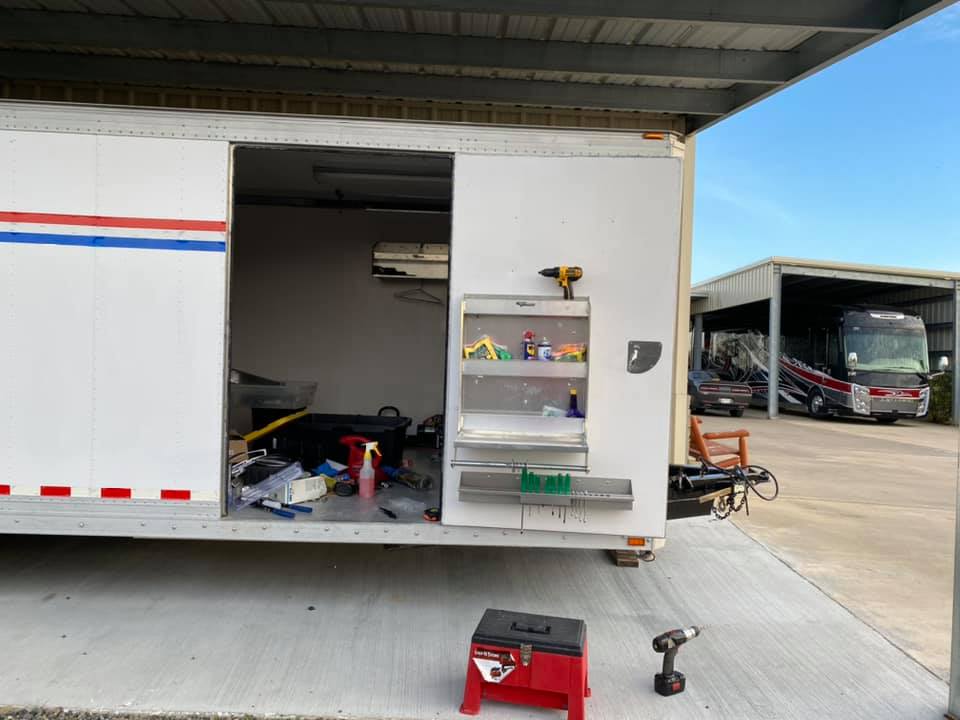
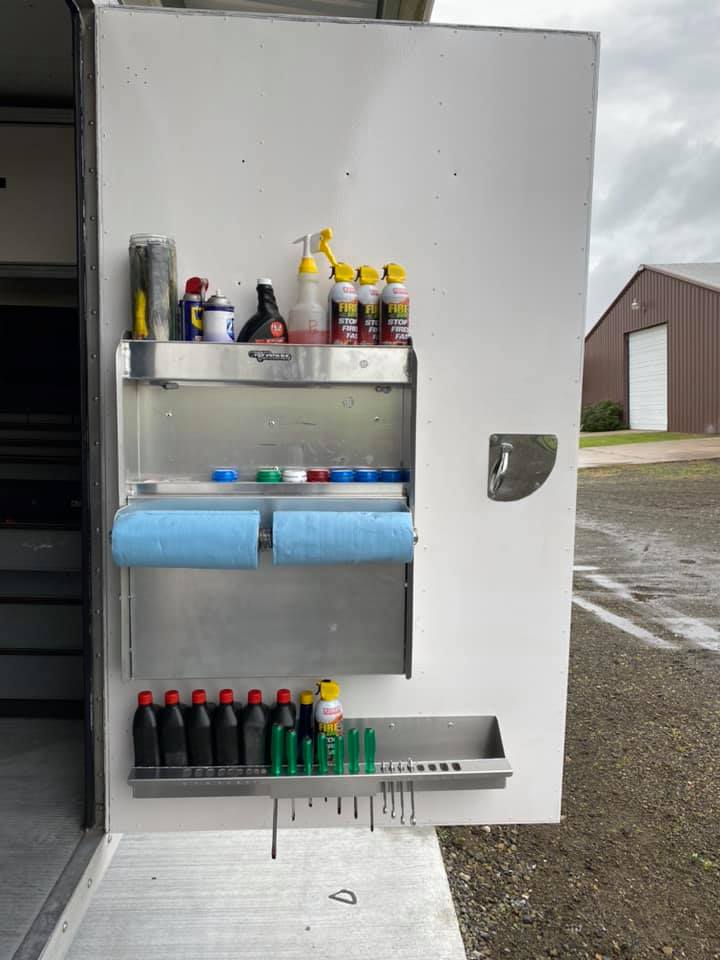
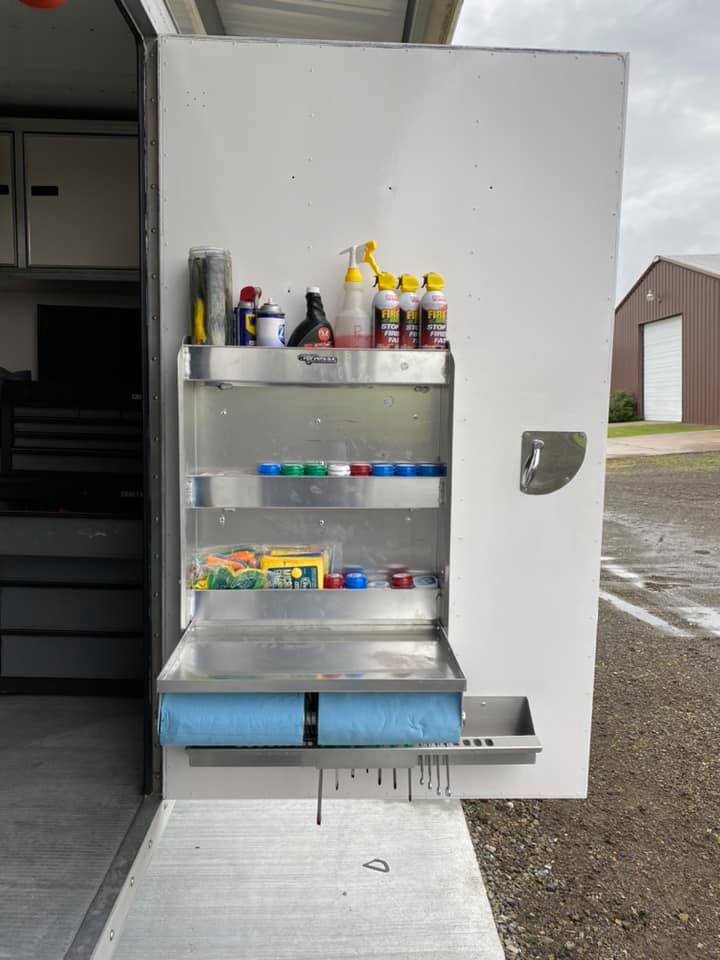
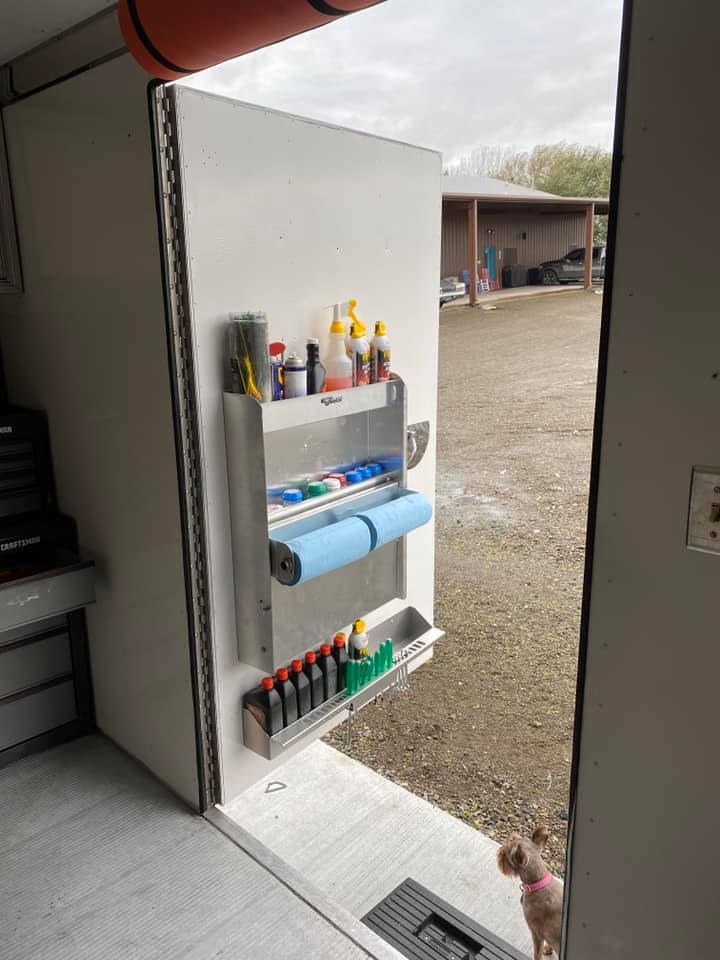
Moving to the door, I mounted a door cabinet with fold down table. Below that is an oil bottle shelf, which also holds wrenches and screw drivers. That should alleviate some of the running in and out of the trailer for the most basic tools.
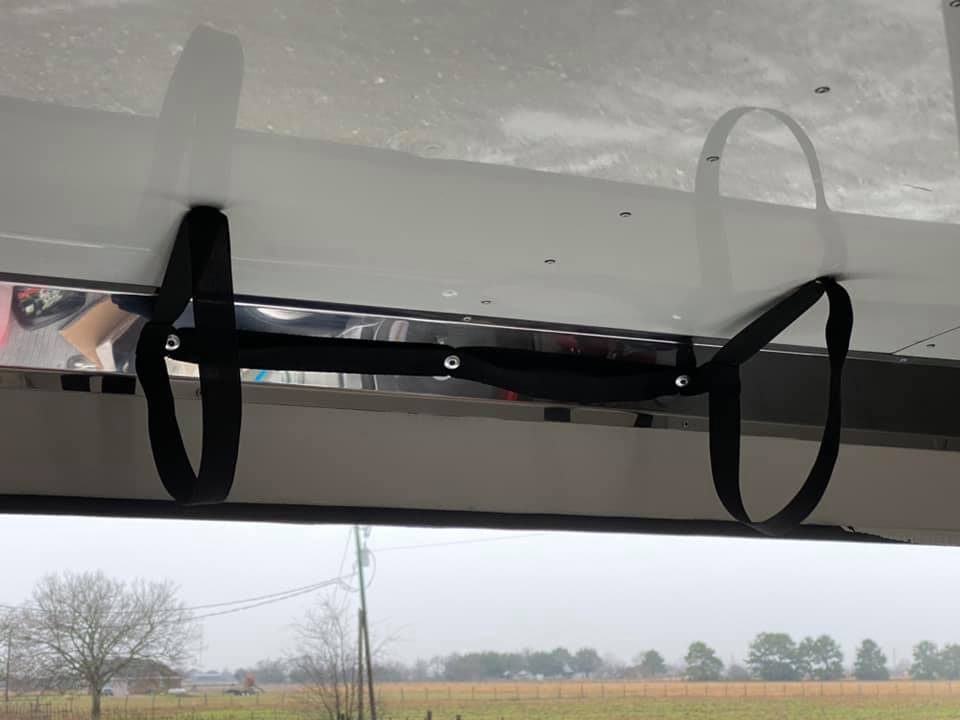
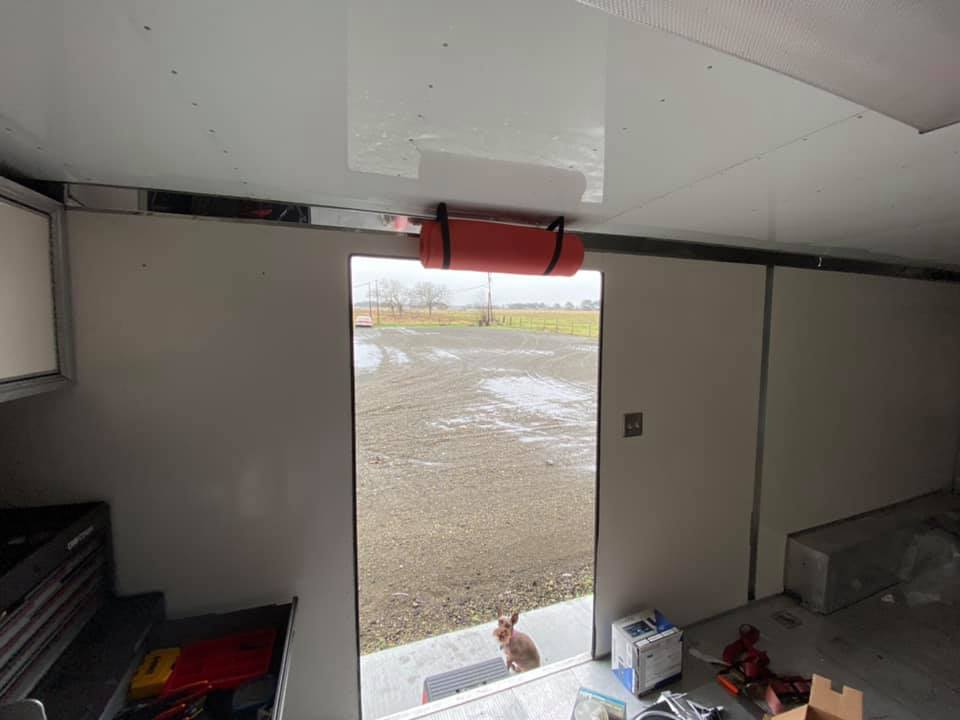
And speaking of convenience, I bought another cheap Yoga mat with carrying strap and riveted the sprap above the door. That makes it easy to grab for those times in the pits when you need to lay on the ground or work under the car.
I still need to:
- Replace the trailer lights junction box with waterproof new
- Mount dual batteries with cutoff switch under bench
- Wire stereo and speakers
- Wire roof exhaust fan
- Run air lines under the trailer from rear and side door to air compressor under bench, and wire a on/off switch on bench
- Make a rack for a set of 4 jack stands
- Mount a rack for two bottle jacks and tire spinner under the spare
- Mount a front strap holder and wall protection
- Mount a 12V fan under upper cabinets
- Mount a intelligent trickle charger for when the trailer is plugged in
- Mount a set of Charging Lug on A-Frame to charge batteries
- Install an inverter to provide AC power from a pair of DC batteries
- Replace 4′ florescent ceiling lights with LED
- Mount a LED pit light