A chronological Pictorial of the the happenings at shop last month.
New house to be built at the shop.
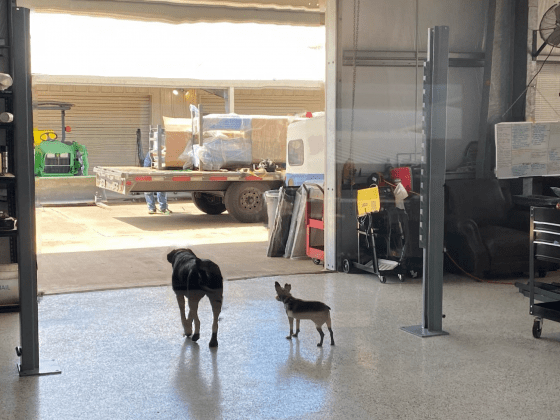
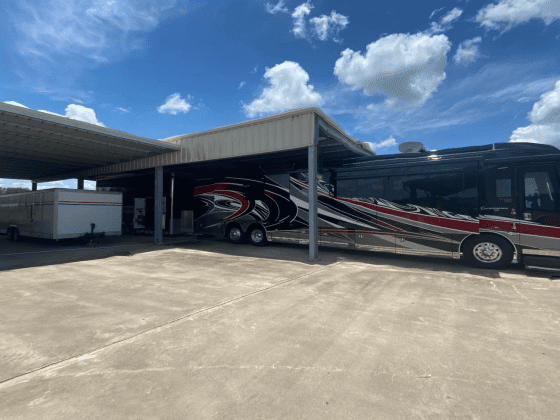
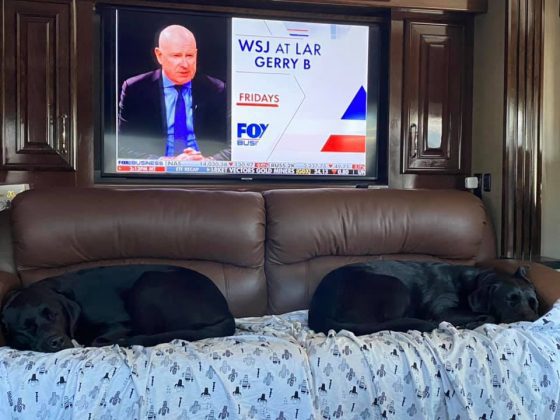
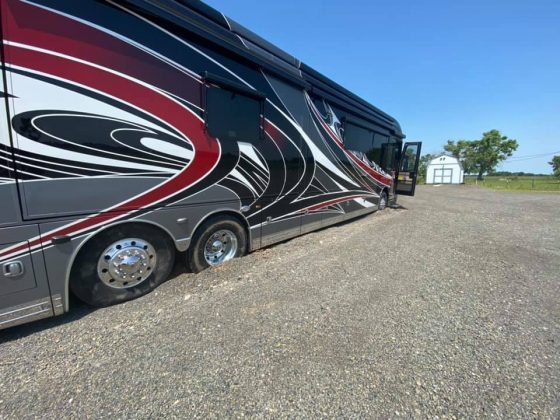
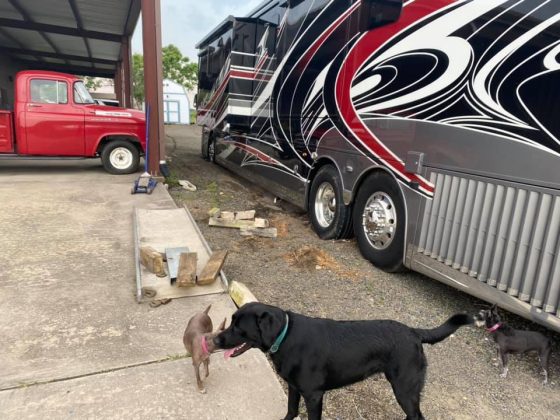
I have a 5000sf Barndominium with 2500sf living area at my shop property. Deb and I split our time living there, and our little cabin on the lake, 100 miles away. Our youngest daughter and her two children moved back with us at the Barndo, and it got crowded with 3 adults, 2 babies and four dogs – so Deb an I moved into the motorhome so Hope had the proper room to raise her children. Because of the race in Wisconsin and a lot of work needed on the cars and property in Beasley – we’ve live the last 30 consecutive days in the motorhome.
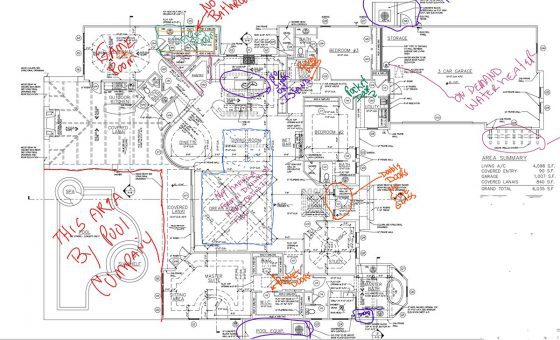
I wanted to buy 100+ acres in the hill Country to build a new shop and home, sell the Cabin at the lake and the shop half of my property in Beasley – but my wife wouldn’t have it. So Plan B was to build a new home on the property in front of the shop, since I already had the property and shop.
The home was decided on, after looking at over 100 plans. Its a single story 4100sf Mediterranean Style. In June, I bought the plans in the form of a CAD file, marked them up and sent to my architect to modify. I staked out where the house will sit and had a soil engineering company come drill two 20′ cores to analyze. I’ll have the pier & beam foundation engineered as soon as I get the plans back from my architect. A couple months ago I had a sewer system built from my motorhome to a 1000 gal tank that pumps to the city. I also had it stubbed to connect to the house when built. The new shop buildings and the motorhome port with it’s 220v/50 amp service had out grown the power I had on the property. I had to run the Coach off the generator as it was browning out. I had an electrician come out and upgrade everything.
The pump in the septic system (the tank, pump and pipes to the street – but without any pipes to buildings was done before I bought the property) was both too small and wired wrong. I had a pro come out to install a larger pump and wire properly with an alarm.
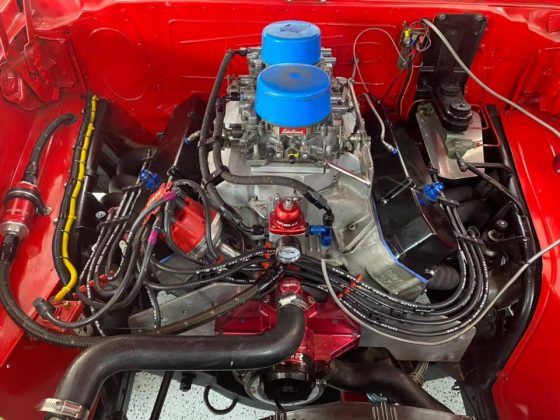
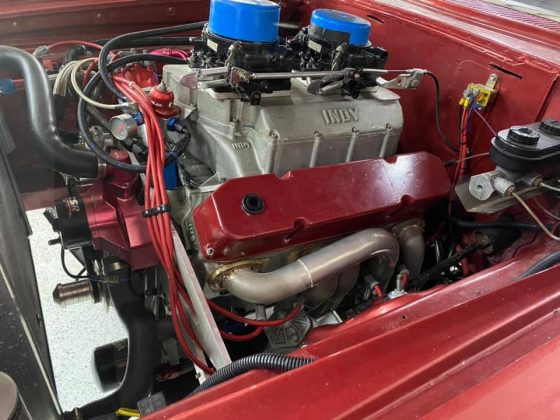
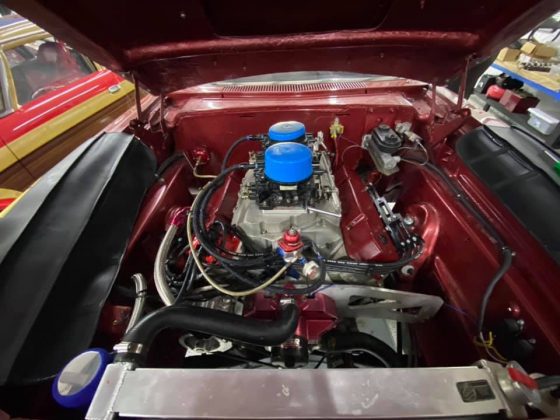
The Screamin’ Woody – Wagon
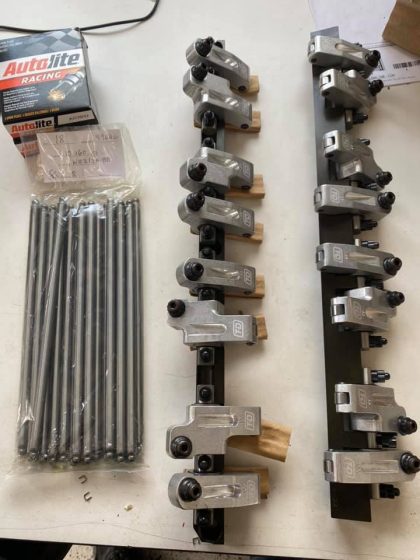
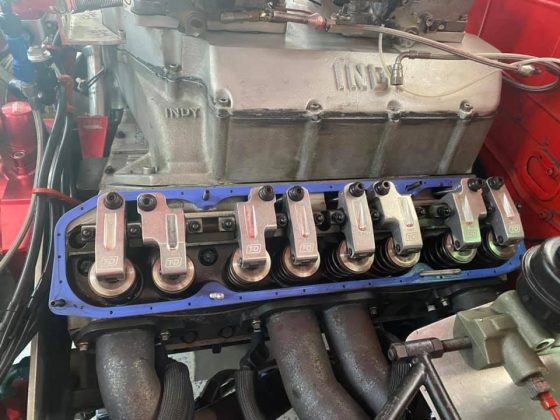
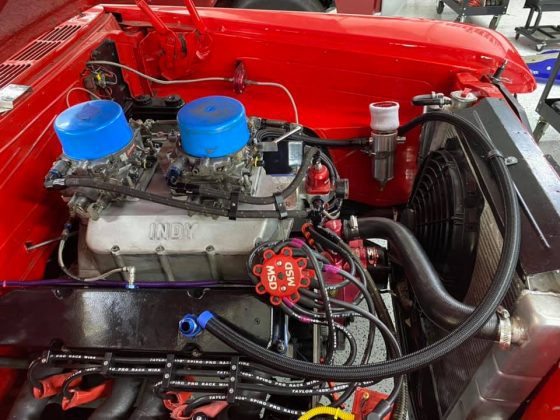
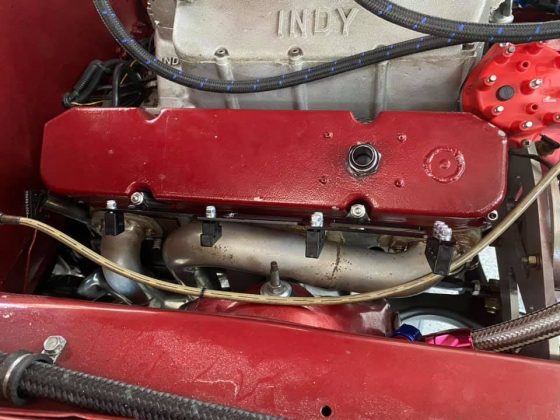
I had Jessel rockers on my motor, despite telling Indy Cylinder not to use Jessels, and to use T&D Machine when they built. The geometry was all wrong even with lash caps. I broke the ball off #1 Intake’s pushrod in both Atlanta and St. Louis races. I ordered T&D rockers and new Smith Brothers Push Rods, and installed them earlier in the month. Both times I broke the push rod, I had to disassemble the engine to the point of finding the missing ball.
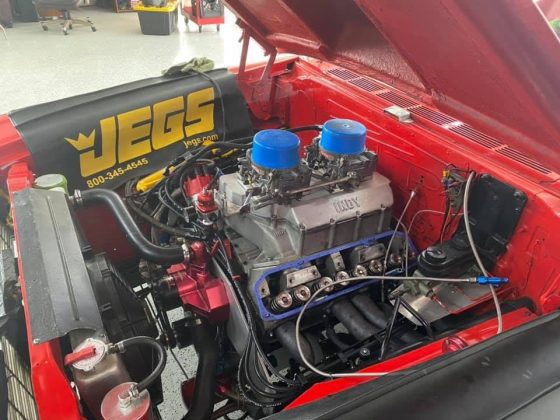
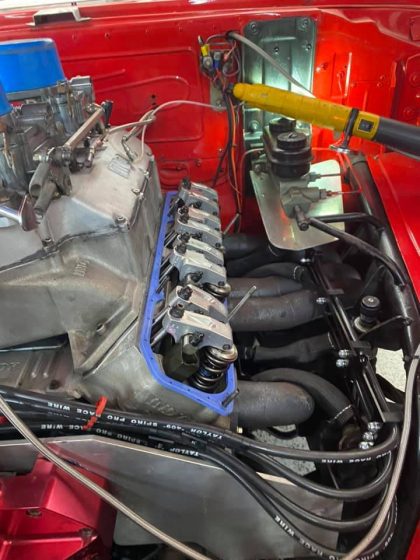
The plug on the transpan was tightened too much somewhere along the line and leaked a little. I replaced it with a new one and install a helicoil in the old one for a spare. More work on Wagon was done after the Wisconsin race – so see Screamin’ Woody – Part Two.
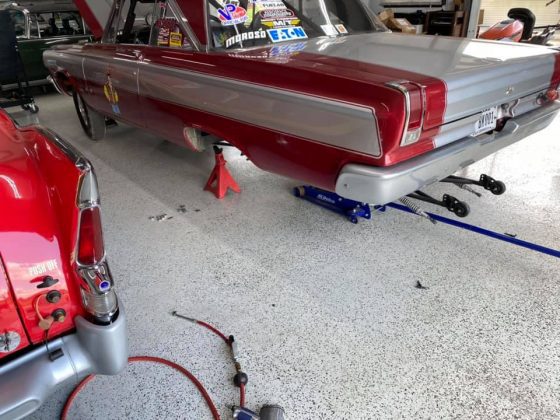
Texas Thug – 65 Coronet
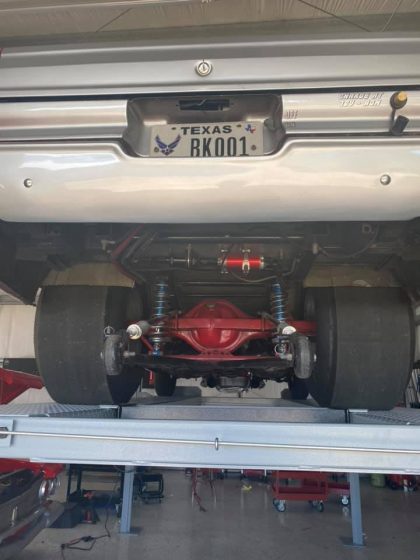
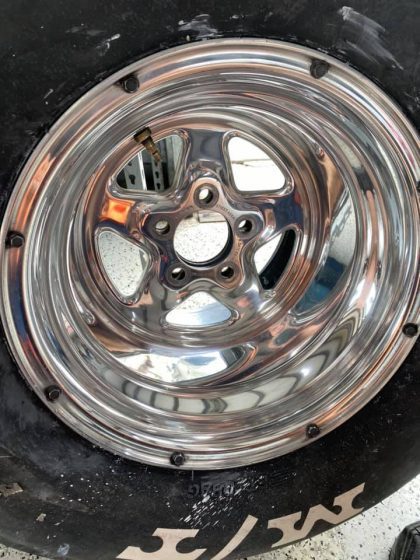
In late May, I took the Thug to Louisiana to have body work perform, from when it moved on the Stacker’s trailer lift. I picked it up 10 days later and brought back to my shop. It got a new pair of 33″ slicks and the timing slipping cause was discovered to be a bad distributor clamp, which was replaced. The wheels on both cars got treated to a nice Polishing.
The Wisconsin Race
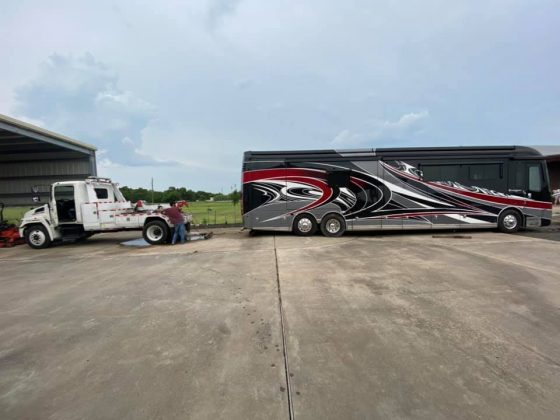
While loading up for the race in Wisconsin, I got the Motorhome and stacker stuck in my turn around area. I tried (in a 104 degree heat wave) for hours to dig it out. Under the 6″ of bottom Ash was 2′ of foundation sand from when the barndo was built. I managed to lay an aluminum ramp next to the stacker’s tongue and jack the trailer up with a 6 ton floor jack. Using my John Deere and chains, and lots of wheelies and jack repositioning, I got the stacker moved off the motorhome, and enough to get my Ram 1-Ton hitched up to move the trailer. Because of how far in the sticks I live, it took hours, dozens of calls and a ton of refusals before Abdul and his undersized and underpowered wrecker agreed to give it a shot for $500. He only had one under powered winch with a hydraulic boom, so it took an hour with him manipulating lifting his boom while as reeling in the winch – as I gunned it in reverse whenever an inch of progress was made. It turns out that the chain came off his winch, slapping and damaged the back of my coach a little. I didn’t notice until after he’d boogied. My wife saw it happen, but didn’t think to mention until he had left.
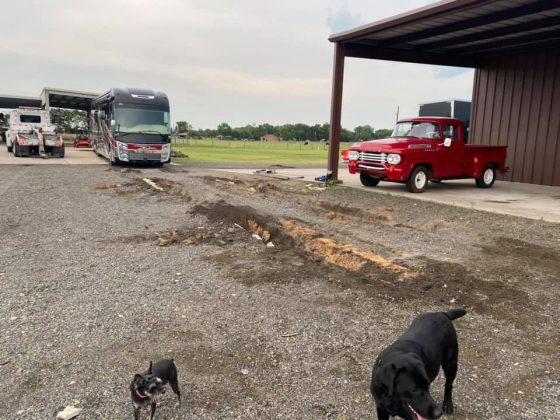
I ordered two truck loads of concrete washout and a load off bottom Ash the next morning. My John Deere was put to work digging out 2′ of sand for about 100′, filling the ditch with the washout, and then box blading the Ash over it. since it has rained a lot, it’s like 2′ of solid concrete there now.
We headed to the race with both cars loaded, and took a leisure three days to get to NW Wisconsin. Since both cars had broke and been fixed without any testing, I tested the both on Friday. They both ran good and I planned to run the Wagon in the Saturday race and the Thug Sunday race.
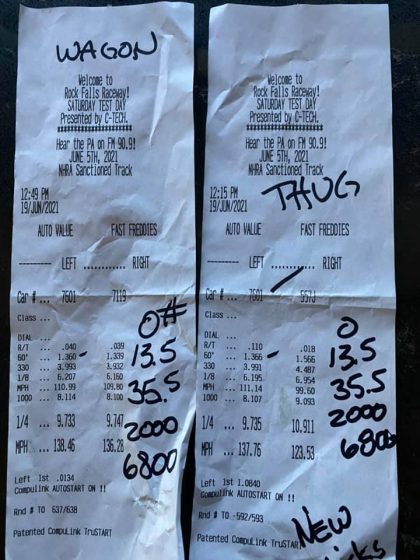
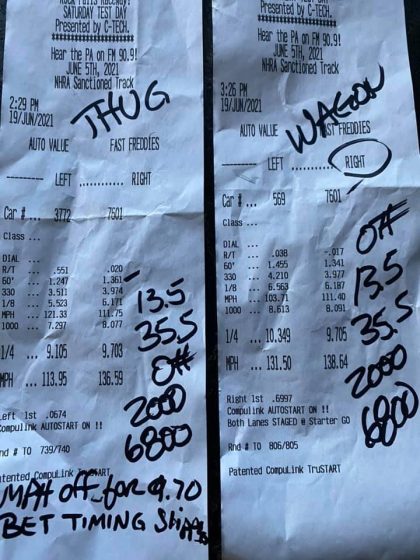
On Saturday, the wagon was slower by a 1/10 than I’d expected for Q1. I took 100 pounds weight out and it was still slow by a tenth for Q2. I took the last 25 pounds out, the passenger seat and a battery out for Eliminations – feeling I’d have Tom Hoffman more than covered and would test put a fender on him. However, again the car was a 1/10 slow and I lost.
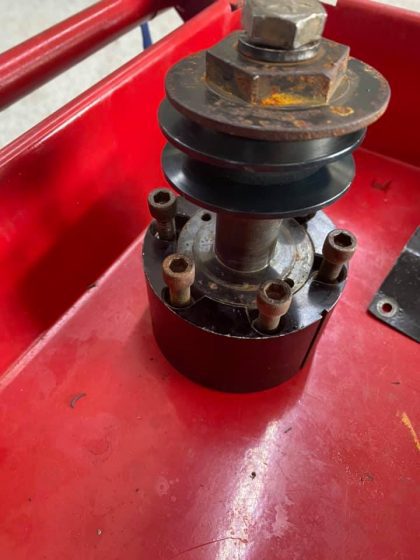
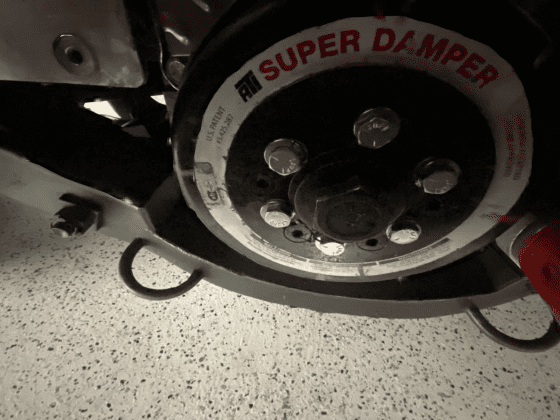
I tried to check the valve lash to see if that was it – but broke the crank bolt going into the vacuum pump pulley spacer rotating the balancer. Sunday’s race was rained out. I was suppose to go to a race in Columbus, OH the next week, but I was discouraged, rain was forecasted, and the KOA we’d planned to stay at was booked on big spaces. I just headed home to lick my wounds and repair my shit.
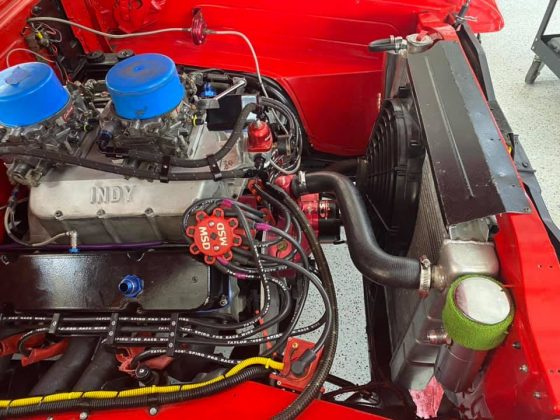
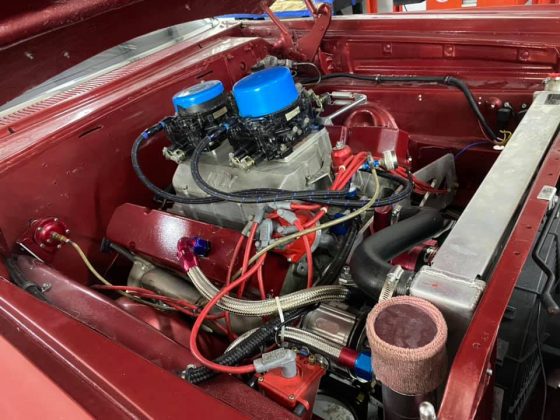
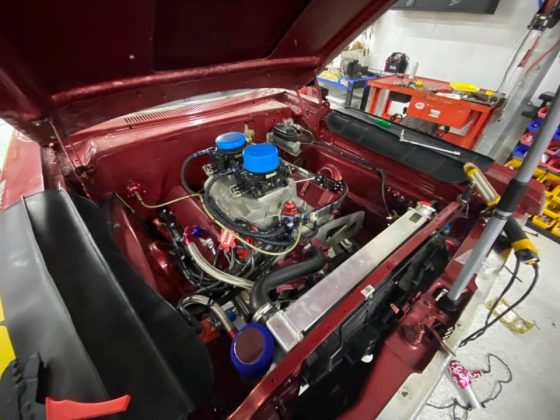
Screamin’ Woody – Part Two
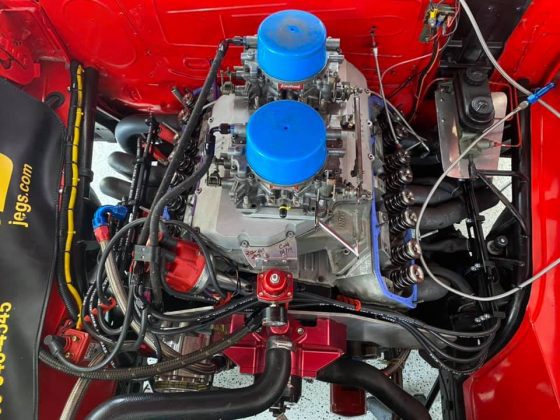
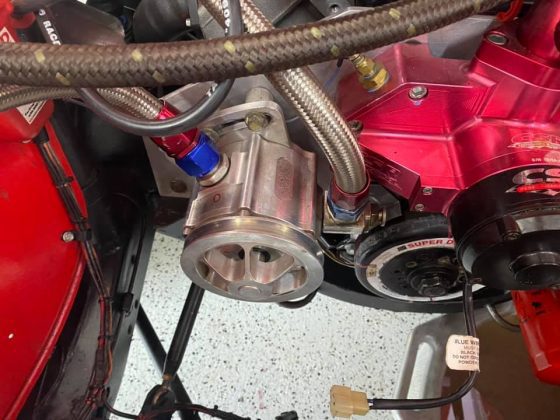
I’ve removed the vacuum pump (a bigger job than you’d think as the radiator also has to come out to get to the spacer hex screws), so I can crank the engine around by the crank bolt. I’m waiting on some -AN12 fittings to make my evac. When they get here, I’ll run the Valves and check the timing. I’m glad I’d posted photos on Fascistbook, as Al Corda called to tell me I needed to install bolts in the balancer when not running a pulley or spacer. Over the winter I’ll try to hook up the vacuum pump again with a stock pulley.
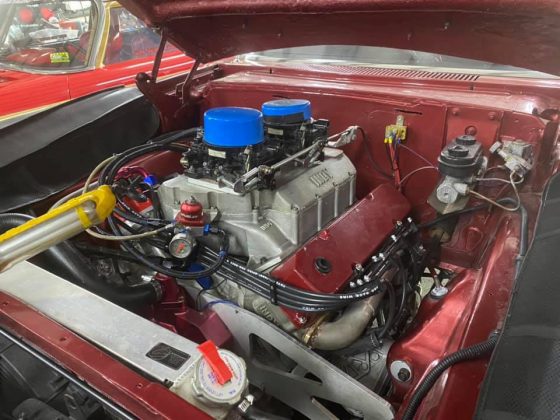
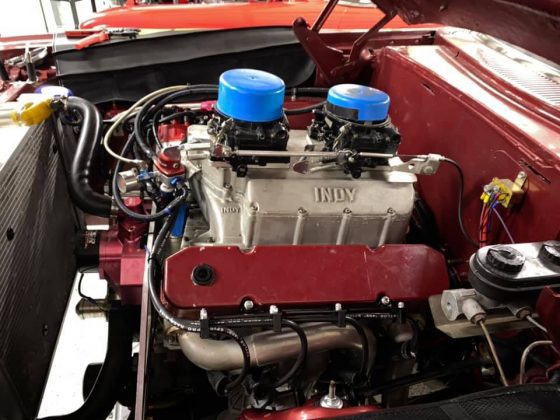
Texas Thug – Part Two
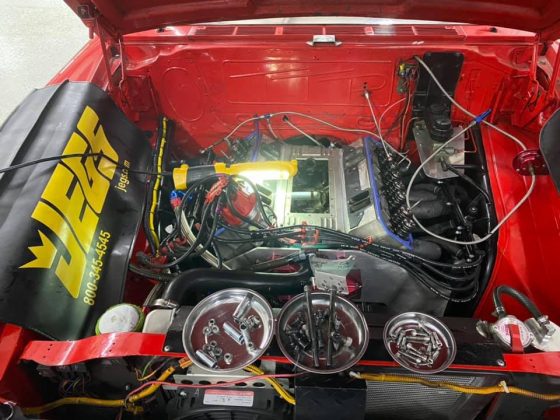
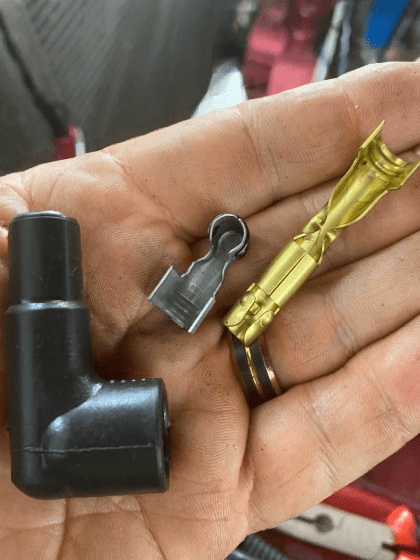
The under hood wiring and hoses in the Thug looked like a can of worms. I decided to clean it up, as I’d done in the Wagon in May. Holy Crap, what a nightmare that was. While it took a day on the wagon, it was more like three days (with dozens of interruptions) to do it on the Thug. The biggest problem is the TTI headers on the passenger side, combined with the engine off set to the passenger side. It literally took hours of trying every tool I have to get plugs 4 & 6 out, when I was changing the plugs. To make things even more fun, I made my own wires as the kits don’t have wires long enough to do the driver’s side with looms. It took two kits to do the wagon. I ordered a 100′ roll of Taylor 409 10.6mm wire, and a couple packs of boots and terminals. It turns out that while Taylor sells 10.6mm HEI distributor boots and terminals – they send you 8.8mm plug boots and terminals. No amount of dialectic grease will allow you to get the boot on the wire in less than 30 minutes and without pulling a shoulder muscle and shooting a nut!
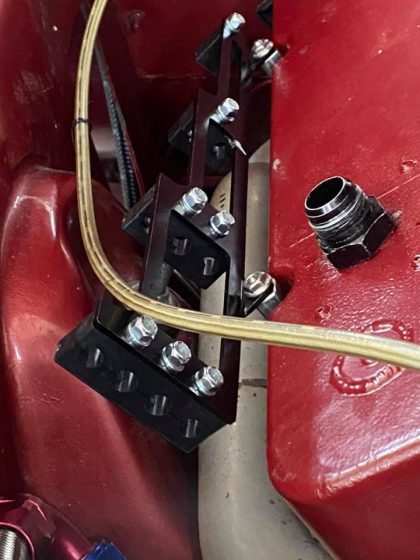
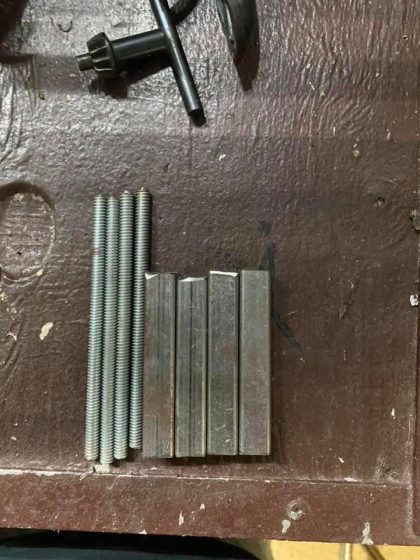

The looms come with black plastic spacers and long screws to raise the looks off the valve covers. However, if they aren’t melted by my headers, that’s an invitation to drop the spacers at the track when pulling the Valve covers. If the spacer makes it to ground, its then camouflaged on my black pit mat. So I made spacers out of square tubing and studs (1/4″-20 all thread) the same size as the screws and spacers supplied. That turned out to have the bottom wires just above the center headers tubes, so I made another set 3/4″ taller.
Sicked the Shop Rat on Polishing the aluminum in the trunk.

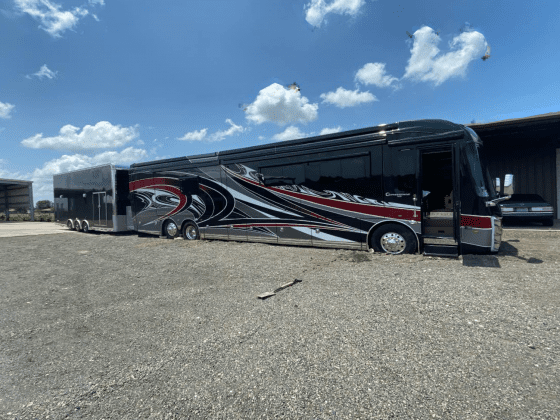
Stacker
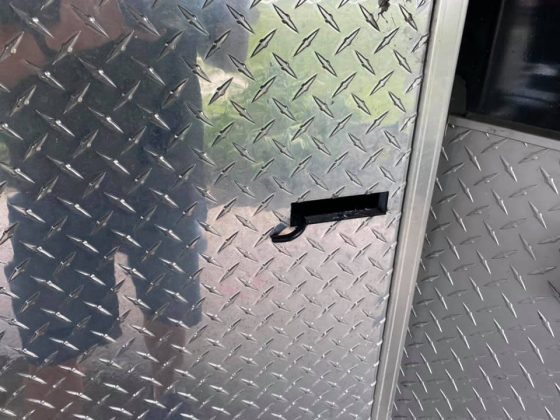
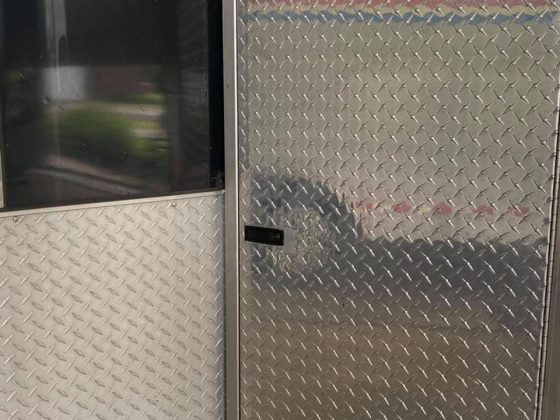
On the way home from Wisconsin, I was told my new tongue cabinet door was flapping in the wind. I pulled over to find that the compression latch had fallen off – and strapped it shut until I got home. After hours of searching for 1″x4.2″ compression latches, and finding none, I settled on 1″x3.67″, which were in abundance. That required an ugly patch. I’ll keep looking for the uber rare size I need.
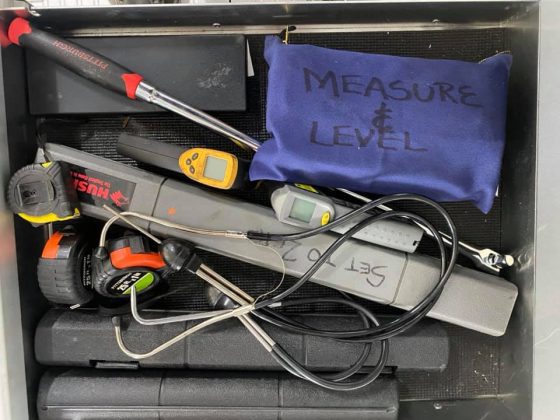
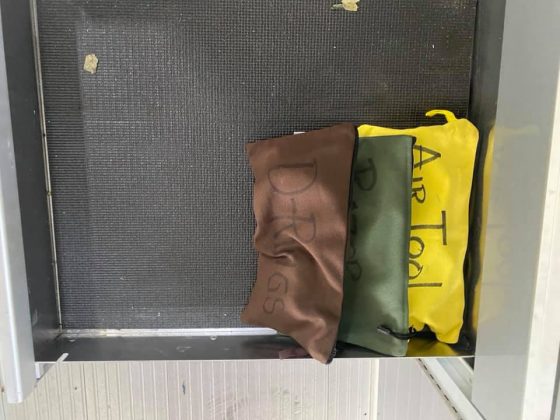
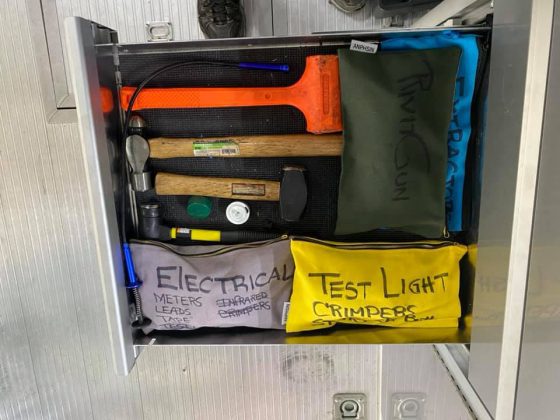
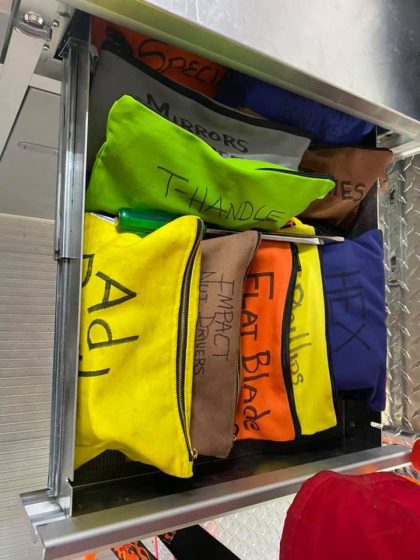
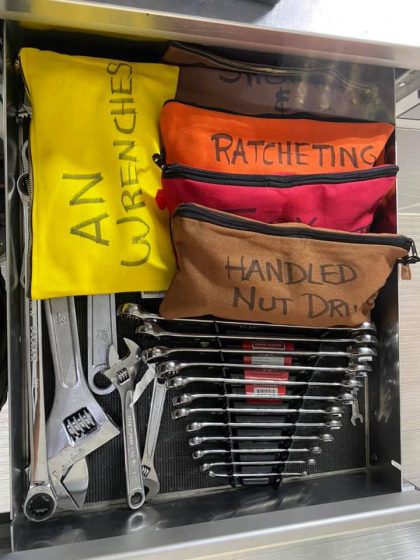
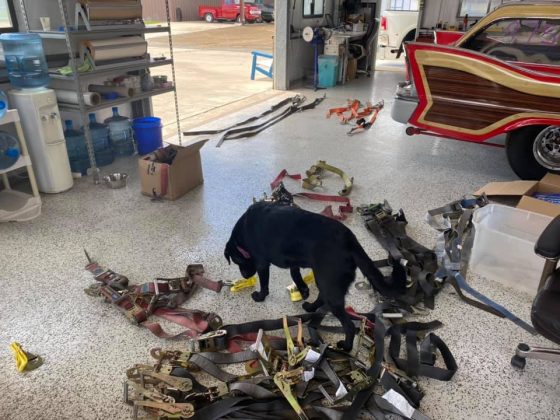
Also Stacker related, this trailer is 2′ shorter because I bought a motorhome 3′ longer. I lost a lot of tool storage drawers. I grouped many of the tools in canvass bags to make it easier than having too many different tools thrown together in one drawer.
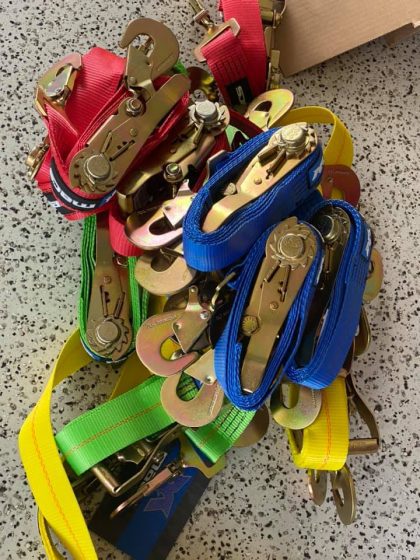
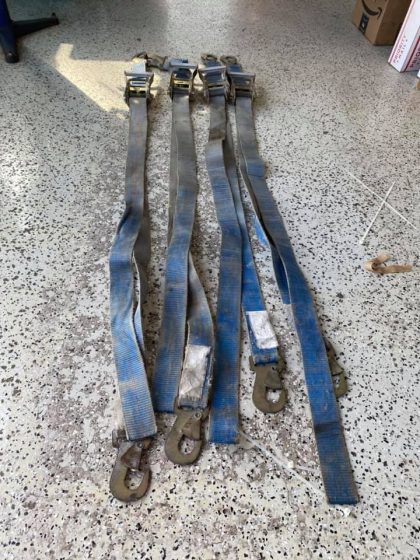
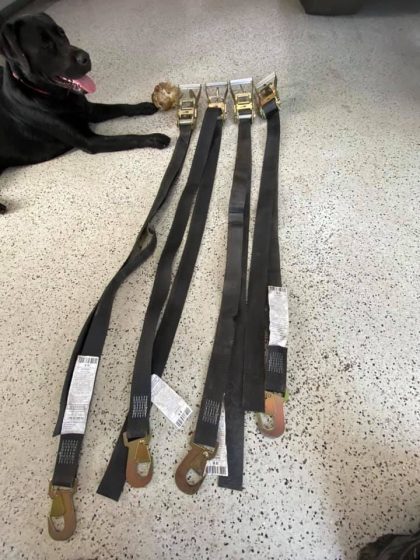
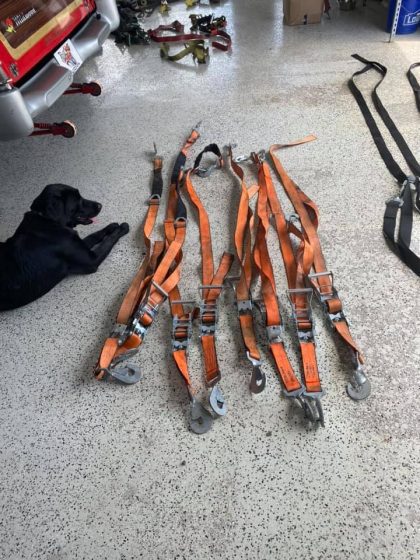
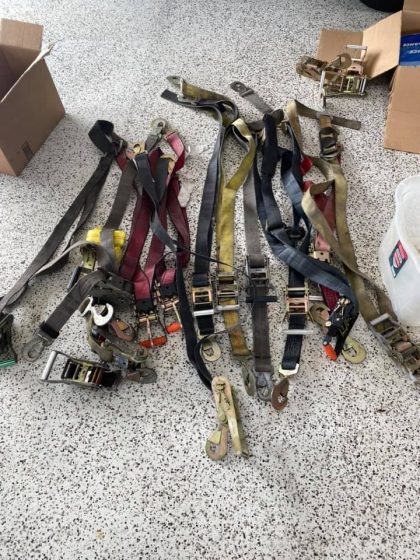
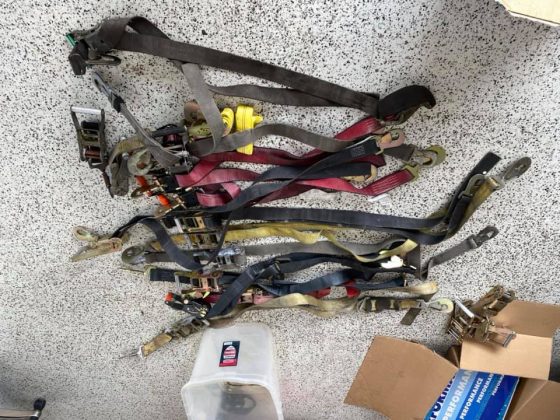
I also broke down and bought 16 new MACs car straps, as I was tired jacking with the cheaper brands. I sorted out over 50 straps into matched sets, and I am selling them cheap at OldHippieAds.com.
Other Shop News
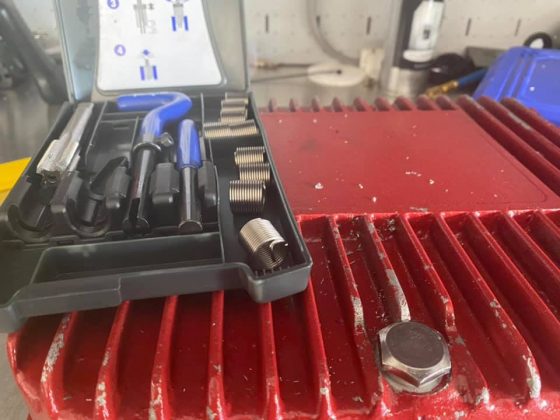
I had a converter rebuilt, and it came back with a crooked thread insert. Found that out when we couldn’t get a bolt in it and had to pull transmission back out to put another converter in. I finally got around to putting new threads in it, and put it in my Trailer as a spare.

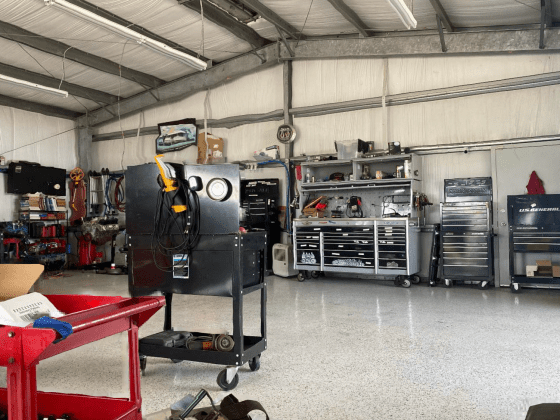
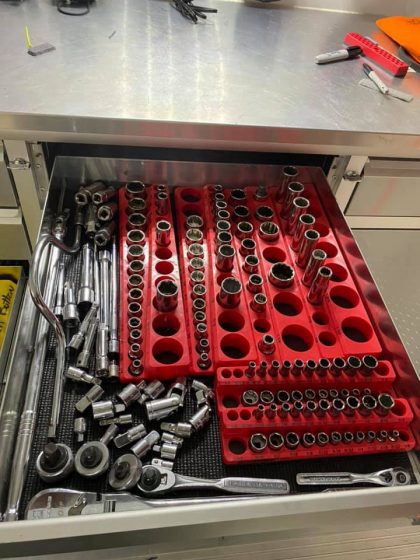
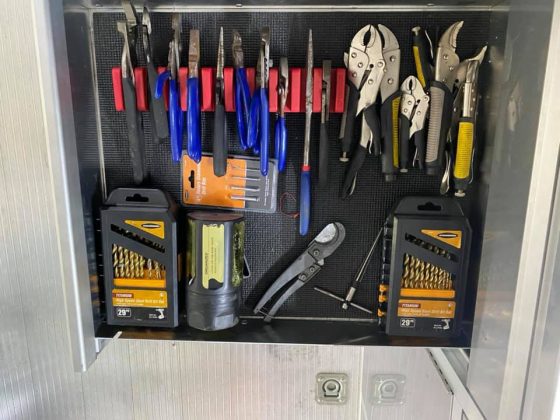
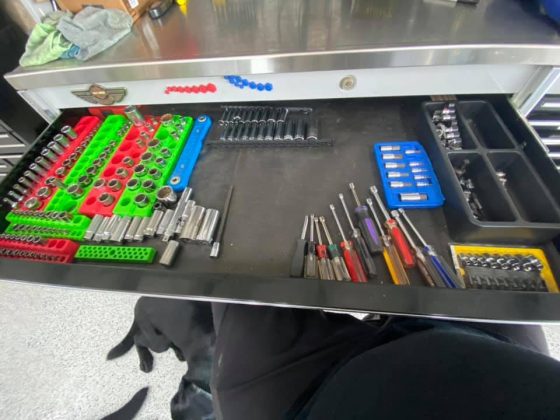
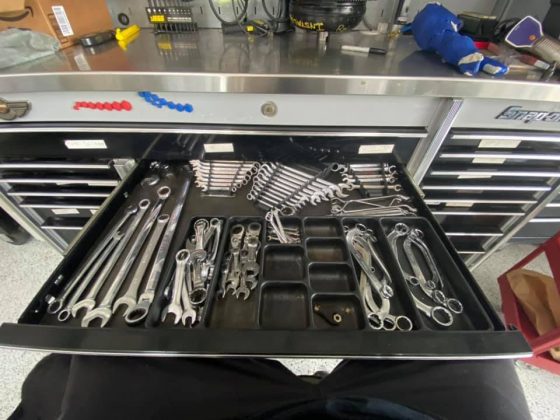
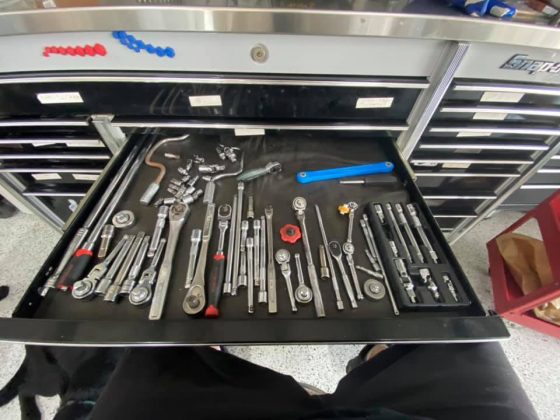
Spend a 1/2 day cleaning and organizing my Snap-On box, after about 5 years of three people not putting my shit away right.

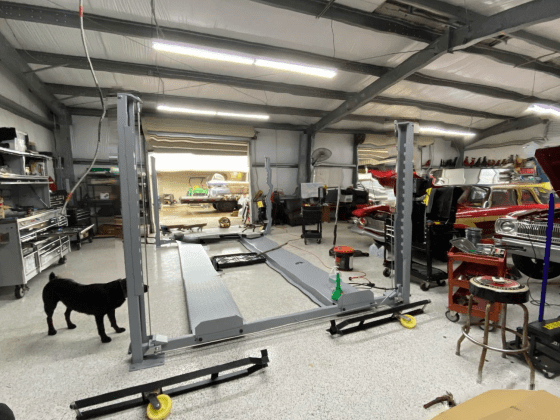
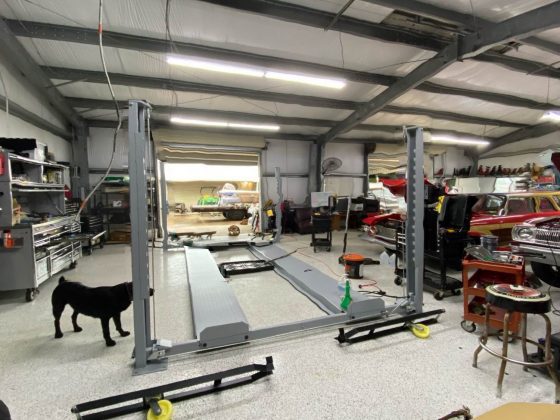
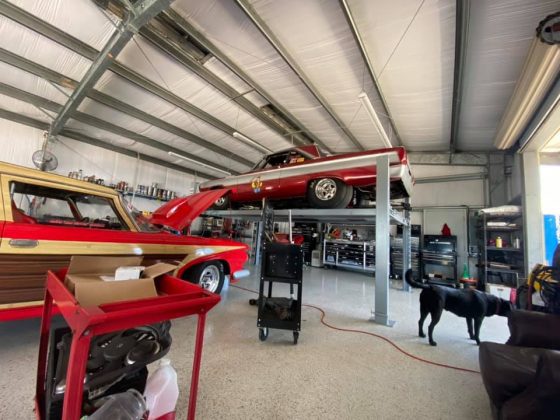
Broke Down and Bought a New Lift
I both didn’t like and didn’t trust my old 2-post lift, so I broke down and got a 4-poster.